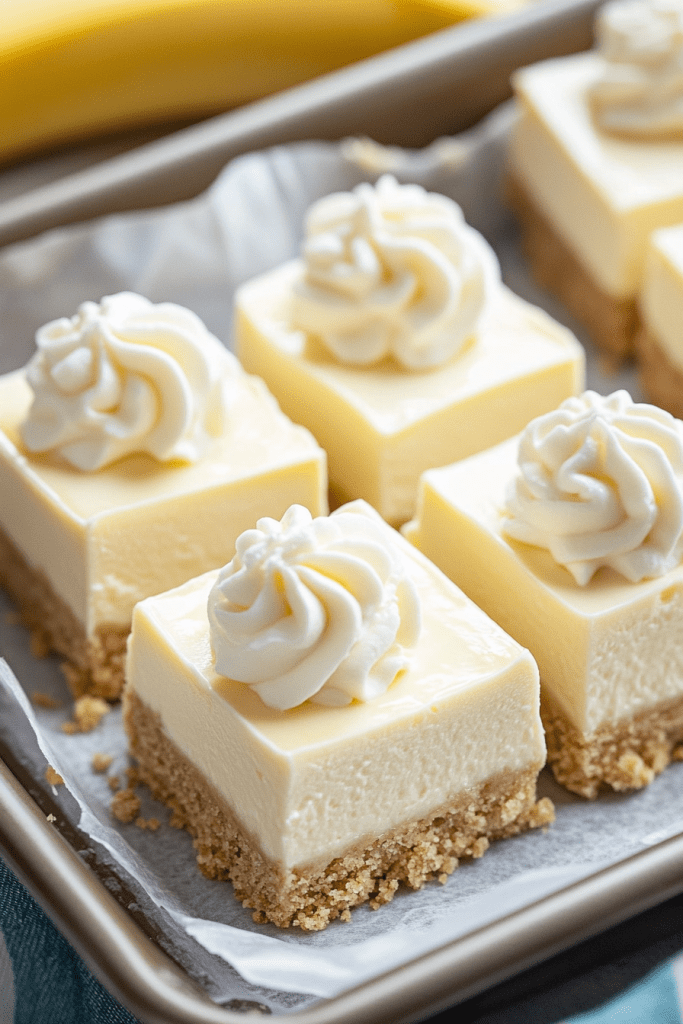
Banana Cream Cheesecake Bars are a dreamy, no-bake dessert that combines the sweet, nostalgic flavors of banana cream pie with the creamy richness of cheesecake. Featuring a buttery Nilla Wafer crust, a luscious banana cream cheesecake filling, and optional garnishes like whipped cream and fresh banana slices, these bars are the perfect crowd-pleaser for any gathering or special occasion.
This recipe is easy to prepare and requires no oven, making it ideal for warm weather or when you’re short on time. The layers of flavor and texture—from the crunchy, buttery crust to the silky-smooth filling—come together beautifully for a treat that’s as indulgent as it is refreshing.
Why You’ll Love This Recipe:
• No-Bake Simplicity: Perfect for when you want a delicious dessert without turning on the oven.
• Rich and Creamy: The filling combines whipped cream and cream cheese for an irresistibly smooth texture.
• Banana Bliss: The banana cream pudding adds a nostalgic, sweet flavor.
Ingredients
For the Crust:
• 3 cups of Nilla Wafer cookie crumbs (approximately 11 ounces)
• ½ cup of unsalted butter, melted
For the Cheesecake Filling:
• 1 pint of heavy whipping cream
• ¾ cup of granulated sugar
• 24 ounces of cream cheese (3 packages of 8 ounces each), softened to room temperature
• 2 packages of instant banana cream pudding mix (3.4 ounces each)
Optional Garnish:
• Whipped cream
• Fresh banana slices
Instructions
Step 1: Prepare the Crust
1. In a medium-sized bowl, combine the Nilla Wafer cookie crumbs with the melted butter. Mix thoroughly until the crumbs are evenly coated.
2. Line an 8×8-inch baking pan with parchment paper, leaving extra parchment hanging over the edges for easy removal later.
3. Press the crumb mixture firmly and evenly into the bottom of the pan to form the crust.
4. Place the crust in the refrigerator or freezer to set while preparing the filling.
Step 2: Whip the Cream
1. In a chilled large metal bowl, use an electric mixer or stand mixer on medium speed to whip the heavy whipping cream and granulated sugar together.
2. Continue whipping until stiff peaks form. Set the whipped cream aside.
Step 3: Prepare the Cheesecake Filling
1. In another large bowl, beat the softened cream cheese on medium speed until smooth and creamy.
2. Gradually add the dry banana cream pudding mixes, beating well after each addition to ensure the mixture is evenly combined.
3. Gently fold the whipped cream into the cream cheese and pudding mixture. Fold until the filling is smooth and well-blended.
Step 4: Assemble the Cheesecake Bars
1. Spread the cream cheese mixture evenly over the chilled crust, smoothing the top with a spatula.
2. Cover the pan with plastic wrap and refrigerate for at least 8 hours, or overnight for best results.
Step 5: Slice and Serve
1. Once the cheesecake is fully chilled and set, lift it out of the pan using the parchment paper overhang.
2. Use a sharp knife to cut the cheesecake into nine evenly sized squares.
3. If desired, garnish each bar with a dollop of whipped cream and a slice of fresh banana. Serve chilled.
Tips
• Chill the Bowl and Whisk: Chilling your mixing bowl and whisk helps the whipped cream reach stiff peaks faster.
• Press the Crust Firmly: Use the back of a spoon or the bottom of a measuring cup to press the crust tightly, preventing it from crumbling.
• Banana Garnish Timing: Add fresh banana slices just before serving to prevent them from browning.
• Cut Cleanly: Wipe your knife with a damp cloth between cuts to ensure clean, sharp edges for each bar.
Storage Options
• Refrigeration: Store the bars in an airtight container in the refrigerator for up to 3 days. Add garnishes just before serving.
• Freezing: Freeze the bars (without garnishes) in an airtight container for up to 2 months. Thaw overnight in the refrigerator before serving.
These Banana Cream Cheesecake Bars are the ultimate no-bake treat, combining creamy, fruity, and crunchy elements for a dessert everyone will love. Whether for a special event or a sweet indulgence at home, they’re guaranteed to impress!