")
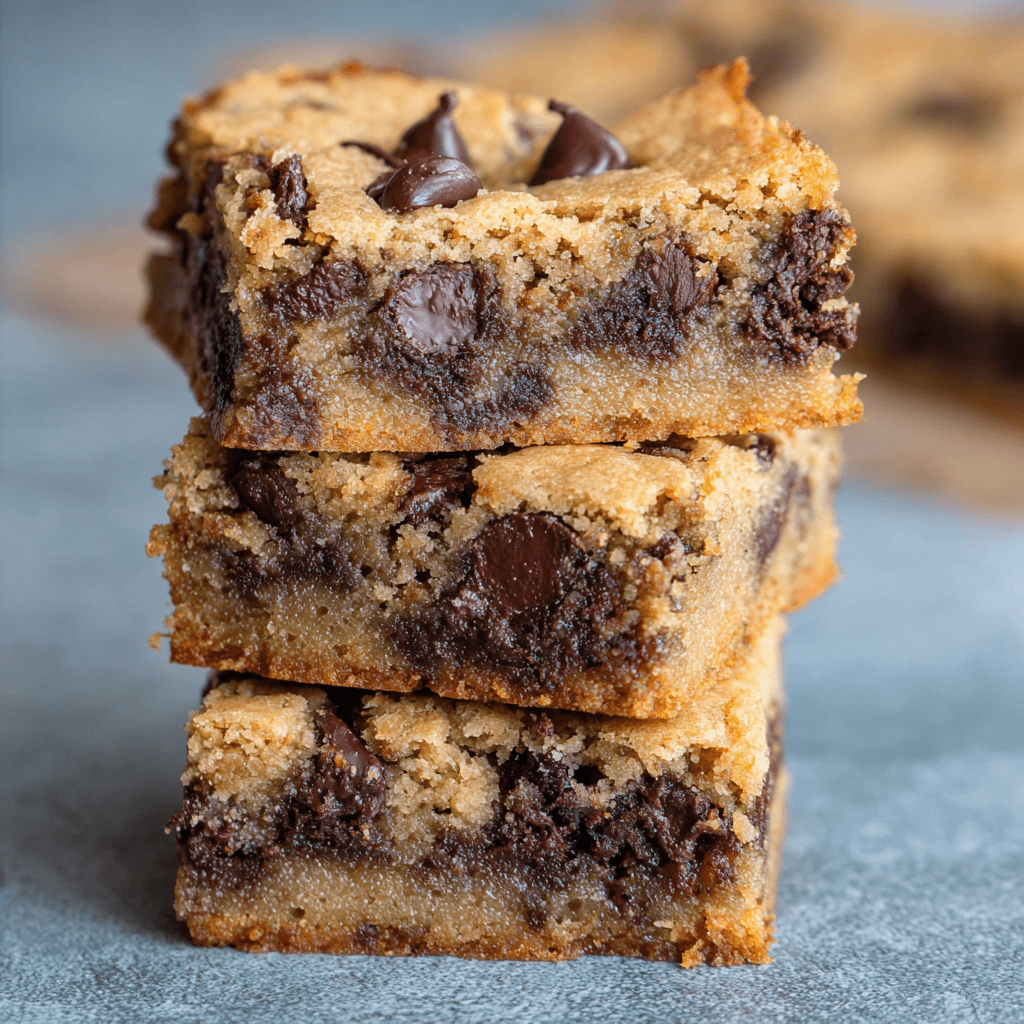
Chewy Keto Chocolate Chip Cookie Bars offer all the comforting, gooey satisfaction of a classic chocolate chip cookie, but in an incredibly easy, sliceable form that caters to a low-carbohydrate lifestyle. This recipe cleverly uses almond flour as its base, providing a naturally gluten-free structure that bakes into a dense, tender, and wonderfully chewy bar. The rich sweetness comes from a monk fruit sweetener, which mimics the flavor and texture of brown sugar without the glycemic impact, making these bars suitable for those monitoring their sugar intake. Packed with sugar-free chocolate chips, each bite delivers the nostalgic pleasure of melted chocolate against a soft, buttery cookie backdrop. They are the perfect guilt-free treat for anyone craving a classic dessert experience without the traditional ingredients.
The simplicity of this recipe is its greatest asset. By mixing the dough in two straightforward steps and pressing it into a single pan, you bypass the need for scooping and baking multiple batches of individual cookies. The brief chilling of the dough in the pan before baking is a crucial step for these bars; it helps the almond flour hydrate and prevents the bars from spreading too thin, ensuring a thick, bakery-style result. The baking process is designed to yield a perfectly set yet soft center, as the bars will continue to firm up as they cool on the wire rack. This patience is rewarded with a batch of cookie bars that have a golden-brown top, a slightly crisp edge, and a deliciously soft and chewy middle. They are an ideal make-ahead snack, lunchbox treat, or a simple dessert that proves eating keto doesn’t mean sacrificing flavor or fun.
Why You’ll Love This Recipe:
• Keto and Low-Carb Friendly: Made with almond flour and sugar-free sweeteners, these bars allow you to indulge while staying within your dietary goals.
• Incredibly Easy: No cookie scooping required! Just mix, press into a pan, and bake for effortless, crowd-pleasing bars.
• Perfectly Chewy Texture: The combination of ingredients and baking time creates a soft, dense, and satisfyingly chewy bar that rivals any traditional version.
• Gluten-Free: Naturally gluten-free thanks to almond flour, making them a great option for those with gluten sensitivities.
Ingredients:
- 2 cups blanched almond flour, finely ground
- 1 teaspoon baking soda
- 1 teaspoon salt
- 1/2 cup (1 stick) unsalted butter, softened to room temperature
- 1 cup golden monk fruit sweetener (or other granulated sugar substitute with a brown sugar-like flavor)
- 1 teaspoon pure vanilla extract
- 2 large eggs, at room temperature
- 1 1/2 cups sugar-free chocolate chips (such as Lily’s)
Instructions:
Step 1: Preheat Oven and Prepare Pan
• Preheat your oven to 350°F (175°C). Line an 8×8-inch baking pan with parchment paper, leaving an overhang on two opposite sides. This “sling” will make it easy to lift the entire batch of bars out for clean slicing later. Lightly grease the parchment paper.
Step 2: Combine the Dry Ingredients
• In a medium bowl, whisk together the almond flour, baking soda, and salt. This ensures the leavening agent is evenly distributed throughout the flour for a consistent rise.
Step 3: Cream the Wet Ingredients
• In a separate large bowl, combine the softened butter and the golden monk fruit sweetener. Using an electric hand mixer or a stand mixer fitted with the paddle attachment, beat on medium speed for 1-2 minutes until the mixture is light and creamy.
• Add the room-temperature eggs and vanilla extract. Continue to beat on medium speed until the mixture is smooth, pale, and well combined.
Step 4: Combine Wet and Dry Mixtures
• With the mixer on low speed, gradually add the dry almond flour mixture to the wet ingredients. Mix until just combined and a soft dough forms. Stop the mixer and use a spatula to scrape down the sides and bottom of the bowl, ensuring there are no dry pockets of flour.
Step 5: Incorporate Chocolate Chips
• Add the sugar-free chocolate chips to the bowl. Use a spatula to fold them into the dough until they are evenly distributed.
Step 6: Press Dough and Chill
• Transfer the cookie dough to the prepared baking pan. Using your fingers or the back of a spatula, press the dough firmly into an even layer that reaches all corners of the pan.
• Place the entire pan in the refrigerator for 10-15 minutes while the oven finishes preheating. This brief chill helps the bars hold their shape and results in a chewier texture.
Step 7: Bake to Perfection
• Place the chilled pan in the preheated oven and bake for 15 minutes. Then, carefully rotate the pan 180 degrees to ensure even browning.
• Continue baking for another 10-15 minutes (25-30 minutes total), or until the top is golden brown and the edges are firm. The center may still look slightly soft and seem underbaked—this is normal and essential for a chewy texture.
Step 8: Cool Completely
• Remove the pan from the oven and place it on a wire cooling rack. Allow the bars to cool completely in the pan. They will continue to set up as they cool. Attempting to cut them while warm will result in messy slices.
Step 9: Slice and Serve
• Once completely cool, use the parchment paper sling to lift the entire block of cookie bars out of the pan. Place it on a cutting board and slice into squares with a sharp knife.
Tips:
• Room Temperature Ingredients: Using room-temperature butter and eggs is key for proper emulsification and a smooth, creamy dough.
• Do Not Overbake: The bars will firm up significantly as they cool. Taking them out when the center is still a bit soft is the secret to a fudgy, chewy texture instead of a cakey one.
• Measuring Almond Flour: For accuracy, spoon the almond flour into the measuring cup and level it off. Scooping directly from the bag can pack it down and lead to using too much flour, resulting in dry bars.
• Customization: Feel free to add ½ cup of chopped walnuts or pecans along with the chocolate chips for added texture and flavor.
Storage Options:
• Room Temperature: Store the cooled bars in an airtight container at room temperature for up to 3 days.
• Refrigerator: For longer storage, keep them in the refrigerator for up to a week. The texture will be firmer but still delicious.
• Freezing: These bars freeze exceptionally well. Wrap individual bars or the entire block tightly in plastic wrap and then foil. Freeze for up to 3 months. Thaw at room temperature.
Chewy Keto Chocolate Chip Cookie Bars are a testament to how delicious low-carb baking can be. They are a simple, satisfying, and foolproof treat that everyone can enjoy.