")
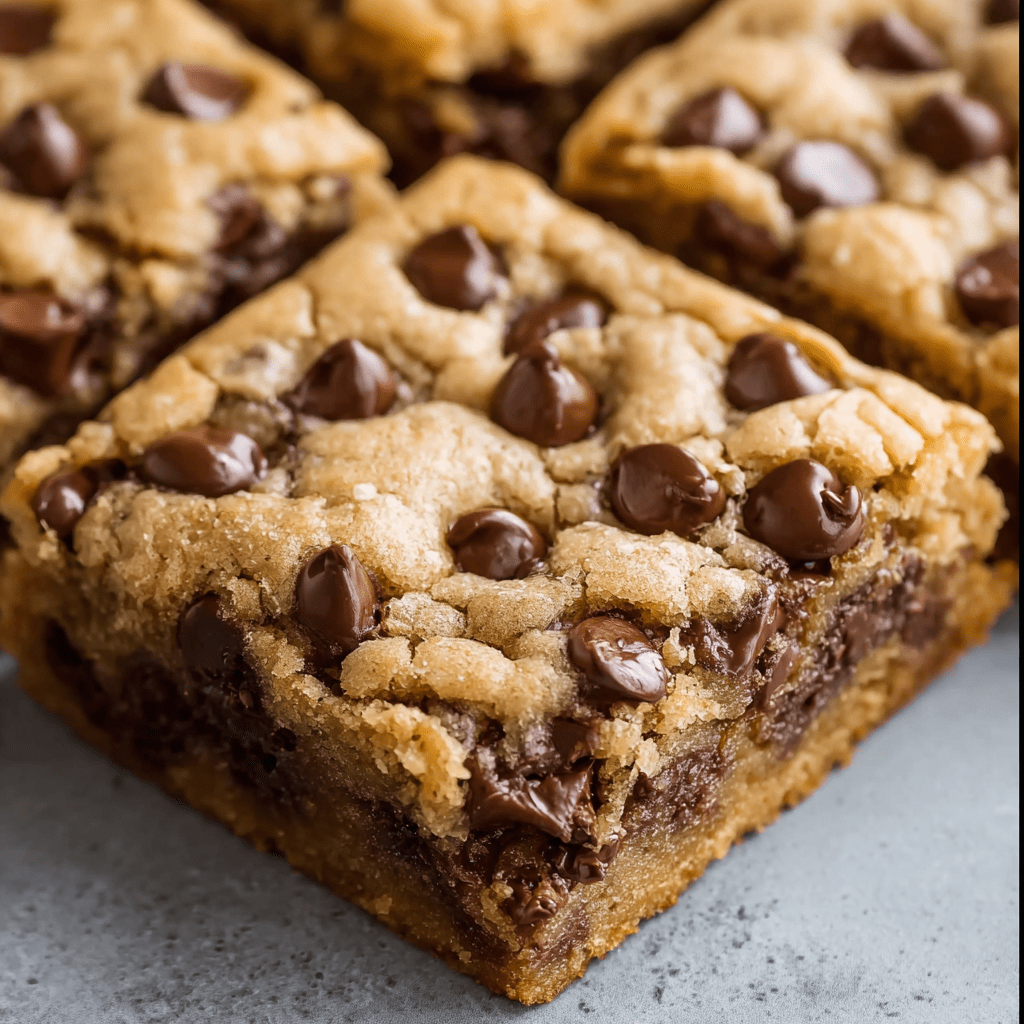
Chocolate Chip Pan Chewies are the ultimate expression of a bar cookie, offering a gloriously chewy, buttery, and deeply satisfying treat that is even simpler to make than a batch of individual cookies. This recipe distills the essential joy of a chocolate chip cookie—the tender, caramel-like crumb, the pockets of molten chocolate, and the irresistible chew—into a single, easy-to-slice square. The secret to their phenomenal texture lies in the generous use of brown sugar, which, when combined with melted butter, creates a rich, moist foundation that bakes up into a dense yet soft confection with just the right amount of gentle pull. Unlike cakey bar cookies, these chewies have a fudgy, almost blondie-like consistency, with a slightly crisp edge that gives way to a perfectly under-baked center, ensuring every bite is a masterclass in comforting, homestyle dessert perfection.
The brilliance of this recipe is its effortless, one-bowl approach that requires no electric mixer and no chilling time, making it an ideal project for spontaneous baking or for involving little helpers in the kitchen. From the moment the melted butter and brown sugar are whisked together into a glossy, caramel-scented base to the final sprinkle of chocolate chips, the process is straightforward and deeply rewarding. The bake time is crucial; removing the pan from the oven when the top is golden and a toothpick emerges mostly clean is the key to achieving that coveted chewy texture, as the residual heat will continue to cook the center to a perfect finish as it cools. Whether served warm with a glass of milk, packed into a lunchbox, or presented as a simple yet beloved dessert, Chocolate Chip Pan Chewies are a humble, timeless classic that delivers maximum cookie joy with minimal effort.
Why You’ll Love This Recipe:
- Unbeatable Chewy Texture: The high ratio of brown sugar to butter and the precise baking time create a dense, moist, and delightfully chewy bar that is impossible to resist.
- One-Bowl Simplicity: With no need for a mixer and minimal cleanup, this recipe comes together in minutes with just a bowl and a spatula.
- No Chilling Required: Unlike many cookie doughs, this batter can be mixed, poured, and baked immediately, satisfying your cookie craving faster.
- Perfect for a Crowd: Baking the cookies in a single pan means no standing over the oven for multiple batches, and the squares are easy to slice and serve for parties, potlucks, or bake sales.
Ingredients:
- ½ cup (1 stick) unsalted butter, melted and slightly cooled
- 1 cup packed light brown sugar
- 1 large egg, at room temperature
- 2 teaspoons vanilla extract
- 1 cup all-purpose flour
- ½ teaspoon baking powder
- ½ teaspoon salt
- ¼ teaspoon baking soda
- 1 cup semi-sweet chocolate chips
Instructions:
Step 1: Prepare the Pan and Oven
Preheat your oven to 350°F (175°C). Grease the bottom and sides of a 9×9-inch baking pan with non-stick cooking spray or line it with parchment paper, leaving an overhang on two sides for easy removal.
Step 2: Combine the Wet Ingredients
In a medium-sized bowl, combine the melted (and slightly cooled) butter and the packed brown sugar. Whisk vigorously for about one minute until the mixture is smooth and well-combined. Add the egg and vanilla extract and whisk again until the mixture is thick, glossy, and smooth.
Step 3: Add the Dry Ingredients
Add the all-purpose flour, baking powder, salt, and baking soda directly to the wet ingredients. Use a spatula to fold the dry ingredients into the wet, mixing just until the last streaks of flour disappear. Be careful not to overmix.
Step 4: Fold in Chocolate Chips
Add the chocolate chips to the batter and fold gently until they are evenly distributed throughout.
Step 5: Bake to Perfection
Transfer the batter to the prepared baking pan, spreading it into an even layer. Bake for 20-25 minutes. The edges should be golden brown and set, and the center should look slightly soft. A toothpick inserted into the center should come out with a few moist crumbs attached, but not wet batter.
Step 6: Cool and Slice
Place the pan on a wire rack and allow the chewies to cool completely in the pan. This is essential for them to set properly for clean slicing. Once cool, use the parchment paper to lift the entire slab out of the pan before cutting into squares.
Tips:
- Do Not Overbake: The key to a chewy texture is taking them out of the oven while the center still appears a little underdone. They will continue to set as they cool.
- Measure Flour Correctly: For accurate results, spoon the flour into your measuring cup and level it off with a knife. Scooping directly with the cup can pack in too much flour, leading to a drier, cakier bar.
- Line the Pan: Using parchment paper is highly recommended. It not only prevents sticking but also makes it incredibly easy to lift the entire batch out for perfectly even slicing.
- Customize Your Add-Ins: While chocolate chips are classic, feel free to substitute with an equal amount of M&Ms, white chocolate chips, butterscotch chips, or a combination of chocolate chips and chopped nuts.
Storage Options:
- Room Temperature: Store the completely cooled chewies in an airtight container at room temperature for up to 4 days.
- Freezing: These bars freeze exceptionally well. Wrap the cooled