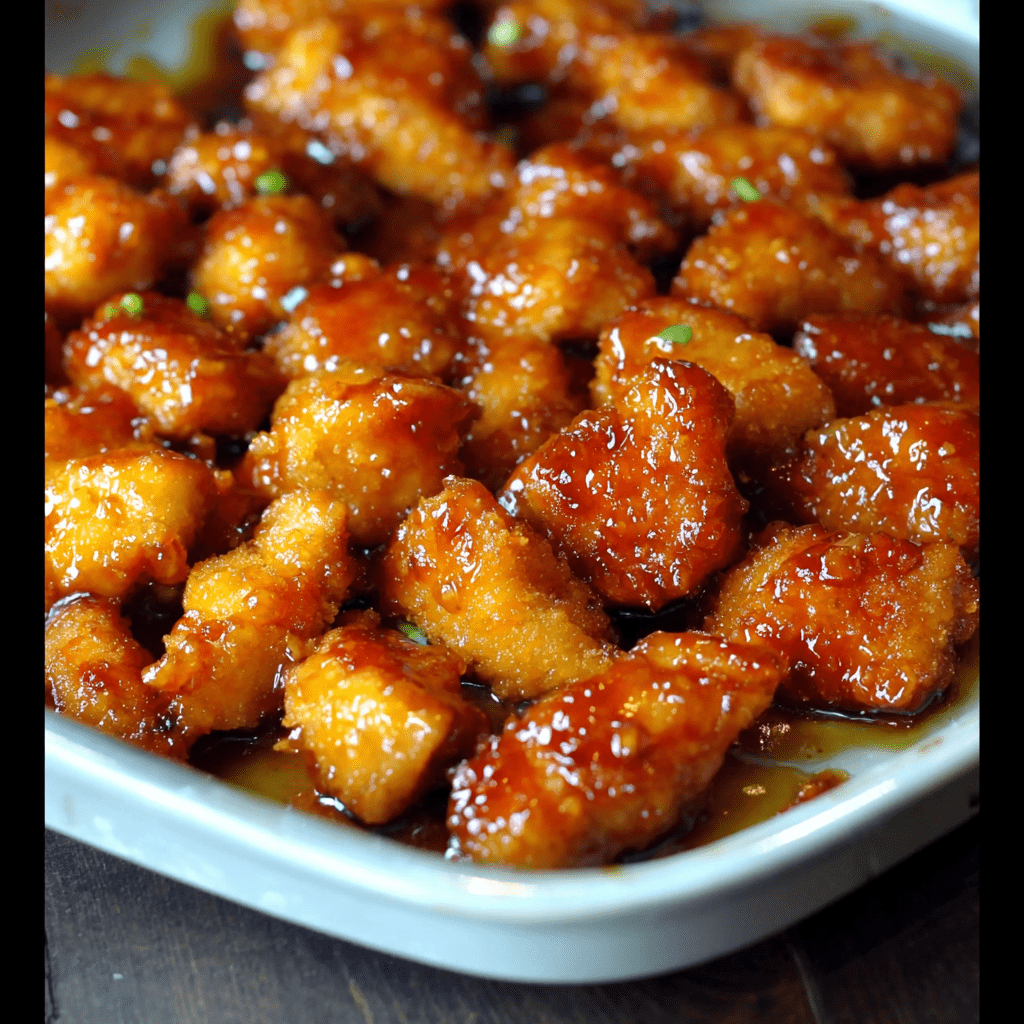
Baked Sweet and Sour Chicken is a brilliant, fuss-free take on the beloved takeout classic—crispy, golden chicken bites coated in a glossy, tangy-sweet sauce, all baked to perfection in a single dish. This recipe delivers all the crave-worthy flavors of restaurant-style sweet and sour chicken without the deep-frying, delivering tender, juicy chicken with a light, crunchy coating that holds up beautifully to the luscious sauce. The magic begins with chicken pieces coated in cornstarch and egg, then quickly seared in a hot skillet until golden brown. This quick sear locks in moisture and creates a crispy exterior that stays intact during baking. The sauce—a perfect balance of granulated sugar, ketchup, apple cider vinegar, soy sauce, and garlic powder—is poured over the chicken, transforming as it bakes into a thick, glossy, caramelized glaze that clings to every piece.
The brilliance of this recipe lies in its simplicity and the incredible depth of flavor achieved with minimal effort. Baking the chicken low and slow allows the sauce to penetrate the meat while reducing into a sticky, sweet-tangy coating that’s absolutely irresistible. The cornstarch coating ensures the chicken remains tender and juicy, while the edges become delightfully caramelized. Served over a bed of steamed rice, with a sprinkle of sesame seeds and green onions, this Baked Sweet and Sour Chicken is a complete, satisfying meal that’s far healthier than its fried counterpart. It’s the perfect solution for a weeknight craving for Chinese takeout—easy, delicious, and guaranteed to become a family favorite.
Why You’ll Love This Recipe:
- All the Flavor of Takeout, Baked Not Fried: Crispy, tender chicken with a glossy sweet-sour sauce, no deep-frying required.
- Perfectly Balanced Sweet and Tangy Sauce: The combination of sugar, ketchup, vinegar, and soy sauce is absolutely addictive.
- Simple, Pantry-Friendly Ingredients: Uses common ingredients you likely already have on hand.
- Easy Cleanup: Everything bakes in a single dish for minimal mess.
- Better Than Takeout: Healthier, fresher, and customizable to your taste.
Ingredients:
For the Chicken:*
4 boneless, skinless chicken breasts, cut into 1-inch pieces
1 cup cornstarch
2 large eggs
¼ cup vegetable oil (for searing)
Salt and freshly ground black pepper, to taste
For the Sweet and Sour Sauce:*
½ cup granulated sugar
¼ cup ketchup
½ cup apple cider vinegar
2 tablespoons soy sauce (low sodium recommended)
1 teaspoon garlic powder
½ teaspoon sea salt
For Serving:*
Steamed rice
Sesame seeds and sliced green onions, for garnish (optional)
Instructions:
Step 1: Preheat and Prepare Pan*
Preheat your oven to 325°F (165°C). Line a 13×9-inch baking dish with parchment paper for easy cleanup.
Step 2: Coat the Chicken*
Season the chicken pieces with salt and pepper. Place the cornstarch in a large resealable plastic bag. Add the chicken pieces, seal the bag, and shake until each piece is evenly coated. In a shallow bowl, beat the eggs.
Step 3: Sear the Chicken*
Heat the vegetable oil in a large skillet over medium-high heat until shimmering. Dip each cornstarch-coated chicken piece into the beaten eggs, allowing any excess to drip off. Carefully place the chicken in the hot skillet in a single layer (work in batches if needed). Sear for 1-2 minutes per side, until golden brown. Transfer the seared chicken to the prepared baking dish.
Step 4: Make the Sauce*
In a medium bowl, whisk together the granulated sugar, ketchup, apple cider vinegar, soy sauce, garlic powder, and sea salt until smooth.
Step 5: Bake*
Pour the sauce evenly over the seared chicken in the baking dish, tossing to coat. Bake for 1 hour, tossing the chicken halfway through to ensure even coating and caramelization.
Step 6: Serve*
Remove from the oven and let cool slightly. Serve hot over steamed rice, garnished with sesame seeds and sliced green onions if desired.
Tips:
- Cut Chicken Uniformly: Cutting the chicken into even, bite-sized pieces ensures consistent cooking.
- Don’t Skip the Sear: The quick sear creates a crispy coating that holds up during baking and prevents the chicken from becoming soggy.
- Use Parchment Paper: Lining the pan with parchment makes cleanup a breeze and prevents sticking.
- Toss Halfway: Stirring the chicken halfway through baking ensures even glaze coverage and prevents burning.
- Adjust Sweetness: For a less sweet version, reduce the sugar to ⅓ cup; for extra tang, add an extra tablespoon of vinegar.
Storage Options:
- Refrigerator: Store leftovers in an airtight container in the refrigerator for up to 4 days.
- Reheating: Reheat in a 350°F (175°C) oven for 10-15 minutes or in the microwave. The sauce may thicken; add a splash of water or broth to loosen if needed.
- Freezing: This dish freezes well for up to 2 months. Cool completely, portion into freezer-safe containers, and freeze. Thaw overnight in the refrigerator before reheating.
- Make-Ahead: Prepare the chicken through the searing step up to a day in advance. Refrigerate the seared chicken and sauce separately, then assemble and bake when ready.
Baked Sweet and Sour Chicken is the perfect marriage of convenience and crave-worthy flavor. With its crispy-yet-tender chicken and glossy, tangy-sweet sauce, it’s a dish that will have you skipping the takeout menu and heading straight to your kitchen.