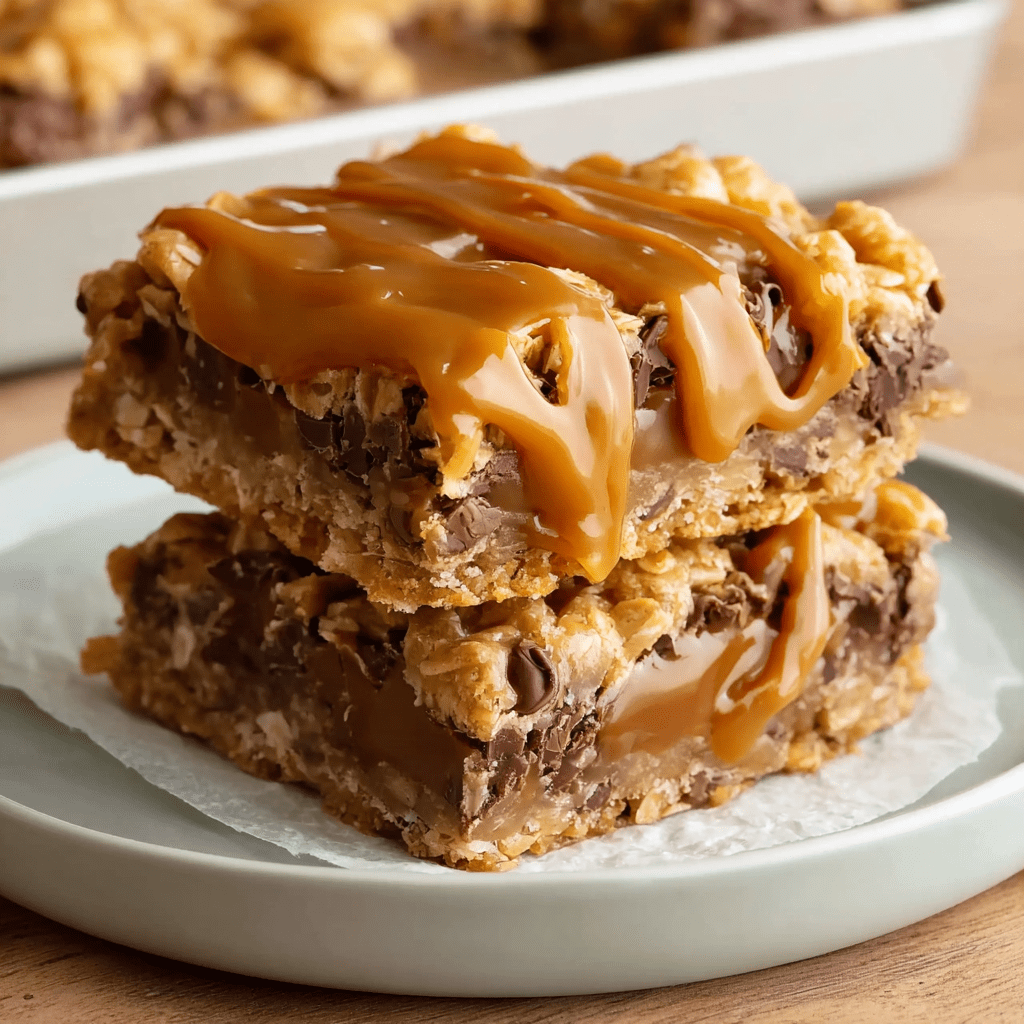
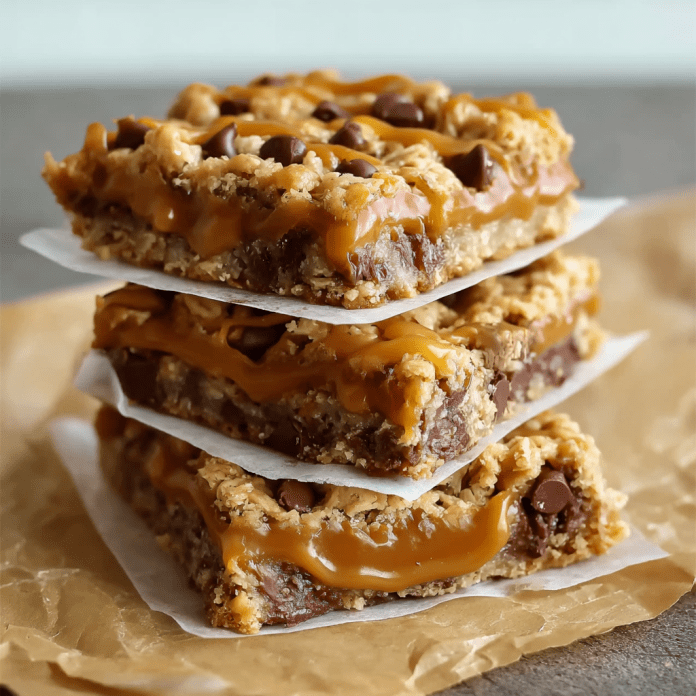
Carmelitas are the undisputed champion of the bar cookie world, a decadent dessert that masterfully combines the chewy, wholesome texture of an oatmeal cookie with the rich, gooey indulgence of melted chocolate and luxurious caramel. This particular recipe elevates simple, pantry-staple ingredients into a layered confection that is far greater than the sum of its parts. The magic begins with a buttery, crumbly base and topping made from flour, oats, and brown sugar, which provides a delightful nutty flavor and a sturdy foundation for the lavish fillings within. As this base par-bakes, it firms up just enough to create a barrier that will later support the rivers of warm caramel and pockets of melted chocolate chips, resulting in a perfect contrast of textures in every single bite. The experience of eating a Carmelita is a textural journey, from the initial crisp of the oat crumble to the soft, flowing center that is both visually appealing and intensely satisfying.
The soul of this dessert lies in its glorious, molten center. The homemade caramel sauce, crafted simply from melting store-bought caramels with heavy cream, is a stroke of genius that ensures a smooth, pourable, and profoundly flavorful layer that avoids the potential pitfalls of making caramel from scratch. When poured over the layer of semi-sweet chocolate chips sitting atop the warm, par-baked crust, the heat from both the crust and the caramel begins to melt the chocolate, creating a marbled swirl of two iconic flavors. The final sprinkle of the remaining oat mixture allows the caramel to peek through as it bakes, creating a beautifully rustic, golden-brown top that promises the delights hidden beneath. Allowing the pan to cool completely is not merely a suggestion but a critical step of culinary alchemy, as it gives the caramel and chocolate layers time to set up into a firm yet still soft and chewy consistency, making them possible to slice into clean, beautiful squares.
Why You’ll Love This Recipe:
- The Ultimate Texture Experience: Enjoy a perfect harmony of a crisp and chewy oatmeal crust, rich, melted chocolate, and a soft, flowing caramel center in every single bite.
- Surprisingly Simple to Make: Despite its impressive, bakery-quality appearance, this recipe is straightforward and uses simple ingredients and techniques, with no mixer required.
- Customizable Fillings: While classic, this recipe is a canvas. You can easily incorporate chopped nuts, a sprinkle of sea salt, or use dark chocolate chips to tailor it to your taste.
- Crowd-Pleasing Perfection: These bars are universally adored, making them the perfect portable dessert for potlucks, parties, bake sales, or any gathering where a show-stopping treat is required.

Ingredients:
For the Cookie Base and Topping:
- 1 cup all-purpose flour
- 1 cup old-fashioned rolled oats
- ¾ cup packed light brown sugar
- ½ teaspoon baking soda
- ½ teaspoon salt
- 12 tablespoons (1 ½ sticks) unsalted butter, melted
- 1 teaspoon vanilla extract
- 1 cup semi-sweet chocolate chips
For the Caramel Sauce:
- 36 caramels, unwrapped (standard 11-oz bag of Kraft caramels)
- ½ cup heavy cream
Instructions:
Step 1: Prepare the Pan and Preheat Oven
Preheat your oven to 350°F (175°C). Line an 8×8 inch baking pan with parchment paper, leaving an overhang on two opposite sides to form a “sling.” This is crucial for easily lifting the entire batch of bars out of the pan for clean cutting. Lightly spray the parchment paper with non-stick cooking spray.
Step 2: Make the Oatmeal Cookie Mixture
In a medium bowl, combine the all-purpose flour, rolled oats, packed light brown sugar, baking soda, and salt. Whisk these dry ingredients together to ensure they are evenly distributed. Pour in the melted butter and vanilla extract. Use a fork to mix everything together until the mixture is well-combined and crumbly. It should resemble a thick, cohesive crumble.
*Step 3: Par-Bake the Crust*
Firmly press a little more than half of the oatmeal mixture into the bottom of your prepared pan. Use the back of a spoon or a flat-bottomed measuring cup to press it down into a compact, even layer. Reserve the remaining mixture for the topping. Bake this crust in the preheated oven for 10 minutes. This step partially sets the crust so it can support the heavy caramel and chocolate layers.
Step 4: Prepare the Caramel Sauce
While the crust is baking, combine the unwrapped caramels and heavy cream in a medium microwave-safe bowl. Microwave on high for 1 minute. Remove the bowl (it may be hot) and stir vigorously. Return to the microwave and continue heating in 30-second intervals, stirring well after each interval, until the caramels are completely melted and the sauce is smooth. For an extra-smooth sauce, you can use a small whisk for the final stir.
Step 5: Assemble the Layers
Remove the hot pan from the oven. Immediately sprinkle the chocolate chips evenly over the hot crust. They will begin to soften from the residual heat. Next, carefully and slowly pour the warm caramel sauce over the chocolate chips, trying to cover the entire surface. Finally, sprinkle the reserved oatmeal cookie mixture evenly over the top of the caramel layer. Do not press it down.
Step 6: Final Bake and Cooling
Return the pan to the oven and bake for 15-20 minutes, or until the top is golden brown and the caramel is bubbling around the edges. Place the pan on a wire rack and allow the Carmelitas to cool completely. This is a non-negotiable step and can take several hours at room temperature. To speed up the process, you can place the pan in the refrigerator once it has cooled to the touch. The bars must be completely cool and set before you attempt to cut them into squares.
Tips:
- Measure the Oats Correctly: Use the “spoon and level” method for the oats and flour to avoid a dry, crumbly base. Do not pack them into the measuring cup.
- The Parchment Sling is Key: Do not skip the parchment paper overhang. It is the only way to cleanly and easily remove the bars from the pan without them sticking or breaking.
- Patience is a Virtue: Cutting into warm Carmelitas will result in a delicious but messy puddle. Allowing them to cool and set completely is essential for achieving clean, defined squares.
- Customize Your Bars: Stir ½ cup of chopped pecans or walnuts into the oatmeal crumble mixture for a nutty crunch. A light sprinkle of flaky sea salt over the caramel layer before adding the final crumble topping is a gourmet touch.
Storage Options:
- Counter: Store the completely cooled Carmelitas in an airtight container at room temperature for up to 3 days. Place parchment paper between layers to prevent sticking.
- Refrigerator: For a firmer texture and longer storage, keep them in the refrigerator for up to one week. The cold makes the caramel layer delightfully chewy.
- Freezing: Carmelitas freeze exceptionally well. Individually wrap cooled bars in plastic wrap and place them in a freezer-safe bag or container. They can be frozen for up to 3 months. Thaw at room temperature or in the refrigerator.
Carmelitas are the ultimate indulgence, a bar cookie that perfectly balances simplicity with sheer decadence. The process of creating the distinct layers is as enjoyable as the final product, which is guaranteed to earn you rave reviews and requests for the recipe. Enjoy!


