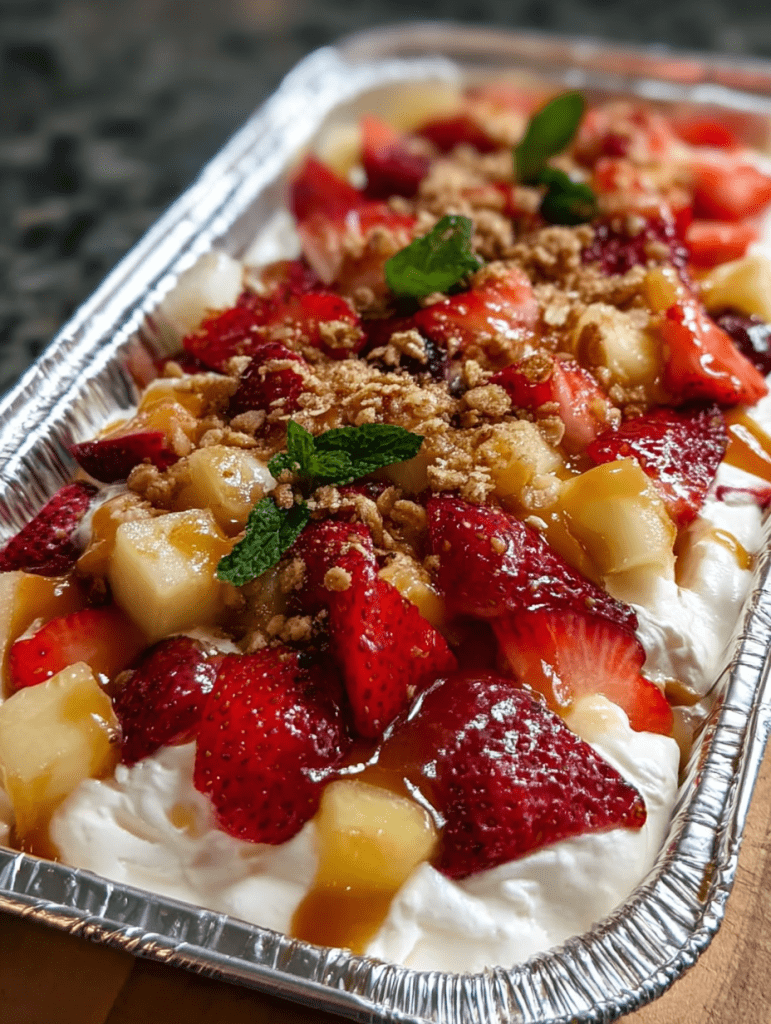
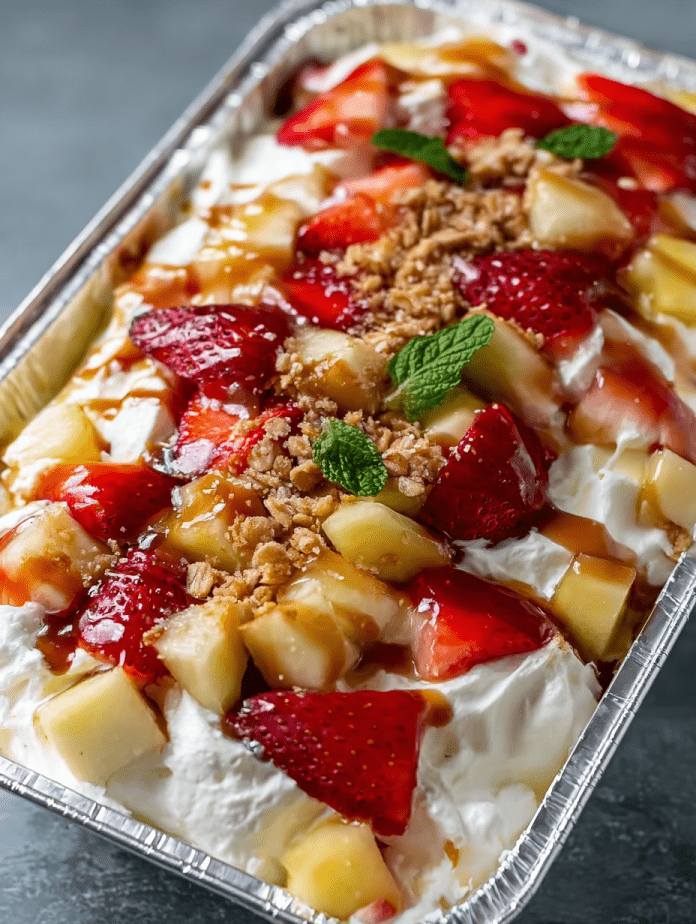
Looking for a crowd-pleasing dessert that’s both easy to make and fun to serve? This Cheesecake Fruit Salad in a Tin Foil Tray has your name all over it. It’s creamy, fruity, sweet, and crunchy—all layered together in a simple tray that’s perfect for potlucks, picnics, BBQs, or casual family gatherings. With a smooth cheesecake base, a generous layer of fresh fruit, a drizzle of caramel, and a sprinkle of granola, this no-bake dessert delivers big flavor with minimal fuss.
Best of all, it takes just minutes to assemble, can be made ahead of time, and is served straight from the tray—no need for fancy bowls or special equipment. It’s a laid-back dessert that still feels indulgent and special. Plus, it’s totally customizable depending on the fruits you have on hand.
Why You’ll Love This Recipe:
• Creamy + Crunchy: Silky cheesecake layer meets crisp granola for texture perfection.
• No Bake, No Fuss: Quick to prep and ideal for warm-weather days.
• Make-Ahead Friendly: Chill it until you’re ready to serve.
• Great for Gatherings: Served right in the tray—easy transport, easy cleanup.
• Customizable: Use whatever fruits you love or have on hand.

Ingredients:
• 8 oz cream cheese, softened
• ½ cup powdered sugar
• 1 tsp vanilla extract
• 1 cup whipped topping (like Cool Whip or homemade stabilized whipped cream)
• 2 cups mixed fresh fruit (e.g., strawberries, apples, grapes, blueberries)
• ½ cup caramel sauce
• ½ cup granola
Instructions:
Step 1: Make the Cheesecake Base
In a large mixing bowl, beat the softened cream cheese with an electric mixer until smooth and creamy.
Step 2: Sweeten and Flavor
Add the powdered sugar and vanilla extract to the cream cheese. Mix until well combined and smooth.
Step 3: Fold in the Whipped Topping
Gently fold in the whipped topping using a silicone spatula. The mixture should be light, fluffy, and easy to spread.
Step 4: Spread in Tray
Transfer the cheesecake mixture into a standard tin foil tray (around 9×13 inches). Use the back of a spoon or spatula to spread it into an even layer.
Step 5: Add the Fruit
Arrange your choice of fresh fruit over the cheesecake layer. You can scatter it randomly or make a fun pattern.
Step 6: Drizzle with Caramel
Drizzle the caramel sauce generously over the top of the fruit layer. You can use a spoon or a squeeze bottle for this step.
Step 7: Sprinkle the Granola
Just before serving (or after chilling if you don’t mind a bit of softened crunch), sprinkle the granola on top for added texture.
Step 8: Chill Before Serving
Place the tray in the refrigerator and chill for at least 1 hour to allow the layers to set and flavors to meld.
Tips:
• Fruit Swaps: Try bananas, kiwi, raspberries, pineapple, or mango—whatever’s fresh and in season.
• Add Zest: Stir a bit of lemon or orange zest into the cheesecake layer for a citrus twist.
• Caramel Tip: Warm the caramel sauce slightly before drizzling if it’s too thick straight from the fridge.
• Want More Crunch? Serve the granola on the side and let guests sprinkle it on their own portion.
• Make It Healthier: Use a light whipped topping and reduced-fat cream cheese if you prefer.
Storage and Reheating:
Refrigerator:
Store covered in the fridge for up to 3 days. The fruit may release some juices over time, but the flavor stays great.
Freezer:
Not recommended. The texture of the cream cheese layer and fruit may change once thawed.
Serving Tip:
If taking to a picnic or BBQ, keep it chilled in a cooler until just before serving. It’s best served cold!
Cheesecake Fruit Salad in a Tin Foil Tray is the kind of dessert that hits all the right notes—easy, refreshing, and totally irresistible. It’s low-effort, no-bake, and big on flavor, making it perfect for when you want to impress without turning on the oven. A true crowd-pleaser for every season!


