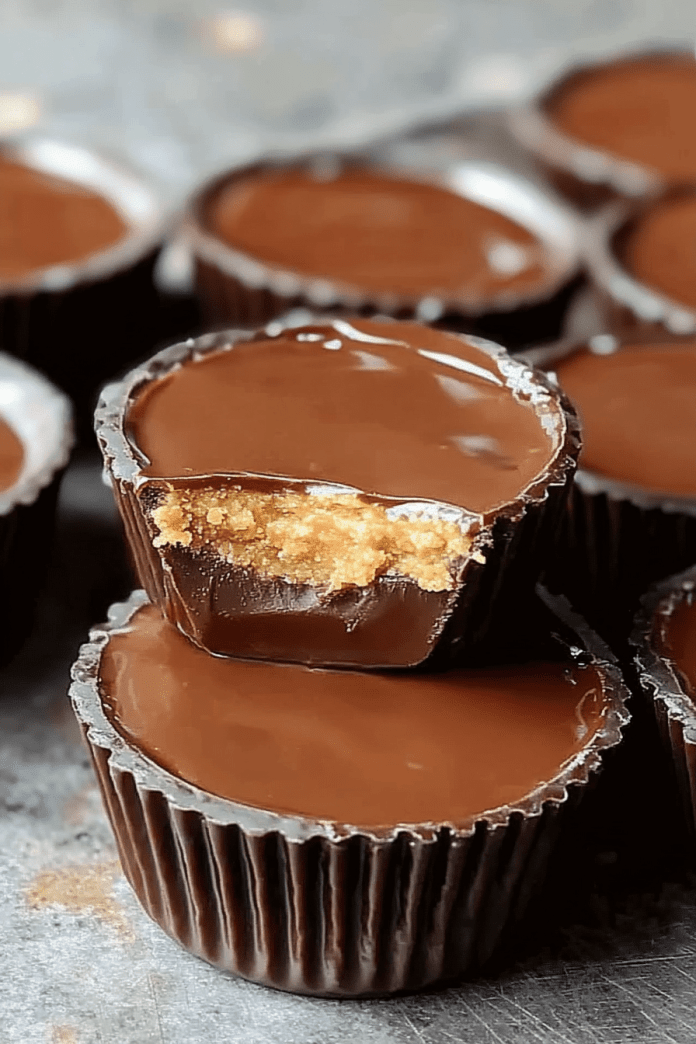
Homemade Chocolate Peanut Butter Cups are a decadent treat that combines creamy peanut butter and rich chocolate with a hint of crunch from a graham cracker base. These no-bake cups are easy to make and perfect for satisfying your sweet tooth or gifting during the holidays.
The layered flavors and textures—from the crumbly base to the creamy peanut butter filling and the glossy chocolate topping—make each bite irresistible. With simple ingredients and minimal effort, you’ll create a crowd-pleasing dessert that rivals any store-bought version.
Why You’ll Love This Recipe
• Easy to Make: Simple ingredients and no baking required.
• Customizable: Adjust sweetness, chocolate type, or peanut butter texture to suit your preferences.
• Perfect for Sharing: Ideal for parties, gifts, or keeping on hand for a quick indulgence.

Ingredients
For the Base
• 1 ½ cups graham cracker crumbs (or digestive biscuit crumbs)
• ½ cup unsalted butter, melted
• ¼ cup granulated sugar
• ½ cup peanut butter (smooth or crunchy)
For the Filling
• ¾ cup peanut butter (smooth or crunchy)
• ¼ cup powdered sugar
• ½ tsp vanilla extract (optional)
For the Chocolate Topping
• 1 ½ cups semi-sweet chocolate chips (or chopped chocolate)
• 2 tbsp unsalted butter
Instructions
Step 1: Prepare the Base
1. In a medium bowl, combine the graham cracker crumbs, melted butter, sugar, and peanut butter.
2. Mix until the ingredients are fully combined and the texture resembles damp sand.
3. Press the mixture into the bottom of a muffin tin, small tart pans, or silicone molds. Use a spoon or your fingers to press it down firmly.
4. Refrigerate for 20-30 minutes to allow the base to set.
Step 2: Prepare the Filling
1. In a small bowl, combine the peanut butter, powdered sugar, and vanilla extract (if using).
2. Mix until smooth and creamy.
3. Once the base has set, spoon a dollop of the peanut butter mixture onto each base, spreading it evenly.
Step 3: Prepare the Chocolate Topping
1. In a microwave-safe bowl, combine the chocolate chips and butter.
2. Microwave in 30-second intervals, stirring between each, until the chocolate is melted and smooth.
3. Pour the melted chocolate over the peanut butter layer in each cup, ensuring the filling is completely covered.
Step 4: Set the Peanut Butter Cups
1. Place the muffin tin or molds in the refrigerator for 1-2 hours, or until the chocolate is fully set and firm.
Step 5: Serve
1. Once set, carefully remove the peanut butter cups from the molds. If using a muffin tin, gently run a knife around the edges to loosen them.
2. Serve chilled or at room temperature.
Tips
• Silicone Molds: Use silicone molds for easy removal and a smooth finish.
• Customize Flavors: Add a pinch of sea salt to the peanut butter filling or sprinkle flaky salt on top of the chocolate for a salted caramel vibe.
• Vegan Option: Use vegan butter, dairy-free chocolate, and plant-based graham crackers.
• Storage: Keep refrigerated for up to a week or freeze for up to 2 months for a longer shelf life.
Storage Options
• Refrigeration: Store in an airtight container in the refrigerator for up to 7 days.
• Freezing: Freeze individually wrapped cups in a freezer-safe container for up to 2 months. Thaw in the refrigerator before serving.
Chocolate Peanut Butter Cups are an easy, delicious way to indulge in the perfect combination of sweet and salty. Whether you’re making them for yourself or sharing with loved ones, these treats are sure to delight!


