")
There is a profound and simple comfort to be found in a bowl of homemade chocolate pudding, a dessert that feels both nostalgic and timeless. This recipe is a testament to the fact that the most satisfying treats often come from the most basic of ingredients, transformed through a little patience and care. Unlike its instant, powdered counterpart, this pudding is crafted from scratch, creating a dessert with a deep, complex chocolate flavor and an luxuriously silken texture that is simply unattainable from a box. The process of whisking the cocoa-infused mixture as it thickens on the stovetop is a ritual in itself, filling your kitchen with a rich, chocolatey aroma that builds anticipation for the creamy delight to come.
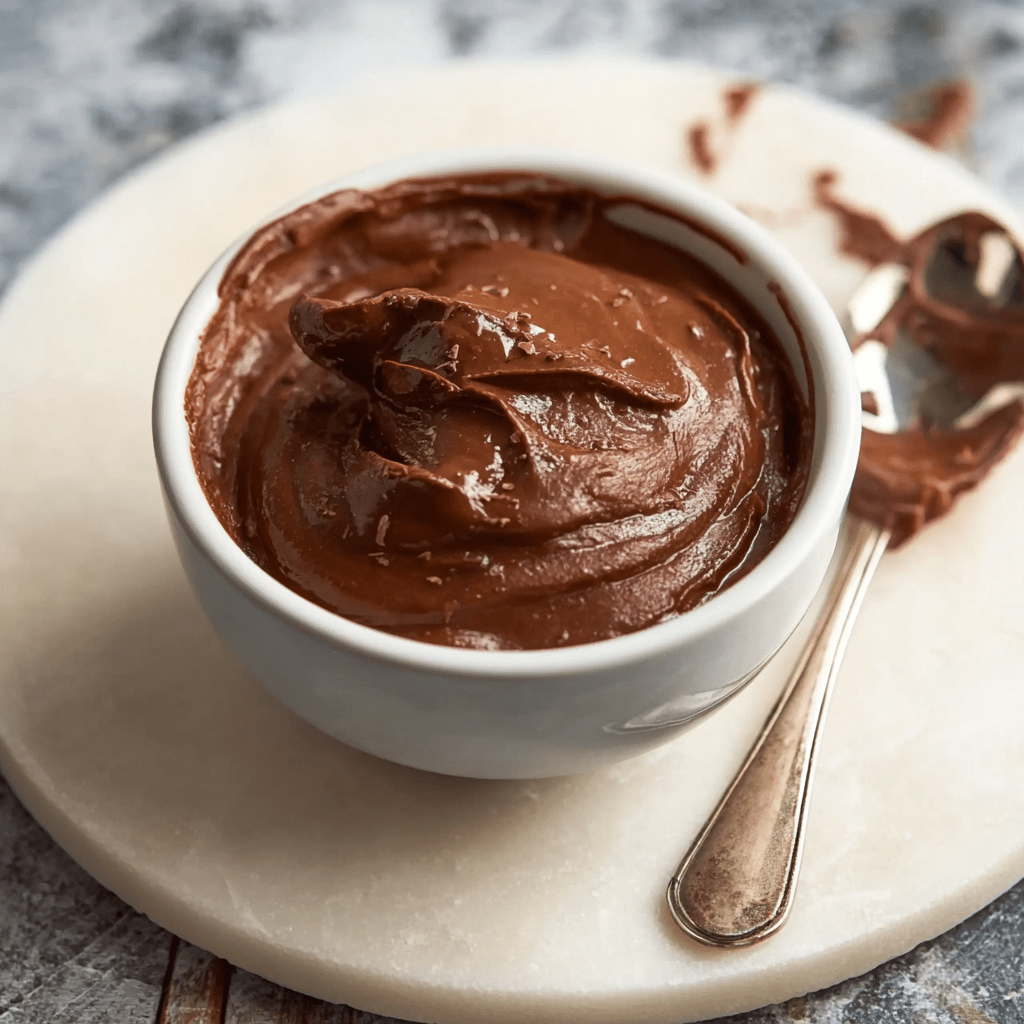
The magic of this pudding lies in its elegant simplicity and the control it gives you over the final product. By starting with a base of cocoa powder, you achieve a pure, intense chocolate essence that is perfectly balanced by the caramel notes of brown sugar and the richness of whole milk. The cornstarch acts as a gentle thickener, requiring constant attention to create a lump-free, velvety consistency. The final stir-ins of butter and vanilla extract are the crowning touches, adding a layer of glossy sheen and aromatic depth that elevates the entire dish. Chilled for several hours until perfectly set, this pudding is a versatile canvas—enjoy it on its own, layer it in parfaits, or use it as a decadent pie filling. It is a humble dessert that speaks volumes, proving that true indulgence doesn’t need to be complicated.
Why You’ll Love This Recipe:
- Deep, Rich Chocolate Flavor: Made with real cocoa powder, this pudding has an intense, authentic chocolate taste that far surpasses any store-bought or instant mix.
- Incredibly Silky Texture: The careful cooking and constant whisking result in a perfectly smooth, creamy, and luxurious pudding that melts in your mouth.
- Surprisingly Simple: With just a handful of pantry staples and one saucepan, this is a straightforward recipe that feels rewarding to master.
- The Ultimate Comfort Food: This pudding is warm, comforting, and nostalgic, making it the perfect dessert for a cozy night in or a satisfying treat for any day of the week.
Ingredients:
- 1 cup packed brown sugar
- 3 tablespoons cornstarch
- ⅛ teaspoon salt
- ⅔ cup unsweetened cocoa powder
- 4 cups whole milk (2% can be used, but whole milk provides a richer result)
- 3 tablespoons unsalted butter
- 1 teaspoon vanilla extract
Instructions:
Step 1: Combine the Dry Ingredients
- In a medium-sized, heavy-bottomed saucepan, sift together the packed brown sugar, cornstarch, salt, and cocoa powder. Sifting is crucial to eliminate any lumps from the cocoa and cornstarch, ensuring your pudding will be perfectly smooth.
Step 2: Incorporate the Milk
- Gradually pour in the milk while whisking continuously. Whisk until the dry ingredients are fully dissolved and the mixture is completely smooth with no visible lumps.
Step 3: Cook to Thicken
- Place the saucepan over medium/medium-low heat. Continue to whisk constantly as the mixture heats up. It is important to keep the mixture moving to prevent the cornstarch from clumping and to stop the milk from scorching on the bottom of the pan. Bring the pudding to a full, rolling boil, which will take several minutes. Once boiling, reduce the heat to a low simmer and continue to cook while whisking for 1 ½ to 2 minutes. The pudding will thicken noticeably. This cooking time is essential to remove the starchy taste from the cornstarch.
Step 4: Finish the Pudding
- Remove the saucepan from the heat. Immediately stir in the unsalted butter and vanilla extract until the butter has completely melted and is fully incorporated into the pudding.
Step 5: Cool and Chill
- Pour the hot pudding into a serving bowl or individual ramekins. To prevent a skin from forming on the surface, press a layer of plastic wrap directly onto the pudding. Allow it to cool to room temperature before transferring it to the refrigerator. Chill for at least 4 hours, or preferably overnight, until the pudding is completely set and cold.
Tips:
- Constant Whisking is Key: Do not leave the pudding unattended while it is on the stove. Constant whisking is the secret to a lump-free, silky texture.
- Heavy-Bottomed Pan: Using a heavy-bottomed saucepan distributes heat more evenly and significantly reduces the risk of the milk scorching.
- Flavor Variations: For a more complex flavor, use half dark cocoa powder and half regular. A pinch of espresso powder can also be added to the dry ingredients to enhance the chocolate flavor without making it taste like coffee.
- Lumps Happen? If you end up with a few lumps, don’t worry. You can pour the finished pudding through a fine-mesh sieve before adding the butter and vanilla to strain them out.
Storage Options:
- Refrigerator: Store the pudding in an airtight container with plastic wrap pressed directly on the surface. It will keep for up to 4 days in the refrigerator.
- Freezing: Freezing is not recommended, as the texture can become grainy and separate upon thawing.
This homemade Chocolate Pudding is a classic dessert that never goes out of style. Its rich, creamy, and deeply chocolatey character is a simple pleasure that is both easy to make and profoundly satisfying to enjoy.