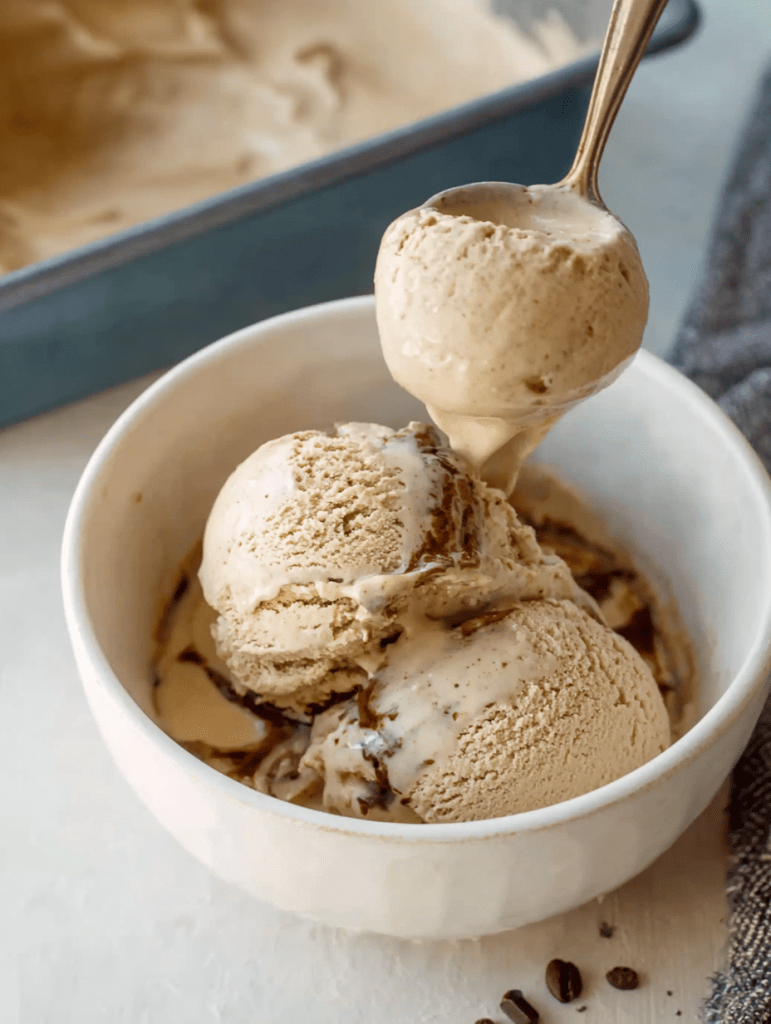
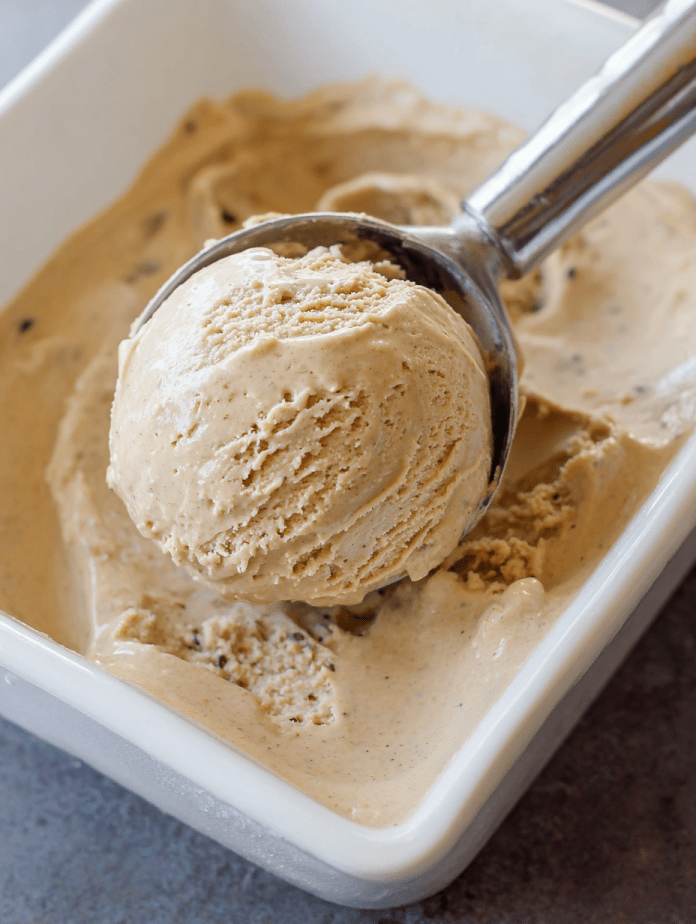
Coffee Ice Cream is rich, velvety, and just the right balance of bold espresso flavor and creamy sweetness. Whether you’re a true coffee aficionado or simply love a grown-up frozen treat, this homemade version delivers a café-quality experience right from your kitchen. The base is a traditional custard made with egg yolks for luxurious texture, blended with high-quality instant coffee that infuses every bite with depth and aroma. It’s perfect on its own, swirled into an affogato, or as the star of a dreamy dessert sundae.
Making ice cream from scratch allows you full control of flavor and texture. The careful tempering of the eggs ensures a silky base, while chilling the mixture overnight develops even deeper flavor before churning. This method may take time, but the results speak for themselves. It’s smoother, creamier, and far more flavorful than anything from a store—an indulgent reward for a little patience.
Why You’ll Love This Recipe
• Bold, café-style coffee flavor in every spoonful
• Ultra-creamy, custard-style texture
• Free of artificial ingredients or stabilizers
• Great base for mix-ins like dark chocolate or toffee
• Ideal for make-ahead desserts or special occasions

Ingredients
1 cup granulated sugar
1½ cups whole milk
1½ cups heavy cream
2 pinches salt
6 large egg yolks
1 teaspoon vanilla extract
1½ tablespoons instant coffee (high quality recommended)
Instructions
Step 1: Make the Custard Base
In a large saucepan, combine the sugar, milk, cream, and salt. If available, attach a clip-on thermometer to monitor the temperature. Heat the mixture over medium, stirring frequently until the sugar is dissolved and the mixture is hot but not boiling.
Step 2: Temper the Egg Yolks
In a separate medium bowl, whisk the egg yolks. Slowly ladle a small amount of the hot milk mixture into the yolks while whisking continuously. Repeat 2–3 times until the yolks are warmed. Gradually pour the tempered yolks back into the saucepan with the remaining milk mixture, whisking steadily to prevent curdling.
Step 3: Thicken the Custard
Return the saucepan to medium-low heat. Stir constantly with a wooden spoon or rubber spatula, scraping the sides and bottom of the pan, until the custard thickens enough to coat the back of a spoon and registers between 170–180°F on a thermometer. Remove from heat.
Step 4: Add Flavor and Chill
Whisk in the vanilla extract and instant coffee until fully dissolved. Strain the custard through a fine mesh sieve into a clean bowl to remove any cooked bits. Cover and refrigerate for several hours or overnight until fully chilled.
Step 5: Churn and Freeze
Pour the chilled custard into your ice cream maker and churn according to the manufacturer’s instructions. When the texture reaches soft-serve consistency, you may add finely chopped chocolate or other mix-ins if desired. Continue churning briefly until incorporated.
Step 6: Freeze to Set
Transfer the churned ice cream to a freezer-safe container. Smooth the top, cover tightly, and freeze for at least 6 hours or overnight until firm enough to scoop.
Tips for Success
• Use premium instant coffee or espresso powder for best flavor
• Do not rush the custard—slow and steady ensures silky texture
• Chill the base thoroughly before churning for better consistency
• Add mix-ins at the end of churning to keep the texture smooth
Storage Options
Store in an airtight freezer-safe container for up to 2 weeks. For best texture, allow the ice cream to soften for 5–10 minutes at room temperature before scooping.


