")
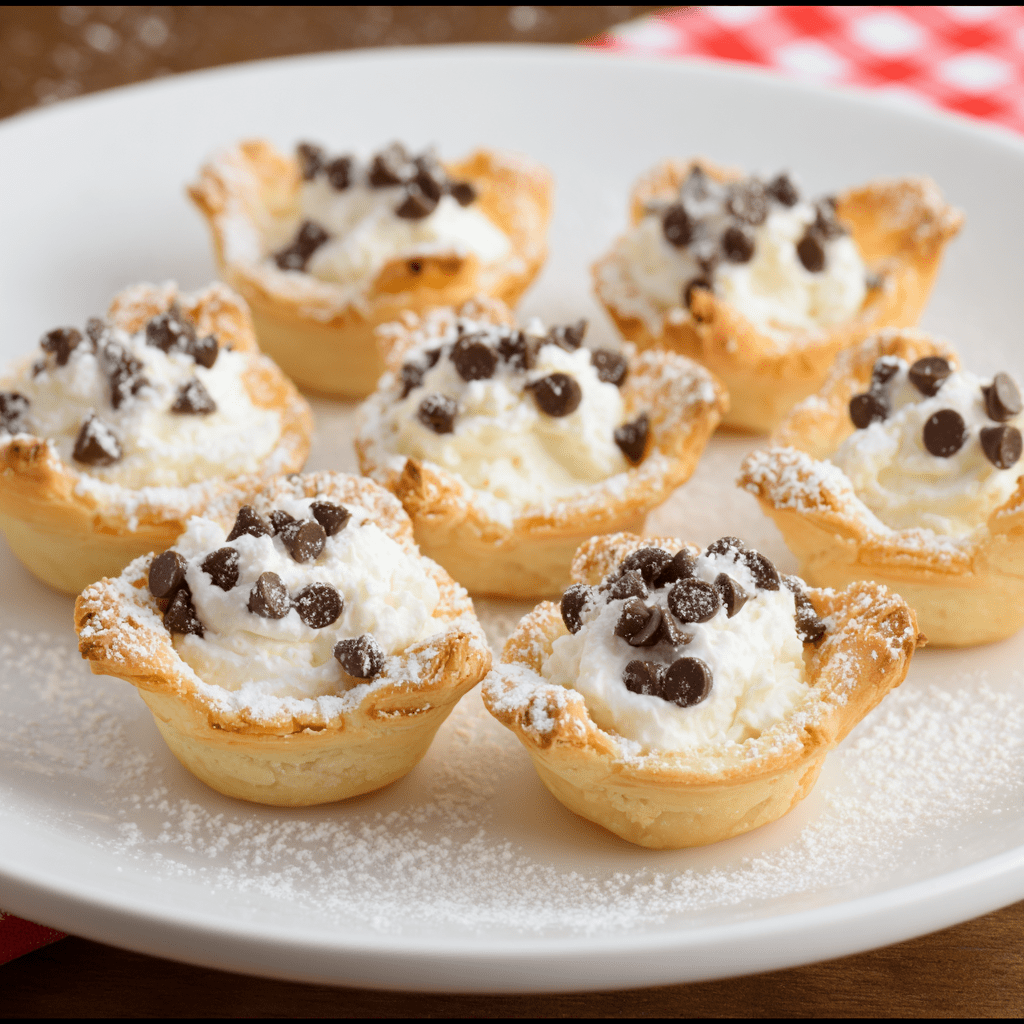
Mini Cannoli Cups are a delightful and elegant reimagining of the classic Italian pastry, transforming its iconic flavors into a charming, bite-sized dessert that is perfect for parties, gatherings, or a sophisticated treat. This recipe masterfully simplifies the traditional cannoli-making process by using pre-made pie crust as a vessel, creating a flaky, buttery cup that bakes into a golden, crisp shell. The filling is a beautifully authentic blend of whole-milk ricotta cheese, gently sweetened and brightened with a hint of citrus zest and vanilla, resulting in a creamy, lush texture that is far superior to any pre-made filling. The final dusting of powdered sugar and sprinkle of miniature chocolate chips or chopped pistachios provide the perfect traditional finish, making each cup a miniature masterpiece that captures the essence of a cannoli in a single, delightful bite.
The true brilliance of this recipe lies in its effortless elegance and make-ahead convenience. Unlike traditional cannoli shells that require special tubes and frying, these cups are baked in a standard mini muffin tin, making them accessible to any home cook. The process of rolling the cinnamon-sugar directly into the pie crust not only adds flavor but also creates a sparkling, slightly caramelized texture that is irresistibly crisp. The components can be prepared separately ahead of time—the cups baked and stored at room temperature, the filling chilled in a piping bag—allowing you to assemble them just before serving to ensure the shells remain perfectly crisp. Mini Cannoli Cups are more than just a dessert; they are a versatile, crowd-pleasing confection that brings a touch of Italian bakery charm to your table with minimal fuss and maximum reward.
Why You’ll Love This Recipe:
- Elegant and Impressive: These mini cups look professionally made and are perfect for entertaining, offering a sophisticated, individual dessert option.
- Simplified Classic: You get all the authentic flavor of a cannoli without the need for deep-frying or special equipment.
- Perfect Make-Ahead Components: Both the shells and the filling can be prepared a day in advance, making final assembly quick and easy.
- Crowd-Pleasing Fun: Their bite-sized nature makes them a hit at parties, and they are easy for guests to enjoy without utensils.
Ingredients:
For the Cannoli Cups:
- 1 box (14.1 oz, 2-count) refrigerated pie crusts, softened as directed
- 3 tablespoons turbinado sugar (raw sugar)
- 1 teaspoon ground cinnamon
For the Filling:
- 1 container (15 oz) whole-milk ricotta cheese
- ½ cup powdered sugar, plus more for dusting
- 2 tablespoons granulated sugar
- 1 teaspoon finely grated orange or lemon zest
- ½ teaspoon vanilla extract
For the Garnish:
- ¼ cup miniature semisweet chocolate chips or finely chopped pistachios
Instructions:
Step 1: Preheat and Prepare
Preheat your oven to 425°F (220°C). Unroll the two pie crusts onto a lightly floured surface.
Step 2: Create the Spiced Crust
In a small bowl, mix the turbinado sugar and cinnamon. Sprinkle this mixture evenly over the surface of both pie crusts. Using a rolling pin, gently roll over the crusts to press the sugar and cinnamon into the dough.
Step 3: Cut and Shape the Cups
Using a 3-inch round cookie cutter, cut out circles from the pie crusts. You should get about 12-14 circles from each crust. Gently press each circle into the cups of a mini muffin tin, shaping them to form a small cup.
Step 4: Bake to Golden Perfection
Bake for 8-10 minutes, or until the edges are golden brown and crisp. Keep a close watch, as they can brown quickly. Remove the pan from the oven and let the cups cool in the tin for 5 minutes before carefully transferring them to a wire rack to cool completely.
Step 5: Prepare the Filling
While the cups are cooling, prepare the filling. Place the ricotta cheese in a fine-mesh strainer over a bowl for 10-15 minutes to drain off any excess liquid (this step is crucial for a thick, non-watery filling). In a medium bowl, combine the drained ricotta, powdered sugar, granulated sugar, citrus zest, and vanilla extract. Beat with an electric mixer on medium speed until the mixture is smooth and creamy. Transfer the filling to a piping bag or a zip-top bag with a corner snipped off. Refrigerate until ready to use.
Step 6: Assemble and Garnish
Just before serving, pipe the chilled ricotta filling into the completely cooled cannoli cups. Garnish the tops with miniature chocolate chips or chopped pistachios. Give the assembled cups a light dusting of powdered sugar and serve immediately.
Tips:
- Drain the Ricotta: Do not skip draining the ricotta. This is the single most important step for achieving a thick, creamy filling that won’t make the pastry shells soggy.
- Prevent Soggy Shells: Only fill the cups right before you plan to serve them. The moisture from the filling will soften the crisp shells over time.
- Re-roll the Dough: Don’t waste the scraps! Gently gather and re-roll the dough to cut out more circles.
- Zest is Best: The citrus zest is not optional for an authentic flavor—it provides a essential bright note that cuts through the richness of the cheese and chocolate.
Storage Options:
- Component Storage: Store the completely cooled, unfilled cannoli cups in an airtight container at room temperature for up to 2 days. The filling can be stored separately in the refrigerator for up to 3 days.
- Assembled: Once assembled, the cups are best enjoyed within a few hours.
- Freezing: The baked and cooled cannoli cups freeze very well. Store in a freezer-safe bag for up to 1 month. Thaw at room temperature before filling. The filling does not freeze well.