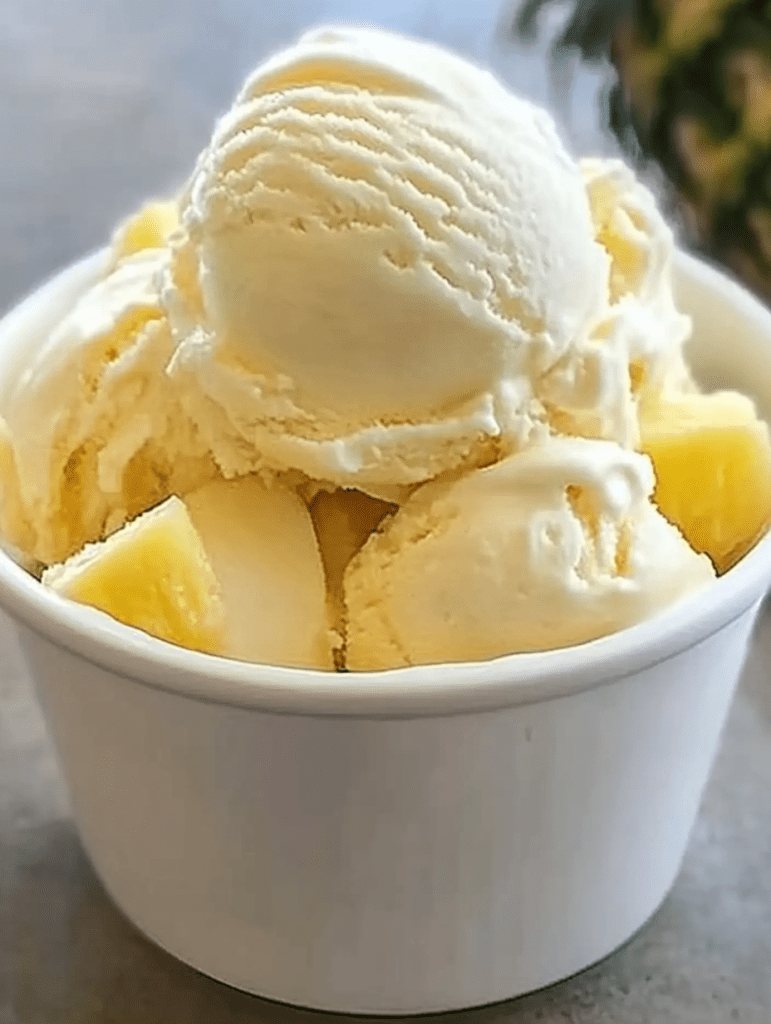
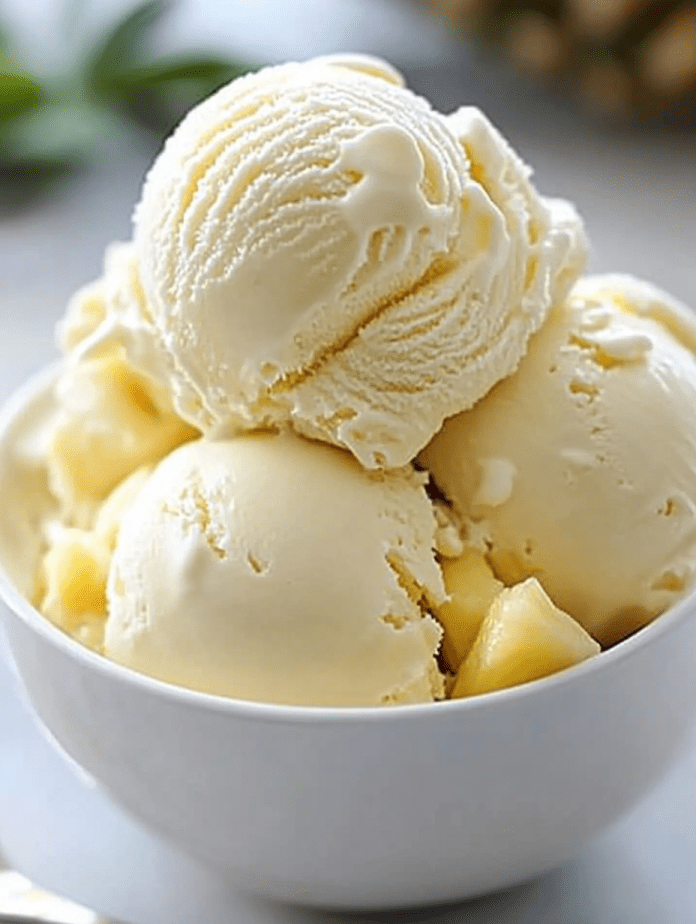
Pineapple Ice Cream is a tropical treat that brings the vibrant flavors of summer to your table all year round. Its creamy texture combined with the juicy sweetness of pineapple creates a refreshing dessert that’s perfect for any occasion. Whether you’re relaxing by the pool, hosting a luau-themed party, or simply indulging in a midweek pick-me-up, this Pineapple Ice Cream delivers a luscious, tropical escape with every bite.
This recipe is delightfully simple, requiring only a handful of ingredients and no special equipment beyond a mixer. The heavy whipping cream gives the ice cream its rich, velvety texture, while the sweetened condensed milk adds sweetness and ensures a smooth consistency. The crushed pineapple brings the dessert to life with bursts of fruity flavor in every spoonful. This no-churn ice cream is perfect for those looking to enjoy homemade frozen desserts without the hassle of an ice cream maker.
Why You’ll Love This Recipe
• No-Churn Convenience: You don’t need an ice cream maker to whip up this creamy treat.
• Tropical Bliss: The crushed pineapple adds a bright and refreshing flavor that pairs beautifully with the creamy base.
• Simple Ingredients: Made with just a few pantry staples, it’s quick and easy to prepare.

Ingredients
For the Ice Cream Base:
• 2 cups heavy whipping cream
• 14 ounces sweetened condensed milk
• 1/2 teaspoon vanilla extract
For the Pineapple Flavor:
• 2 cups crushed pineapple or a 16-ounce can, drained
Instructions
Step 1: Whip the Cream
1. In a large mixing bowl, add the heavy whipping cream.
2. Use an electric hand mixer or a stand mixer with a whisk attachment to whip the cream on medium speed until soft peaks form. This should take about 3-5 minutes.
Step 2: Combine the Base Ingredients
1. Add the sweetened condensed milk and vanilla extract to the whipped cream.
2. Mix on low speed until the ingredients are fully combined, forming a smooth and creamy mixture.
Step 3: Add the Pineapple
1. Gently fold in the crushed pineapple using a spatula.
2. Ensure the pineapple is evenly distributed throughout the mixture for consistent flavor in every bite.
Step 4: Prepare for Freezing
1. Pour the ice cream mixture into a freezer-safe dish, spreading it evenly to ensure uniform freezing.
2. Cover the dish with a lid or plastic wrap to prevent ice crystals from forming.
Step 5: Freeze the Ice Cream
1. Place the dish in the freezer and let the ice cream freeze for 4 to 8 hours, or until it reaches your desired level of firmness.
2. For a firmer consistency, let it freeze overnight.
Step 6: Serve and Enjoy
1. Once frozen, scoop the Pineapple Ice Cream into bowls or cones.
2. Garnish with fresh pineapple chunks or a sprig of mint for an extra tropical flair.
Tips
• Drain the Pineapple Thoroughly: Excess liquid can make the ice cream icy rather than creamy. Press the pineapple lightly to remove as much juice as possible before folding it into the base.
• Use Full-Fat Ingredients: For the creamiest texture, opt for full-fat heavy cream and sweetened condensed milk.
• Add Texture: Mix in shredded coconut or finely chopped nuts for a delightful crunch.
Storage Options
• Freezer Storage: Keep the ice cream in a tightly sealed, freezer-safe container for up to 2 weeks.
• Avoid Freezer Burn: Place a layer of plastic wrap directly on the surface of the ice cream before sealing the container to prevent freezer burn.
• Softening Before Serving: Let the ice cream sit at room temperature for 5-10 minutes before scooping for easier serving.
Pineapple Ice Cream is the ultimate tropical indulgence, combining creamy richness with bursts of fruity freshness. It’s an easy-to-make dessert that’s sure to brighten your day!


