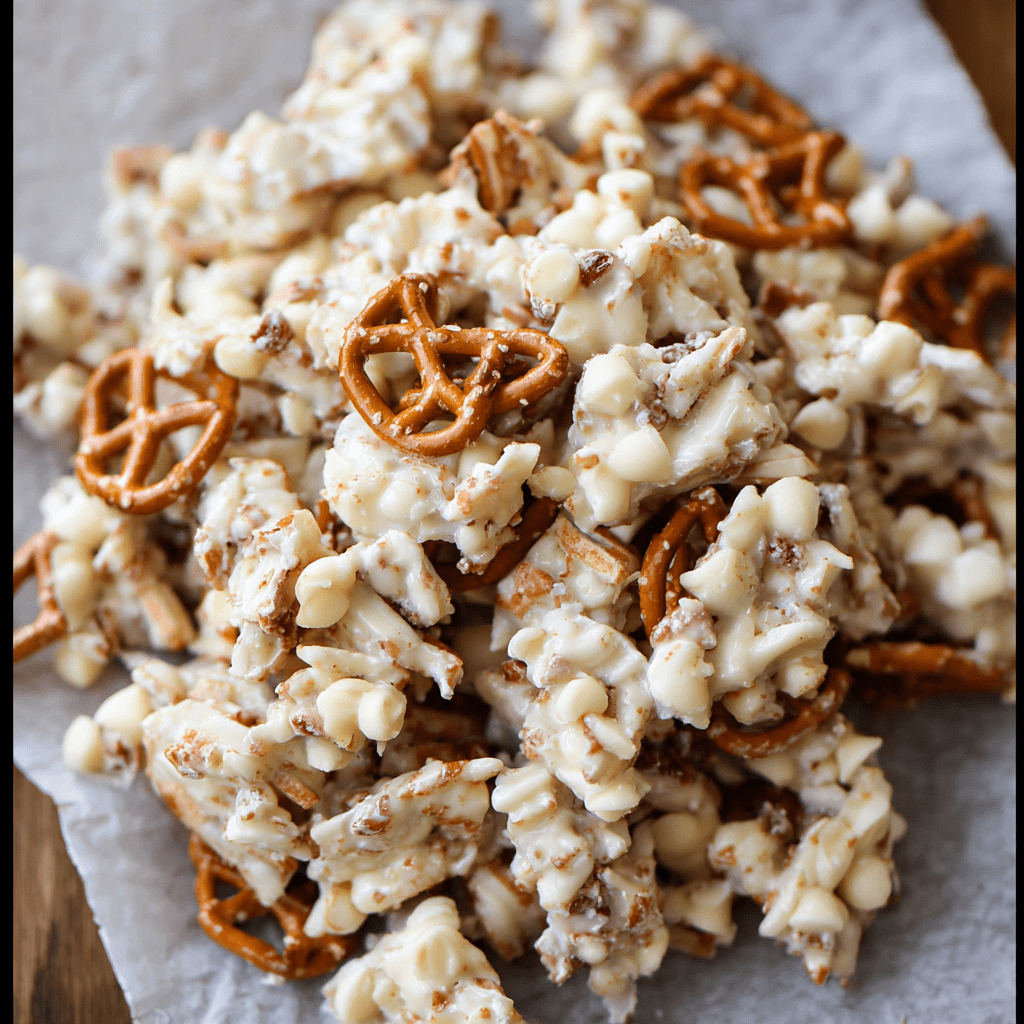
Ragtag Candies are the ultimate no-fuss, crowd-pleasing treat, a delightful concoction that celebrates the beautiful harmony of contrasting textures and flavors. This recipe is a masterclass in simplicity, transforming a handful of commonplace pantry staples into an addictive snack that is simultaneously sweet, salty, crunchy, and creamy. Unlike finicky tempered chocolates or precise baked goods, this recipe is forgiving and fast, making it the perfect project for novice cooks, busy parents, or anyone seeking a quick and satisfying culinary win. The name itself evokes a charming, thrown-together quality, but the final product is a perfectly balanced cluster that feels both whimsical and thoughtfully crafted. It’s the kind of treat that disappears from a party platter in minutes and sparks requests for the recipe from every guest.
The true genius of Ragtag Candies lies in their versatility and universal appeal. They require no special equipment beyond a microwave and a bowl, and the entire process from start to finish can be completed in well under thirty minutes. This makes them an ideal last-minute gift, a fun activity to do with children, or a simple solution for potlucks and bake sales. The combination of crisp cereal, salty pretzels, and rich peanuts bound together by sweet white chocolate creates a symphony in every bite, satisfying multiple cravings at once. They are unpretentious, deeply satisfying, and proof that the most beloved recipes often come not from complex techniques, but from a clever and delicious combination of simple, high-quality ingredients.
Why You’ll Love This Recipe:
- Textural Paradise: Experience the incredible contrast of crunchy cereal, crispy pretzels, and firm peanuts all smoothed together by creamy, melted white chocolate.
- Effortlessly Simple: With no baking required and a simple melting method, this is one of the easiest candy recipes you will ever make, with virtually no room for error.
- Infinitely Customizable: The ingredient list is a template. Swap out the peanuts for almonds, the pretzels for popcorn, or add dried fruit—the possibilities are endless.
- Perfect for Any Occasion: Whether it’s a holiday gift, a school event, a movie night snack, or a party favor, these candies are always a hit with both kids and adults.

Ingredients:
- 1 (12 oz) bag white chocolate chips (high-quality chips melt better and provide a superior coating)
- 4 cups rice krispie cereal (this provides the classic light, airy crunch)
- 3 cups pretzel sticks, slightly crushed (they add a crucial salty, sturdy crunch)
- 1 ½ cups roasted, salted peanuts (the salty, savory element that balances the sweet chocolate)
Instructions:
Step 1: Prepare the Baking Sheet
- Begin by lining a standard-sized baking sheet with parchment paper or a silicone baking mat. This is a critical step, as it prevents the candies from sticking and allows for easy removal once set. Set the prepared sheet aside while you work on the other components.
Step 2: Combine the Dry Ingredients
- Take a large mixing bowl—larger than you think you need to allow for easy stirring later. Add the 4 cups of Rice Krispie cereal, the 3 cups of slightly crushed pretzel sticks, and the 1 ½ cups of roasted peanuts. Use a spoon or your hands to toss these dry ingredients together gently, ensuring they are evenly distributed throughout the mixture. This ensures every cluster will have a bit of everything.
Step 3: Melt the White Chocolate
- Pour the entire 12-ounce bag of white chocolate chips into a medium, microwave-safe bowl. Microwave on high for 30 seconds. Remove the bowl (it may be warm) and stir thoroughly. Return it to the microwave for another 30 seconds and stir again. At this point, the chocolate should be nearly melted. Continue heating in 15-second increments, stirring vigorously after each, until the chocolate is completely smooth and fluid. Be careful not to overheat, as white chocolate is prone to seizing and becoming grainy.
Step 4: Combine Chocolate and Dry Mix
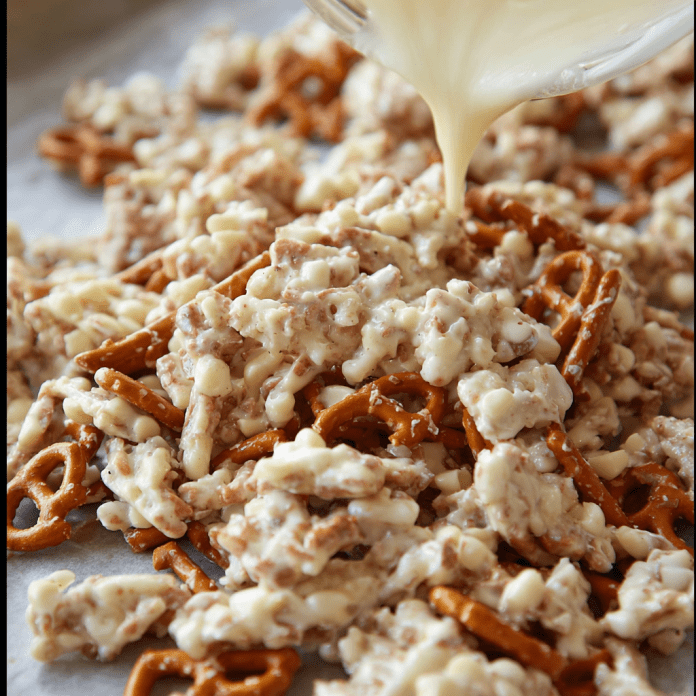
- Pour the smoothly melted white chocolate directly over the cereal, pretzel, and peanut mixture in the large bowl. Using a sturdy spatula, begin to fold and stir the ingredients together. Work quickly but gently, turning the mixture from the bottom up to ensure every component gets a thorough and even coating of the luxurious white chocolate.
Step 5: Form the Candy Sheet
- Immediately transfer the coated mixture onto your waiting parchment-lined baking sheet. Use the spatula or your hands (lightly greased with cooking spray to prevent sticking) to press the mixture down into a relatively even layer. You can make it as thick or as thin as you prefer, but a uniform thickness of about an inch will help it set consistently.
Step 6: Allow to Set
- Leave the baking sheet in a cool, dry area to allow the white chocolate to fully harden. This process can take 1 to 2 hours at room temperature. For a faster set, you can place the entire sheet in the refrigerator for about 20-30 minutes. The candy is ready when the chocolate is firm to the touch and no longer glossy or soft.
Step 7: Break and Store
- Once the large slab is completely set, lift the parchment paper to remove it from the baking sheet. Then, using your hands, break the slab into rustic, irregularly-sized pieces—this “ragged” look is part of their charm! Alternatively, you can use a knife to cut them into neater squares if desired.
Tips:
- Prevent Seizing: Ensure all your bowls and utensils are completely dry. Even a small drop of water can cause the white chocolate to seize and become clumpy.
- Customization is Key: Feel free to create your own signature mix. Try using milk or dark chocolate chips instead. Add in ½ cup of mini M&M’s for color, or swap the peanuts for other nuts like pecans or almonds. A sprinkle of flaky sea salt over the top before it sets elevates the sweet-and-salty profile.
- Crushing Pretzels: To crush the pretzel sticks, place them in a zip-top bag and use a rolling pin or the bottom of a heavy pan to break them into small, bite-sized pieces. You want a variety of sizes for the best texture.
- Working Quickly: White chocolate begins to set as it cools, so it’s important to work with efficiency once it’s melted. Have your dry mix ready to go before you even start melting the chocolate.
Storage Options:
- Airtight Container: Store the completely set Ragtag Candy pieces in an airtight container at room temperature. They will stay fresh and maintain their crisp texture for up to 1 week. Do not refrigerate for long-term storage, as this can introduce moisture and make the cereal stale.
- Single Layer: For the best results, place a sheet of parchment paper between layers in the container to prevent the pieces from sticking together.
- Gifting: These candies package beautifully in cellophane bags tied with a ribbon or in decorative tins, making for a wonderfully homemade and thoughtful gift.
Ragtag Candies are a testament to the idea that the whole can be greater than the sum of its parts. This effortlessly simple recipe yields a treat that is irresistibly crunchy, perfectly balanced between sweet and salty, and guaranteed to bring joy to anyone who tries it. Enjoy the process of creating these delightful clusters and the even greater pleasure of sharing them!


