
")
7 easy steps that will prevent your cheesecake water bath from leaking. Make a beautiful, creamy cheesecake with no cracks using this simple water bath method.
Today I am discussing a very important topic – how to prevent your cheesecake water bath from leaking. Water baths are totally necessary with cheesecake (at least most of the time), but boy are they a pain. Why do I think they are necessary, you might ask? Well often without one a cheesecake will brown around the edges, be a little drier, fall in the center while cooling and most likely crack. I prefer to avoid all of those things, so I use a water bath. If you are cool with cracks and such, by all means avoid the water bath. But if you’re using the water bath, leaks aren’t fun. And have you ever met a springform pan that doesn’t leak? Because I haven’t.
Fortunately I discovered a little secret a few months ago and today I finally am sharing it. Ever since then, I’ve yet to have a water bath leak. It’s the best. So let’s just go ahead and walk through the whole process of baking a cheesecake, beginning to end (secret included).
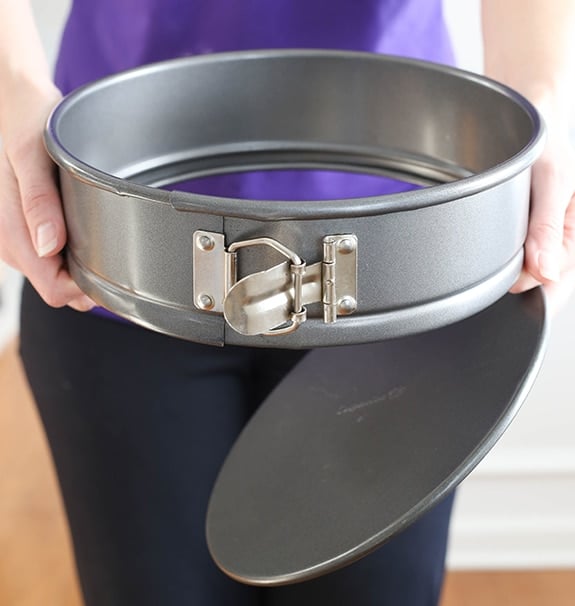
Step 1: You need a springform pan.
You may totally be rolling your eyes at me right now because, duh. But not everyone knows that and not everyone knows what one is. My mom was one of those people just a couple short years ago. So for those who aren’t aware, this is a springform pan. The bottom is removable and it’s got a spring on the side that releases.
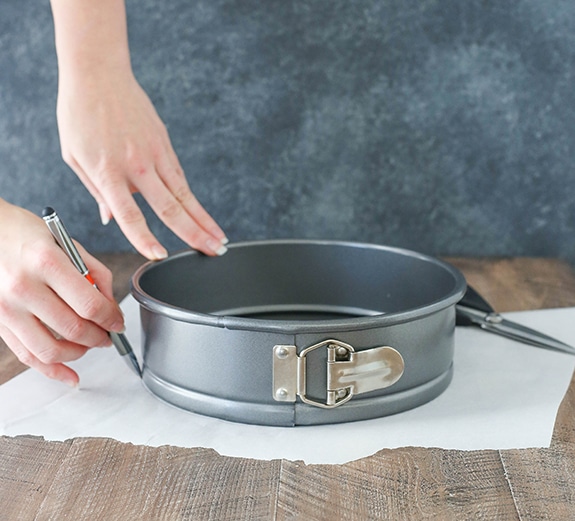
Step 2: Line the bottom and grease the sides of the pan.
You don’t have to line the bottom, but it’s what I do. It keeps the cheesecake from sticking to the bottom. Occasionally I remove my cheesecake from the bottom of the pan when I put it on a cake stand and lining the bottom allows me to do that successfully. Greasing the sides helps the crust to not stick to the sides.
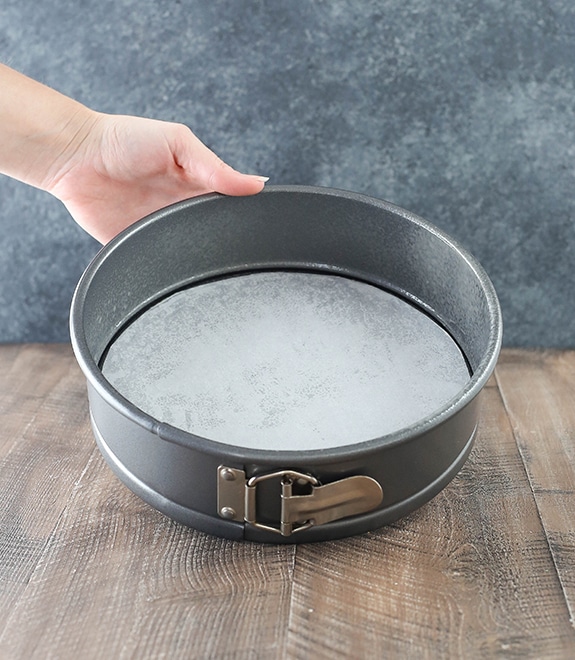
Here’s what it all looks like.
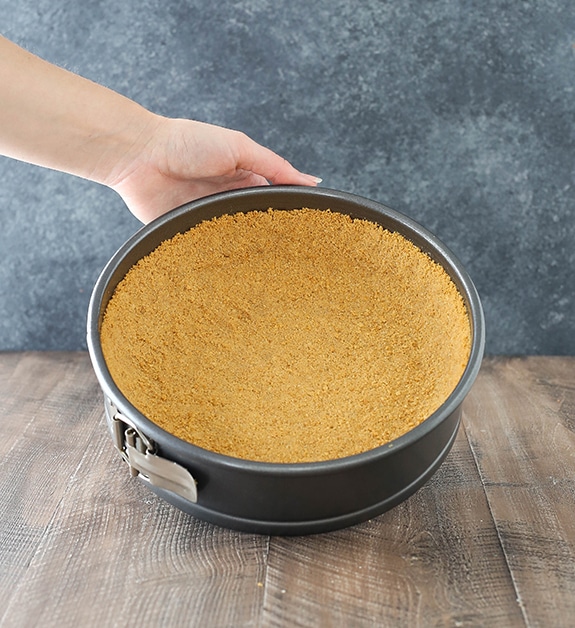
Step 3: Make and bake your crust.
I’m not going to go through the whole crust process today, but here is what mine looks like all baked and ready to go.
Step 4: Add your batter to the pan.
Another “duh” moment, I know. No tricks here.

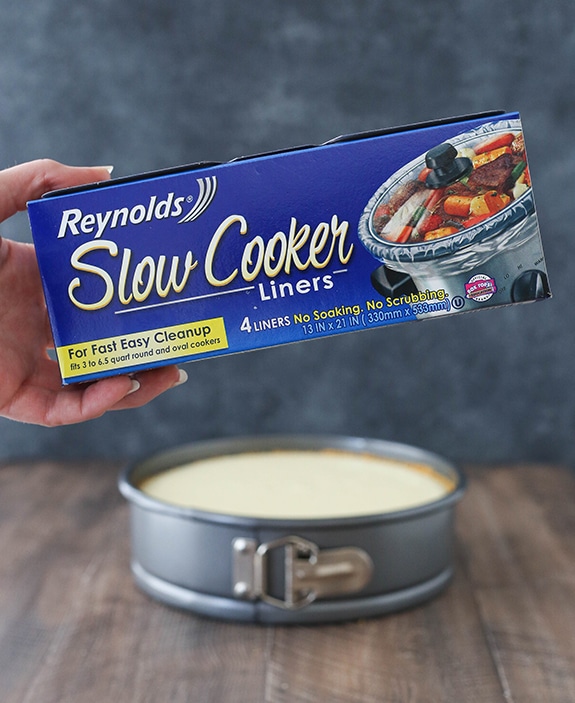
Step 5: Slow cooker liners!
My secret sauce! These little baggies are made to stand up to liquid and high heat in your slow cooker, so why not use them in your water bath?! It’s the best ever and NEVER lets water through.
Now let’s talk for a second about why this is necessary. We know we don’t want our water bath to leak, but WHY DOES IT?! Well aluminum foil, when folded and crinkled around the pan, gets teeny tiny little tears. You can barely see them, but they’re there. And the water knows it and gets through. Plastic bags don’t have this problem.
The only thing to deal with is the fact that these suckers are big. Much bigger than we really need.
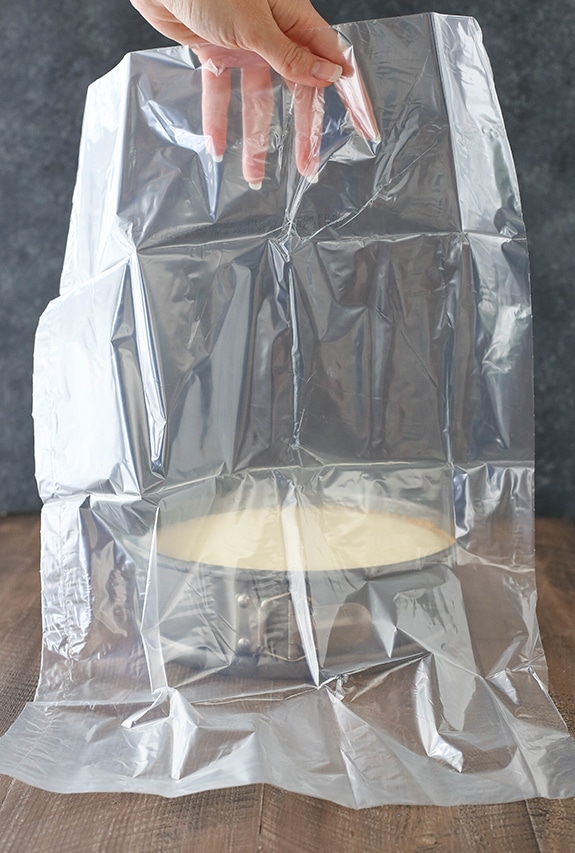
So here’s what you do. Spread it out on the counter.
Place your cheesecake in the center.

Doesn’t it look happy?
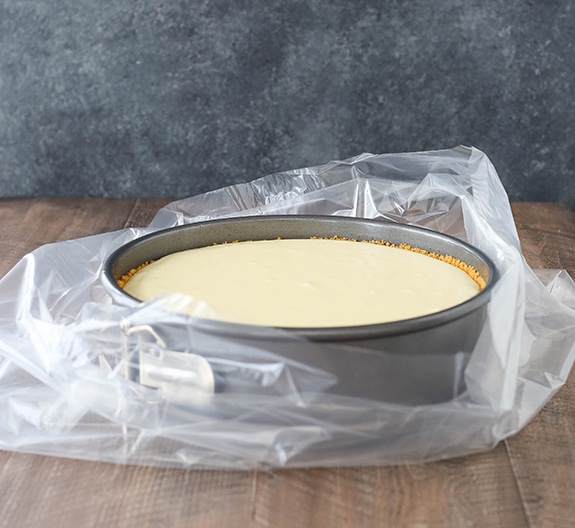
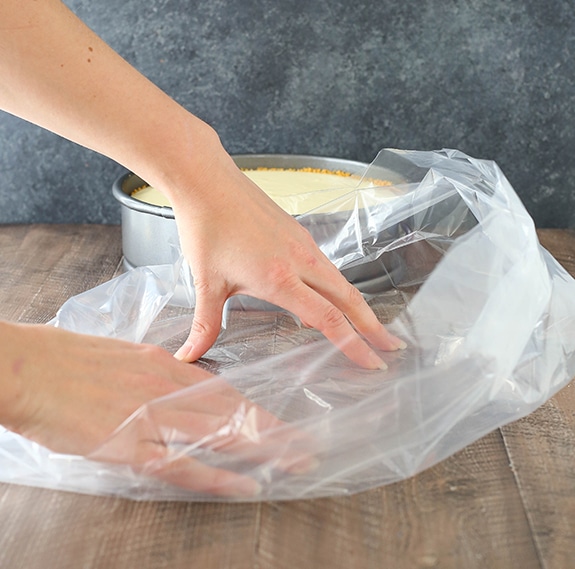
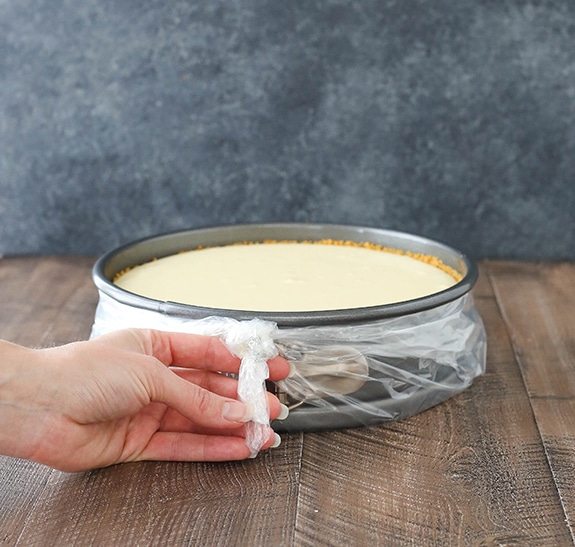
Grab all that excess baggage and wind it up.
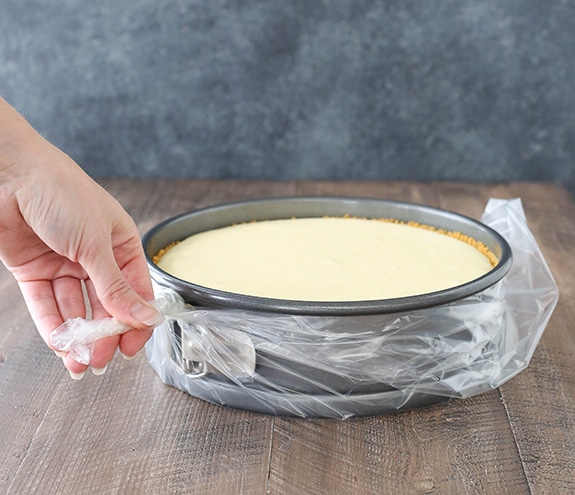
Tie that sucker in a knot. Try to keep the top of the bag right under the rim of the pan, just to be sure no water will get through.
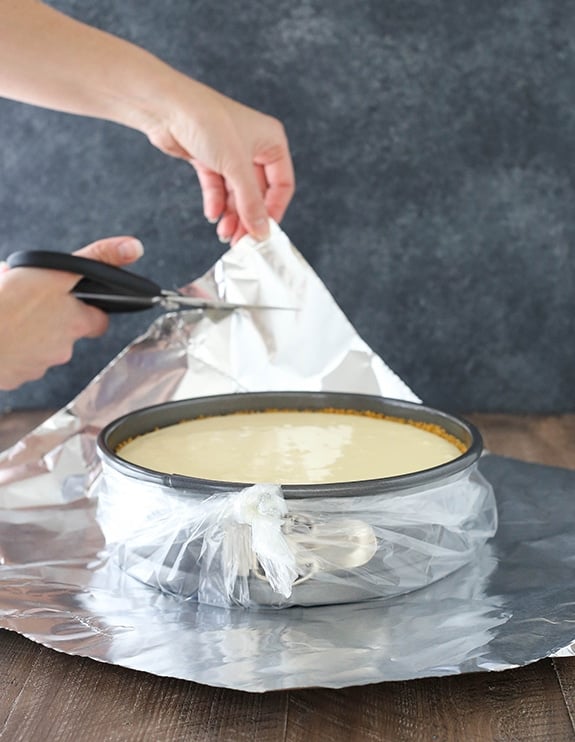
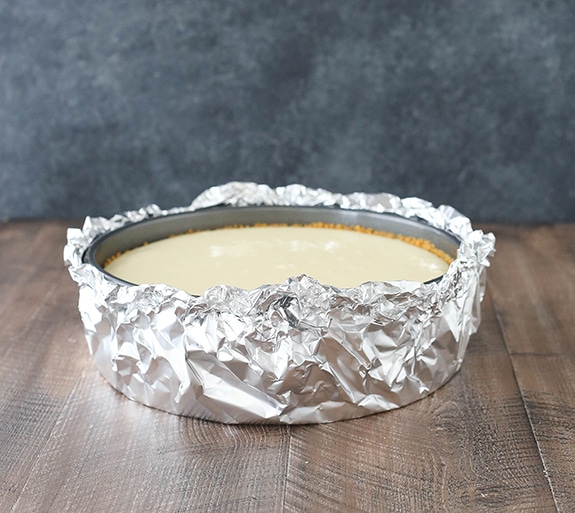
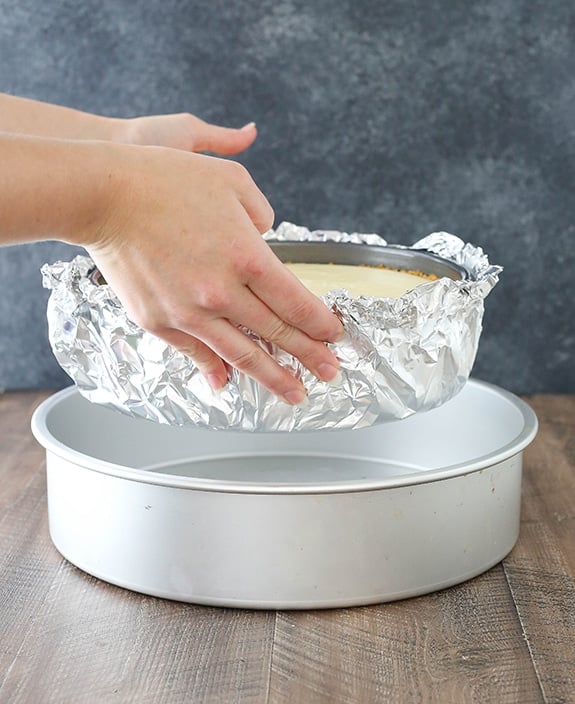
Step 6: Aluminum foil.
I add my aluminum foil for double coverage. The foil can more easily be molded to come up over the edges of the pan, further assuring that no water gets through.
I do trim off the corners of the foil. So much foil.
Step 7: Set your cheesecake pan inside another larger pan.
You can use a roasting pan or whatever works. I happen to have many rather large cake pans around so I use one of those.
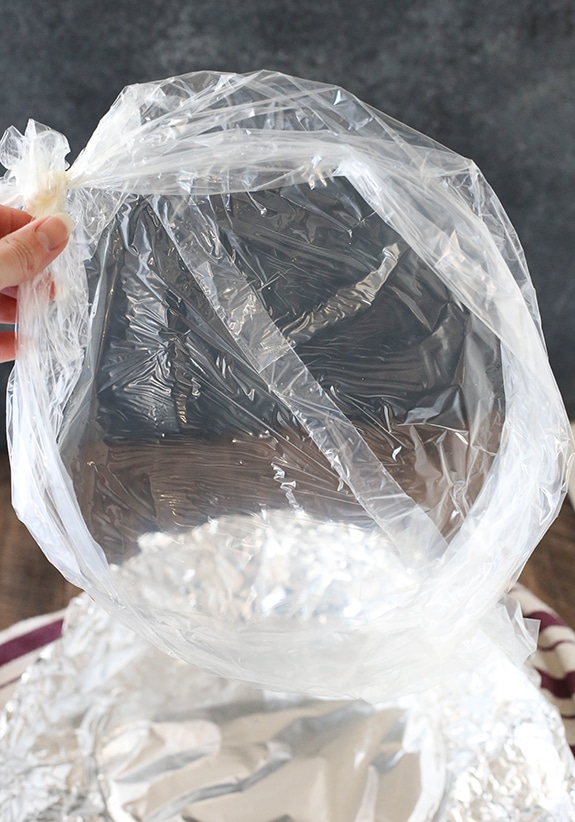
I don’t have photos of myself adding water to the pan, but that’s next. You want to fill in the space between the pans with warm water, then bake. Once the cheesecake has baked, it’s time for the big reveal!!

Would you look at that?! Totally dry!! Not a drop of water on that baggie. And there wasn’t a single drop on the cheesecake either. I don’t have the finished photo of the cheesecake to share because the cheesecake in the pictures is actually from the cookbook (see my Big Announcement post) I’m working on so it’s a secret. I share one, I keep another. You’re welcome. 🙂 The important thing is – look at that dry bag!! SO DRY!
I hope you found that helpful! Now time to bake a cheesecake!