Strawberry Jelly Tapioca Dessert

0

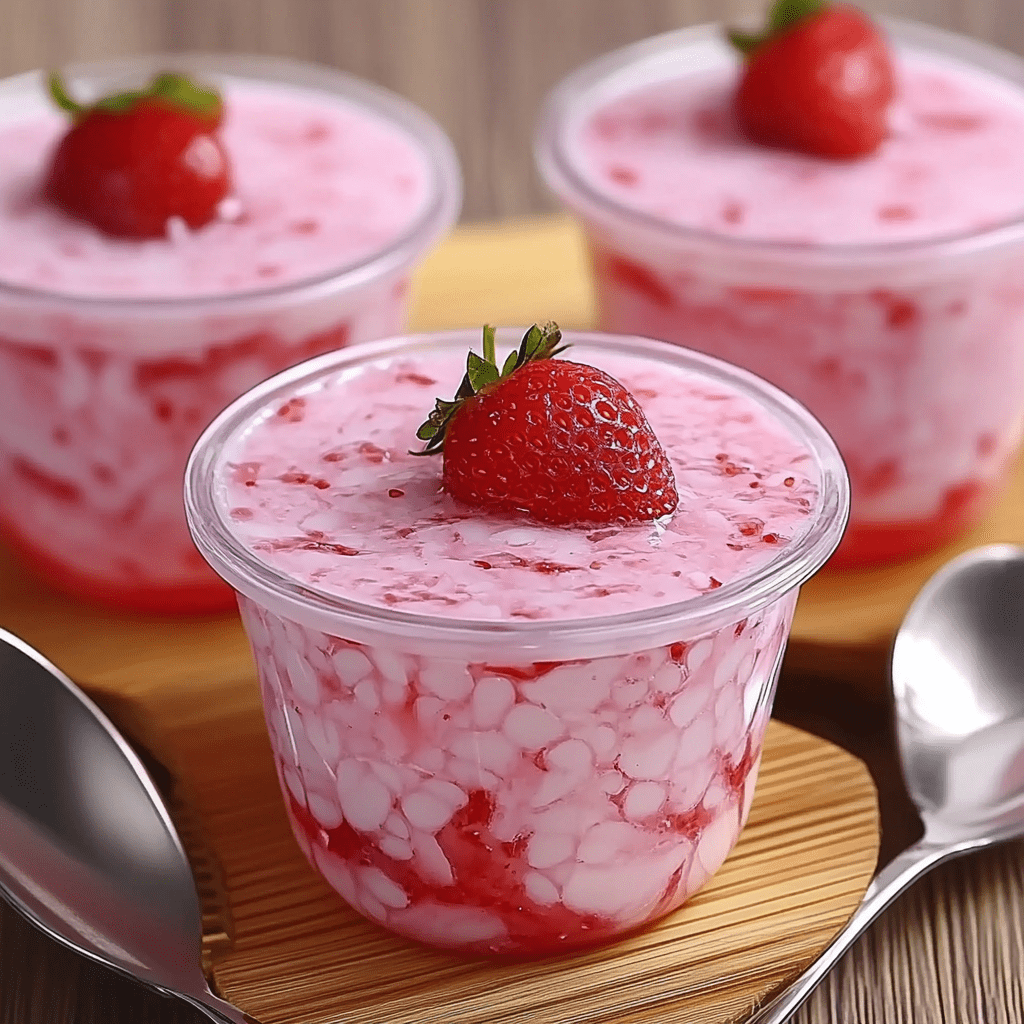
Strawberry Jelly Tapioca Dessert is a delightful treat that combines the soft, chewy texture of tapioca pearls with the fruity sweetness of strawberry jelly. Enhanced with the creamy richness of heavy cream, condensed milk, and evaporated milk, this dessert is a perfect balance of flavors and textures. The addition of strawberry essence brings an extra layer of flavor, making this dessert not only visually appealing but also irresistible to taste.

Perfect for gatherings, potlucks, or as a refreshing summer dessert, this recipe is straightforward and requires minimal effort. Each spoonful is a burst of creamy, fruity, and chewy goodness, making it a hit with kids and adults alike.

Why You’ll Love This Recipe

Easy to Make: Simple steps and readily available ingredients make this dessert accessible to everyone.

Rich and Creamy: A combination of three types of milk ensures a luxurious and creamy texture.

Refreshing and Fun: Vibrant jelly cubes and chewy tapioca pearls make it as fun to eat as it is delicious.
Ingredients

• 1 liter water

• ¼ cup refined sugar (about 60 ml)

• 25 grams strawberry-flavored jelly powder

• 2 cups cooked tapioca pearls

• 200 grams heavy cream

• 395 grams condensed milk

• 370 ml evaporated milk

• 2 drops strawberry essence

Step-by-Step Instructions

Step 1: Prepare the Jelly Base

1. In a medium saucepan, combine 1 liter of water, ¼ cup sugar, and 25 grams of strawberry jelly powder.

2. Stir the mixture over medium-low heat until the jelly powder dissolves completely.

3. Remove from heat once the mixture is smooth.

Step 2: Set the Jelly

1. Divide the jelly mixture evenly into two medium oven-proof dishes.

2. Refrigerate the dishes until the jelly is fully set.

Step 3: Cut the Jelly into Cubes

1. Once the jelly is set, cut it into strips and then into small cubes.

Step 4: Combine Jelly and Tapioca

1. In a large mixing bowl, add the cubed jelly and 2 cups of cooked tapioca pearls.

2. Gently mix to combine evenly.

Step 5: Add the Creamy Ingredients

1. To the bowl, add 200 grams of heavy cream, 395 grams of condensed milk, and 370 ml of evaporated milk.

2. Add 2 drops of strawberry essence for an extra burst of flavor.

3. Stir thoroughly to ensure all ingredients are well combined.

Step 6: Chill and Serve

1. Refrigerate the mixture for at least 1 hour before serving.

2. Serve chilled in individual bowls or glasses for a refreshing treat.

Tips for Perfect Results

Customize the Flavor: Swap strawberry jelly powder and essence for other flavors like mango, pineapple, or lychee.

Tapioca Pearls: Ensure the pearls are cooked to perfection—soft and chewy, not hard or mushy.

Sweetness Level: Adjust the condensed milk to your preferred sweetness.

Storage Options

Refrigeration: Store in an airtight container in the fridge for up to 2 days. Stir before serving.

Freezing: Not recommended as the tapioca pearls and jelly may lose their texture.

Strawberry Jelly Tapioca Dessert is a creamy, vibrant, and refreshing dessert that will quickly become a favorite. Its unique combination of textures and flavors makes it a standout dish, perfect for any occasion. Enjoy! 🍓✨

German Chocolate Cake

0

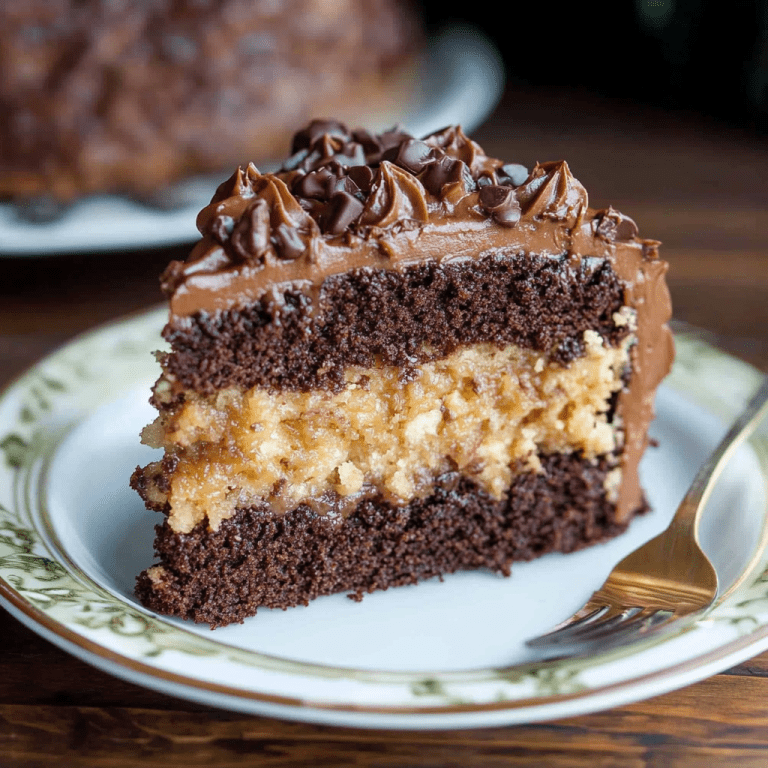
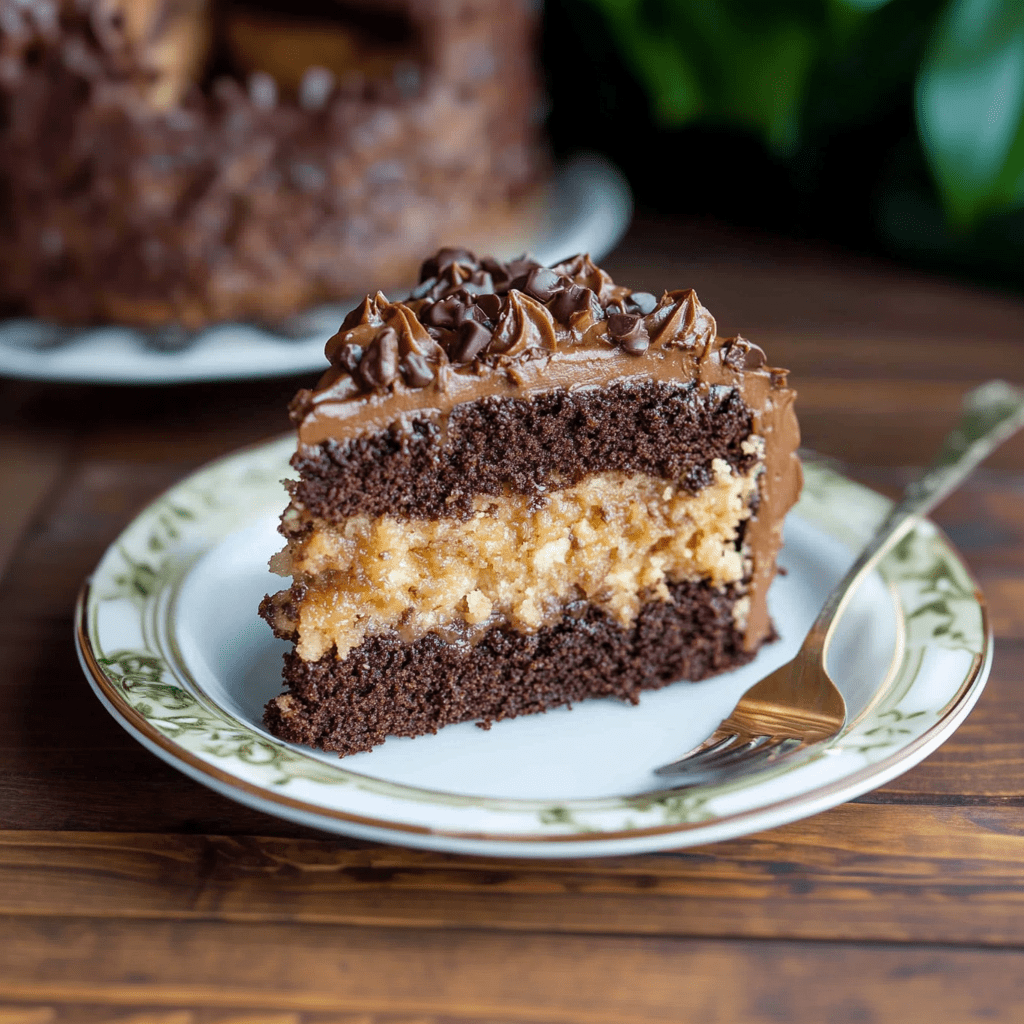
German Chocolate Cake is the ultimate treat for chocolate lovers, blending layers of rich, moist chocolate cake with decadent coconut-pecan frosting and creamy chocolate buttercream. Originating from the use of German’s Sweet Chocolate, this cake has become a cherished dessert across the world, often gracing special occasions and family gatherings. The combination of sweet and nutty coconut frosting with velvety chocolate creates a symphony of flavors and textures in every bite.

This recipe is perfect for celebrating milestones, holidays, or just indulging in a showstopping dessert. Each layer is carefully crafted, with the coconut frosting lending a satisfying crunch and sweetness, while the chocolate frosting adds a smooth, rich contrast. The cake itself is incredibly moist and flavorful, thanks to the addition of buttermilk and boiling water, making it truly irresistible.

Why You’ll Love This Recipe

Decadent Layers: A combination of chocolate cake, coconut-pecan frosting, and chocolate buttercream ensures every bite is indulgent.

Perfect for Celebrations: A centerpiece-worthy dessert that’s as delicious as it is stunning.

Balanced Sweetness: The nutty and creamy frosting balances the richness of the chocolate.

Ingredients

For the Chocolate Cake:

• 2 cups granulated sugar

• 1¾ cups all-purpose flour

• ¾ cup unsweetened cocoa powder

• 1½ teaspoons baking powder

• 1½ teaspoons baking soda

• 1 teaspoon salt

• 2 large eggs

• 1 cup buttermilk

• ½ cup oil (vegetable or canola oil)

• 2 teaspoons vanilla extract

• 1 cup boiling water

For the Coconut Frosting:

• ½ cup light brown sugar

• ½ cup granulated sugar

• ½ cup butter

• 3 large egg yolks

• ¾ cup evaporated milk

• 1 tablespoon vanilla extract

• 1 cup chopped pecans

• 1 cup shredded sweetened coconut

For the Chocolate Frosting:

• ½ cup butter

• ⅔ cup unsweetened cocoa powder

• 3 cups powdered sugar

• ⅓ cup evaporated milk

• 1 teaspoon vanilla extract

Instructions

Step 1: Prepare the Pans

1. Preheat the oven to 375°F (190°C).

2. Grease two 8 or 9-inch round baking pans and line the bottoms with parchment paper.

Step 2: Make the Cake Batter

1. In a large bowl, whisk together sugar, flour, cocoa powder, baking powder, baking soda, and salt.

2. In a separate bowl, combine eggs, buttermilk, oil, and vanilla extract.

3. Add the wet ingredients to the dry ingredients and mix until well combined.

4. Stir in boiling water (the batter will be thin).

Step 3: Bake the Cakes

1. Divide the batter evenly between the prepared pans.

2. Bake for 25–35 minutes, or until a toothpick inserted into the center comes out clean or with a few crumbs.

3. Let the cakes cool in the pans for 5 minutes before inverting onto wire racks to cool completely.

Step 4: Prepare the Coconut Frosting

1. In a medium saucepan, combine brown sugar, granulated sugar, butter, egg yolks, and evaporated milk.

2. Cook over medium heat, stirring constantly, until the mixture thickens and comes to a low boil.

3. Remove from heat and stir in vanilla, chopped pecans, and shredded coconut.

4. Allow the frosting to cool completely before using.

Step 5: Make the Chocolate Buttercream

1. Melt the butter in a mixing bowl. Stir in cocoa powder.

2. Gradually add powdered sugar and evaporated milk, alternating and beating until smooth and spreadable.

3. Stir in vanilla extract.

Step 6: Assemble the Cake

1. Place one cake round on a serving plate or cake stand.

2. Spread a thin layer of chocolate frosting over the top, followed by half of the coconut frosting, leaving about ½ inch around the edge.

3. Place the second cake round on top. Frost the entire cake with chocolate frosting.

4. Spoon the remaining coconut frosting on top and spread evenly.

Step 7: Serve and Enjoy

1. Slice and serve your German Chocolate Cake, enjoying its layers of flavor and texture.

Tips

Room Temperature Ingredients: For smoother batter and frosting, ensure all ingredients are at room temperature.

Customize Frosting: Add extra pecans or coconut to the frosting for added texture.

Storage: Cover and store the cake at room temperature for up to 2 days or in the fridge for up to 5 days.

German Chocolate Cake is a timeless dessert that’s sure to impress. Each bite delivers a perfect blend of rich chocolate and nutty sweetness, making it the ultimate treat for any occasion. Enjoy!

Walking Taco Casserole

0

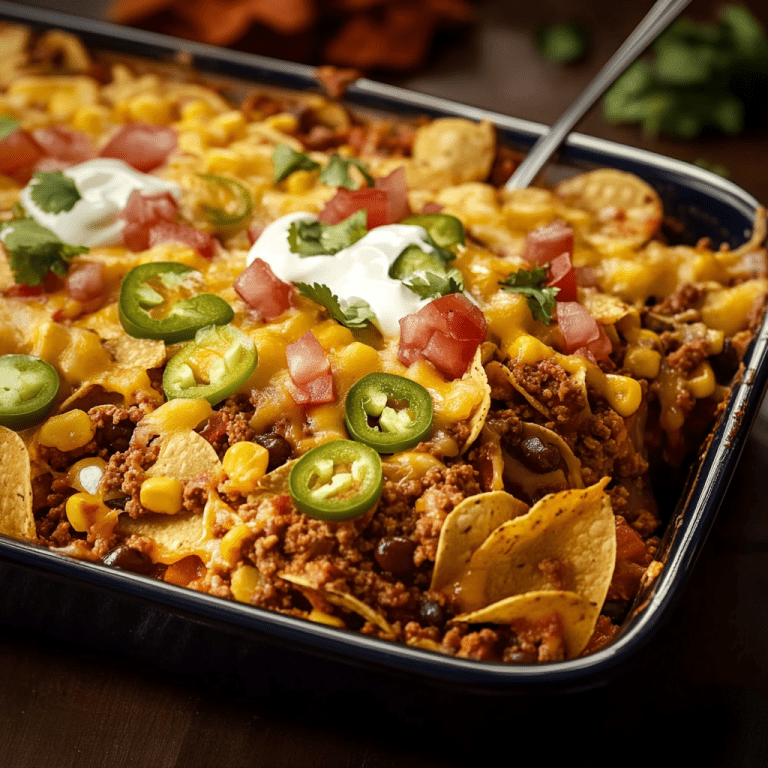
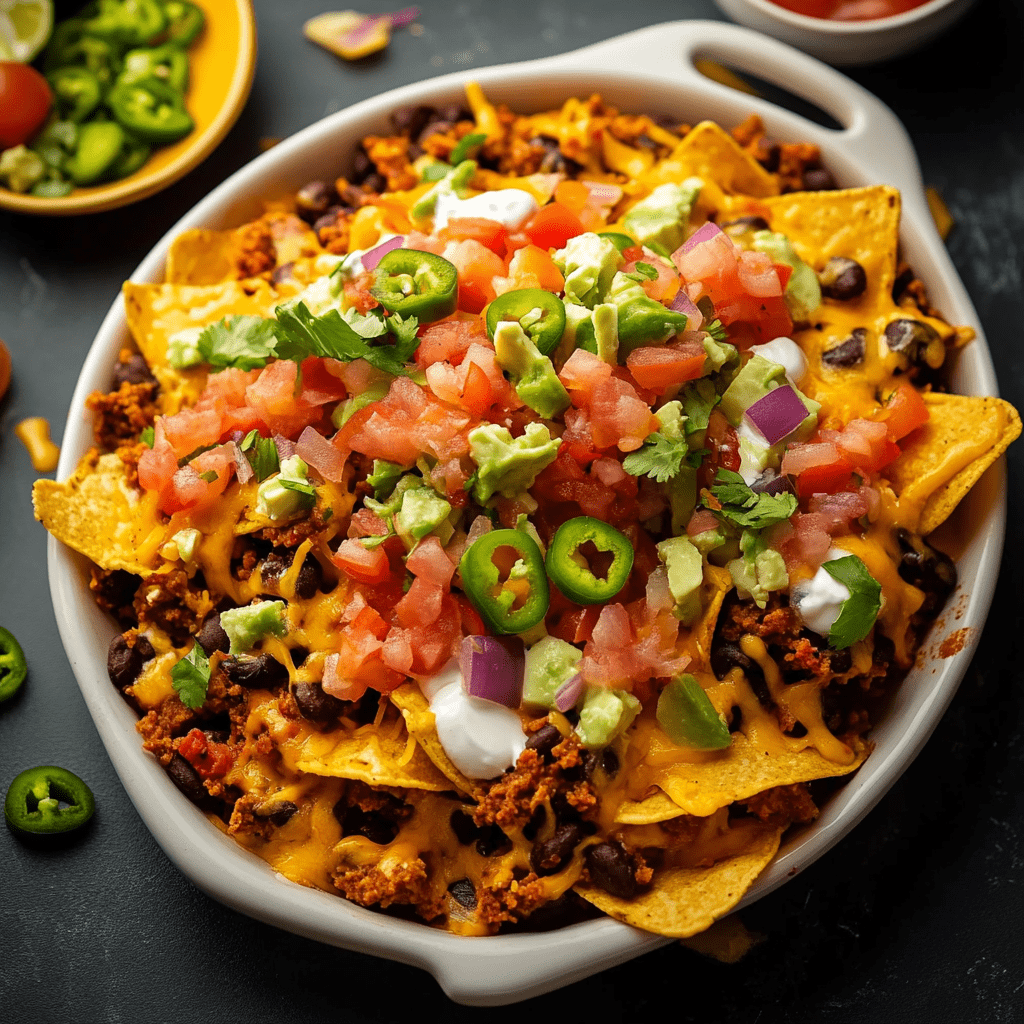
Walking Taco Casserole is a hearty, flavorful dish that transforms the fun of a classic walking taco into a sharable casserole. Packed with seasoned beef, creamy tomatillo salsa, crunchy Frito corn chips, and gooey Mexican-blend cheese, this casserole delivers layers of texture and flavor. It’s perfect for family dinners, game nights, or potlucks where everyone will be diving in for seconds.

Why You’ll Love This Recipe

All-in-One Meal: Combines protein, veggies, and carbs in one easy dish.

Customizable: Garnish with your favorite taco toppings for added flair.

Quick and Easy: Minimal prep and straightforward assembly make this a weeknight-friendly option.

Ingredients

• 2 lb ground beef

• 1 medium to large onion, finely chopped

• 2 packets original taco seasoning

• 1 cup water

• 2 cups tomatillo salsa

• 1 cup sour cream

• 2 cans black beans, rinsed and drained

• 2 cans corn, thoroughly drained

• 4 cups Frito corn chips, divided

• 3 cups shredded Mexican-blend cheese

Optional Garnishes

• Fresh cilantro, finely chopped

• Avocado, thinly sliced

• Lettuce, shredded

• Tomatoes, finely chopped

• Jalapeños, sliced

Instructions

Step 1: Prepare the Oven and Baking Dish

1. Preheat the oven to 375°F (190°C).

2. Lightly coat a 2-quart baking dish with cooking spray.

Step 2: Cook the Meat and Onions

1. In a large skillet over medium heat, brown the ground beef until no longer pink.

2. Add the finely chopped onions and sauté for 3–4 minutes, or until translucent.

3. Stir in the taco seasoning and water. Let the mixture simmer for a few minutes until slightly thickened.

Step 3: Add the Sauce and Veggies

1. Stir the tomatillo salsa and sour cream into the meat mixture.

2. Add the rinsed black beans and drained corn, mixing until evenly distributed. Remove from heat.

Step 4: Assemble the Casserole

1. Crush half of the Frito corn chips and spread them evenly across the bottom of the prepared baking dish.

2. Layer the taco meat mixture over the crushed chips.

3. Sprinkle with 2 cups of shredded Mexican-blend cheese.

4. Top with the remaining Frito corn chips.

Step 5: Bake the Casserole

1. Cover the baking dish with foil and bake for 15–20 minutes, or until the mixture is bubbling and the cheese is melted.

2. Uncover and bake for an additional 5 minutes to crisp up the topping.

Step 6: Garnish and Serve

1. Remove the casserole from the oven and let it cool slightly.

2. Garnish with optional toppings like fresh cilantro, avocado slices, shredded lettuce, diced tomatoes, or sliced jalapeños.

3. Serve immediately with additional salsa and sour cream on the side.

Tips

Customize the Protein: Swap ground beef for ground turkey or plant-based meat alternatives.

Add Heat: Stir in diced jalapeños or hot sauce for a spicy kick.

Crunchy Chips: Add the second layer of chips right before serving for maximum crunch.

Storage Options

Refrigeration: Store leftovers in an airtight container in the fridge for up to 3 days. Reheat in the oven or microwave.

Freezing: Freeze the fully assembled but unbaked casserole for up to 2 months. Thaw in the fridge overnight and bake as directed.

Walking Taco Casserole brings all the fun and flavor of tacos to the dinner table in a convenient, crowd-pleasing format. With its layers of cheesy, meaty goodness and crunchy chips, this dish is destined to become a family favorite. Enjoy! 🌮🧀

Cinnamon Sugar Biscuit Bites

0

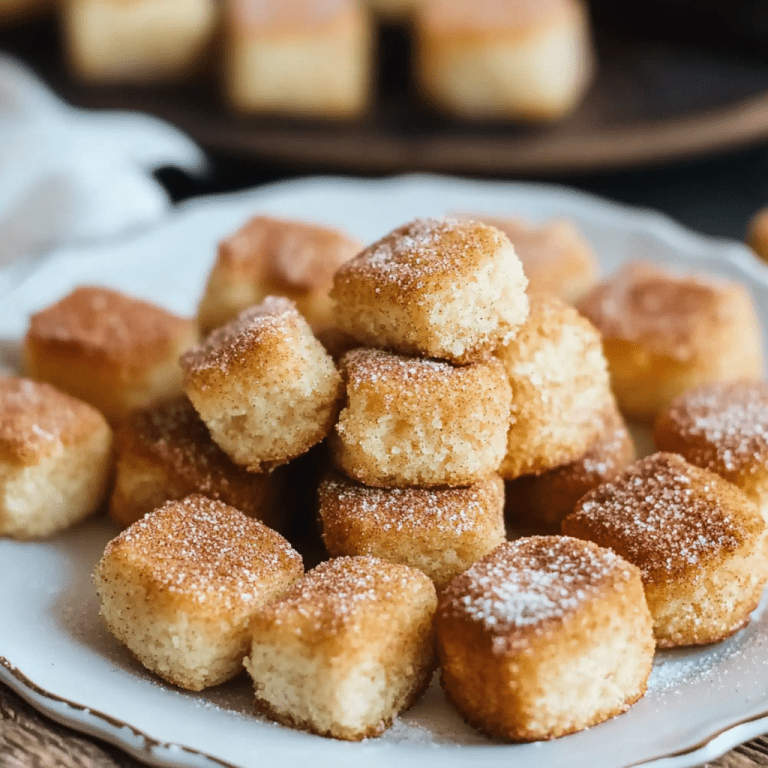
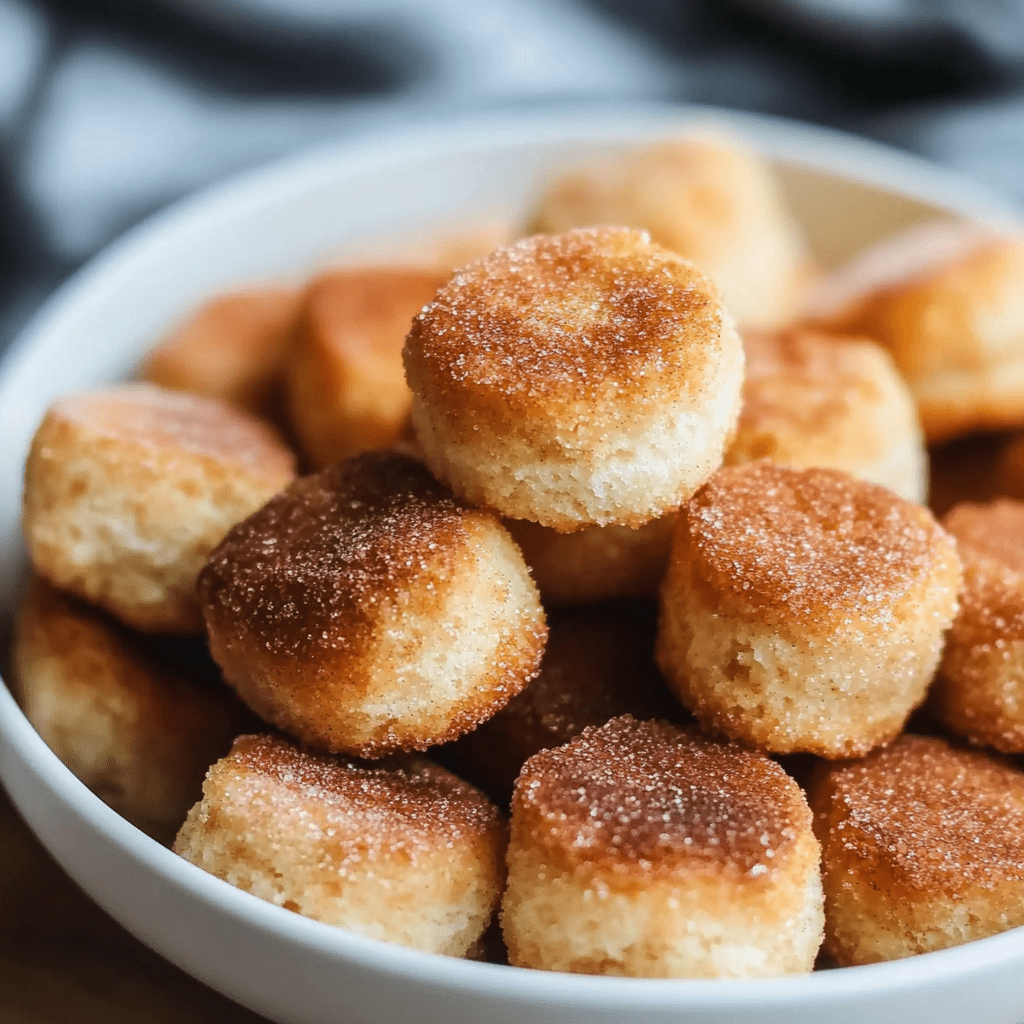
Cinnamon Sugar Biscuit Bites are a quick and delightful treat perfect for breakfast, brunch, or dessert. These bite-sized pieces of buttery biscuits are coated in a sweet cinnamon-sugar mixture, baked to golden perfection, and drizzled with a simple vanilla icing. The result is a warm, gooey, and irresistibly sweet snack that’s hard to stop eating.

Whether you’re looking for a sweet addition to your morning coffee or a quick dessert for guests, this recipe is sure to impress with its comforting flavors and easy preparation. It’s a great way to transform a simple can of biscuits into something special that everyone will enjoy.

Why You’ll Love This Recipe

Quick and Easy: Ready in just 20 minutes with minimal ingredients.

Crowd-Pleaser: Perfect for kids and adults alike, with warm cinnamon-sugar goodness in every bite.

Versatile: Great as a snack, dessert, or a fun breakfast option.

Ingredients

• 1 small roll canned biscuits

• ¼ cup sugar (mix of granulated white and brown sugar)

• 1 teaspoon ground cinnamon

• 1–2 tablespoons butter (melted)

• ¼ cup powdered sugar

• 1–2 teaspoons milk

• ⅛ teaspoon vanilla extract

Instructions

Step 1: Preheat the Oven

1. Preheat your oven to 350°F (175°C).

2. Place 1–2 tablespoons of butter in a baking pan and let it melt in the preheating oven. Remove the pan once the butter is melted and set it aside.

Step 2: Prepare the Biscuits

1. Open the can of biscuits and cut each biscuit into quarters.

Step 3: Coat the Biscuits

1. In a large plastic bag, combine granulated sugar, brown sugar, and ground cinnamon.

2. Add the biscuit pieces to the bag and shake until each piece is well coated.

Step 4: Arrange in the Pan

1. Evenly arrange the coated biscuit pieces in a single layer over the melted butter in the prepared baking pan.

Step 5: Bake

1. Bake the biscuit bites in the preheated oven for 15 minutes, or until golden brown and cooked through.

Step 6: Prepare the Icing

1. In a small bowl, whisk together powdered sugar, milk, and vanilla extract until smooth. Adjust the consistency by adding more milk or powdered sugar as needed.

Step 7: Finish and Serve

1. Let the biscuit bites cool for about 2 minutes after removing them from the oven.

2. Drizzle the prepared icing over the warm biscuit bites.

3. Serve warm or at room temperature for a delightful treat!

Tips

Customize the Sweetness: Adjust the sugar-cinnamon ratio to your preference for a sweeter or spicier coating.

Enhance the Flavor: Add a pinch of nutmeg or cardamom to the cinnamon-sugar mixture for extra warmth.

Icing Alternative: Skip the icing and serve with a side of caramel or chocolate sauce for dipping.

Storage Options

Refrigeration: Store leftovers in an airtight container in the fridge for up to 3 days. Reheat in the oven or microwave for a few seconds before serving.

Freezing: Freeze baked biscuit bites without icing for up to 2 months. Thaw and warm before adding icing.

Cinnamon Sugar Biscuit Bites are a simple yet indulgent treat that will quickly become a household favorite. Perfectly sweet, warm, and buttery, they’re a guaranteed hit for any occasion. Try them today and savor the joy of this easy-to-make delight!

Hawaiian Sheet Pan Chicken with Pineapples and Peppers

0

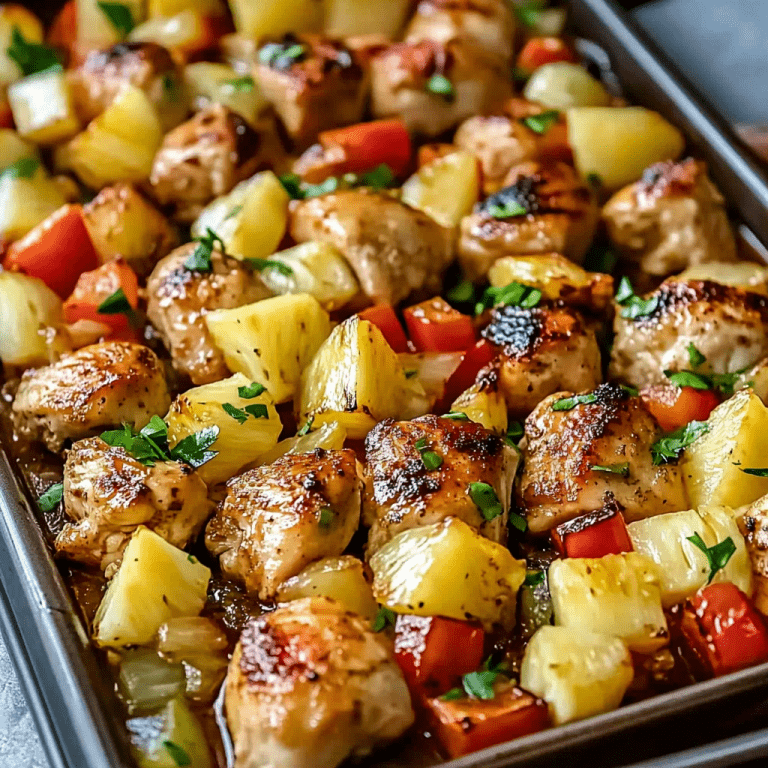
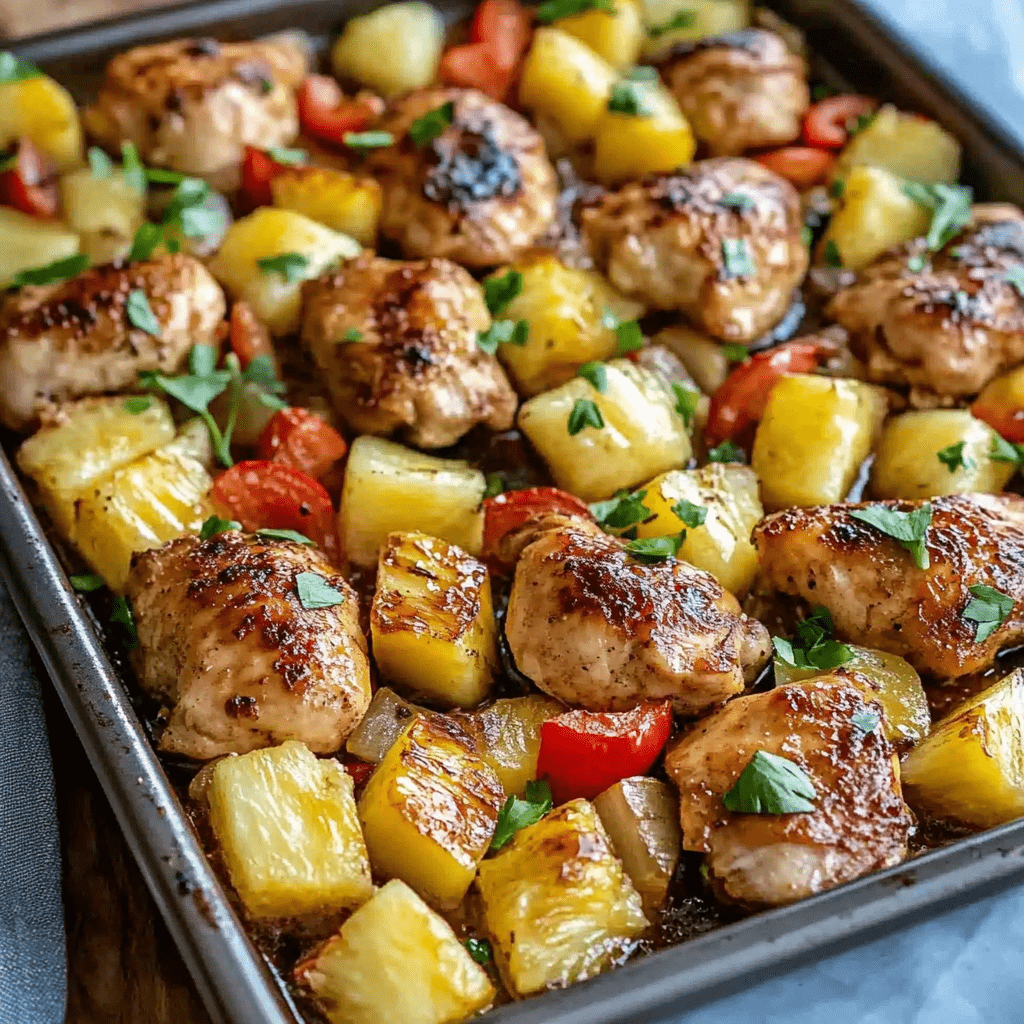
Hawaiian Sheet Pan Chicken with Pineapples and Peppers is a vibrant and flavorful dish that brings a tropical twist to your dinner table. The combination of juicy chicken, sweet pineapple, colorful bell peppers, and a tangy-sweet marinade creates a delightful balance of flavors and textures. It’s a perfect weeknight dinner option that’s easy to prepare and packed with wholesome ingredients.

This recipe not only simplifies meal prep with its one-pan approach but also delivers a dish that’s visually stunning and irresistibly delicious. Whether served over fluffy rice or noodles, it’s a meal that will transport you to an island paradise with every bite.

Why You’ll Love This Recipe

One-Pan Wonder: Minimal cleanup and maximum flavor in one sheet pan.

Tropical Vibes: Sweet pineapple and tangy marinade add a delightful Hawaiian flair.

Quick and Easy: Ready in just 30 minutes, making it perfect for busy weeknights.

Ingredients

• 1.5 lbs boneless, skinless chicken breasts or thighs (cut into bite-sized chunks)

• 2 cups fresh pineapple chunks (or canned, drained)

• 1 red bell pepper (diced)

• 1 yellow bell pepper (diced)

• 1 medium onion (chopped)

• 2 tablespoons olive oil

• ¼ cup soy sauce

• 2 tablespoons honey (or brown sugar)

• 1 tablespoon sesame oil (optional)

• 1 teaspoon garlic powder

• 1 teaspoon ginger powder

• ½ teaspoon red pepper flakes (optional, for a spicy kick)

• Salt and black pepper to taste

• Fresh parsley or cilantro (chopped, for garnish)

Instructions

Step 1: Preheat Oven

1. Preheat your oven to 400°F (200°C).

2. Line a large sheet pan with parchment paper or lightly grease it.

Step 2: Prepare the Marinade

1. In a small bowl, whisk together the soy sauce, honey, sesame oil, garlic powder, ginger powder, and red pepper flakes.

2. Set aside for later use.

Step 3: Season the Chicken and Vegetables

1. In a large mixing bowl, toss the chicken chunks, pineapple, bell peppers, and onion with olive oil, salt, and black pepper.

Step 4: Combine with Marinade

1. Pour the prepared marinade over the chicken and vegetable mixture.

2. Toss until everything is evenly coated.

Step 5: Assemble on Sheet Pan

1. Spread the chicken and vegetable mixture onto the prepared sheet pan in a single, even layer.

Step 6: Bake

1. Place the sheet pan in the preheated oven and bake for 20–25 minutes, or until the chicken is fully cooked (internal temperature of 165°F or 74°C) and the edges are slightly caramelized.

2. For additional browning, broil for 2–3 minutes at the end of the baking time.

Step 7: Garnish and Serve

1. Remove the sheet pan from the oven and sprinkle with fresh parsley or cilantro.

2. Serve hot over rice or noodles for a complete meal.

Tips

Fresh vs. Canned Pineapple: Fresh pineapple gives the best flavor, but canned works well for convenience.

Customize the Heat: Adjust the red pepper flakes to suit your spice preference.

Extra Caramelization: Broiling at the end enhances the color and flavor.

Storage Options

Refrigeration: Store leftovers in an airtight container in the fridge for up to 3 days. Reheat in the oven or microwave.

Freezing: Freeze cooked chicken and vegetables in a freezer-safe container for up to 2 months. Thaw in the fridge before reheating.

Hawaiian Sheet Pan Chicken with Pineapples and Peppers is a vibrant, easy-to-make dish that brings bold flavors and a touch of the tropics to your table. With its mix of sweet, savory, and tangy notes, it’s sure to become a new family favorite. Enjoy!

Cream Cheese and Bacon Stuffed Doritos Chicken

0

Cream Cheese and Bacon Stuffed Doritos Chicken takes comfort food to the next level with its creamy, cheesy filling and crunchy Doritos crust. This recipe transforms simple chicken breasts into a flavor-packed dish that’s perfect for weeknight dinners, game day, or when you want to impress with minimal effort.

The combination of cream cheese, cheddar, and bacon inside tender chicken breasts creates a rich and indulgent center, while the crushed Doritos add a fun, crispy coating that’s bursting with flavor. It’s an easy-to-make recipe that delivers a satisfying crunch with every bite.

Why You’ll Love This Recipe

Bold Flavors: Creamy cheese, smoky bacon, and crunchy Doritos make each bite a taste explosion.

Easy to Prepare: With simple ingredients and steps, this dish is perfect for any cook.

Crowd-Pleaser: Great for family meals or entertaining friends.

Ingredients

• 4 boneless, skinless chicken breasts

• 8 oz cream cheese, softened

• 1 cup shredded cheddar cheese

• 6 slices cooked bacon, crumbled

• 2 cups crushed Doritos (any flavor)

• ½ cup all-purpose flour

• 2 large eggs, beaten

• 1 tsp garlic powder

• 1 tsp onion powder

• Salt and pepper, to taste

• Fresh parsley, chopped (optional, for garnish)

Instructions

Step 1: Prepare the Oven and Baking Sheet

1. Preheat your oven to 375°F (190°C).

2. Line a baking sheet with parchment paper or lightly grease it with non-stick spray.

Step 2: Cut and Fill the Chicken Breasts

1. Using a sharp knife, carefully cut a pocket into the side of each chicken breast without slicing all the way through.

2. In a mixing bowl, combine the softened cream cheese, shredded cheddar cheese, crumbled bacon, garlic powder, onion powder, salt, and pepper. Mix until smooth.

3. Spoon the cream cheese mixture into the pocket of each chicken breast and press the edges together to seal.

Step 3: Bread the Chicken

1. Set up three shallow dishes: one with flour, one with beaten eggs, and one with crushed Doritos.

2. Dredge each stuffed chicken breast in the flour, then dip in the beaten eggs, and finally press into the crushed Doritos, ensuring an even coating.

Step 4: Bake the Chicken

1. Place the breaded chicken breasts on the prepared baking sheet.

2. Bake in the preheated oven for 25–30 minutes, or until the chicken is cooked through (internal temperature of 165°F/75°C) and the Doritos coating is golden and crispy.

Step 5: Garnish and Serve

1. If desired, sprinkle with freshly chopped parsley for garnish.

2. Serve hot and enjoy the creamy filling and crunchy crust.

Tips

Seal the Chicken: Use toothpicks to secure the edges of the chicken if the filling tends to spill out.

Doritos Variations: Try different Doritos flavors (e.g., Nacho Cheese, Cool Ranch, or Spicy Sweet Chili) to mix up the flavor.

Optional Dipping Sauce: Serve with ranch dressing, sour cream, or a spicy aioli for extra flavor.

Storage Options

Refrigeration: Store leftovers in an airtight container in the fridge for up to 3 days. Reheat in the oven to maintain the crispy texture.

Freezing: Freeze uncooked stuffed and breaded chicken breasts for up to 2 months. Bake directly from frozen, adding 5–10 minutes to the cooking time.

Cream Cheese and Bacon Stuffed Doritos Chicken is a show-stopping dish that combines creamy, cheesy goodness with a crunchy, flavorful crust. It’s easy to make and guaranteed to impress your family or guests. Serve it up and watch it disappear!

Chicken Bubble Biscuit Bake Casserole

0

Chicken Bubble Biscuit Bake Casserole is a hearty, comforting dish that combines tender chicken, crispy bacon, and fluffy biscuits in a creamy, cheesy sauce. This casserole is perfect for feeding a crowd or satisfying a family craving for a warm, filling meal. The blend of savory chicken, tangy ranch seasoning, and gooey cheese creates a flavor-packed dinner that’s both easy to prepare and deeply satisfying.

The biscuits bake into soft, pillowy pockets that absorb the creamy sauce, making every bite rich and flavorful. Whether you’re looking for a quick weeknight meal or a dish to share at a potluck, this casserole delivers deliciousness with minimal effort.

Why You’ll Love This Recipe

Quick and Easy: Uses convenient ingredients like canned biscuits and cream of chicken soup.

Crowd-Pleaser: Loaded with cheesy, creamy, and savory flavors that everyone will love.

One-Dish Wonder: Combines everything you need for a satisfying meal in one baking dish.

Ingredients (Serves 8)

• 2 cups shredded cheddar cheese, divided

• 3 cups shredded cooked chicken

• 2 tablespoons ranch seasoning mix

• 2 cans cream of chicken soup

• ¼ cup cooked bacon, crumbled

• 1½ cups sour cream

• 12 ounces refrigerated biscuits (about 1 can of 12 oz)

Instructions

Step 1: Preheat the Oven

1. Preheat your oven to 350°F (175°C).

2. Grease a 9×13-inch baking dish generously to prevent sticking.

Step 2: Prepare the Mixture

1. In a large mixing bowl, combine the sour cream, cream of chicken soup, shredded chicken, ranch seasoning mix, 1 cup of shredded cheddar cheese, and crumbled bacon.

2. Stir until all ingredients are well incorporated.

Step 3: Cut the Biscuits

1. Slice the refrigerated biscuits into fourths.

2. Gently fold the biscuit pieces into the chicken mixture, ensuring they are evenly coated but not overworked.

Step 4: Assemble the Casserole

1. Spread the biscuit and chicken mixture evenly into the prepared baking dish.

2. Sprinkle the remaining 1 cup of cheddar cheese over the top.

Step 5: Bake

1. Place the casserole in the preheated oven and bake for 25–35 minutes, or until the biscuits are cooked through and golden brown, and the cheese is melted and bubbly.

Step 6: Serve

1. Remove the casserole from the oven and let it cool for a few minutes before serving.

2. Serve warm and enjoy this creamy, cheesy comfort food!

Tips

Use Rotisserie Chicken: Save time by using pre-cooked rotisserie chicken for easy shredding.

Customize the Flavor: Add chopped green onions, diced jalapeños, or extra spices for a flavor boost.

Check Doneness: Ensure the biscuits are fully cooked by inserting a knife into the center. If it comes out clean, it’s ready!

Storage Options

Refrigeration: Store leftovers in an airtight container in the fridge for up to 3 days. Reheat in the oven or microwave.

Freezing: Freeze the baked casserole in individual portions for up to 2 months. Thaw overnight in the fridge before reheating.

Chicken Bubble Biscuit Bake Casserole is a deliciously satisfying dish that’s perfect for any occasion. Its creamy texture, cheesy topping, and soft, flavorful biscuits make it a guaranteed hit with family and friends. Try it for dinner tonight and enjoy a comforting, crowd-pleasing favorite!

No Knead Bread

0

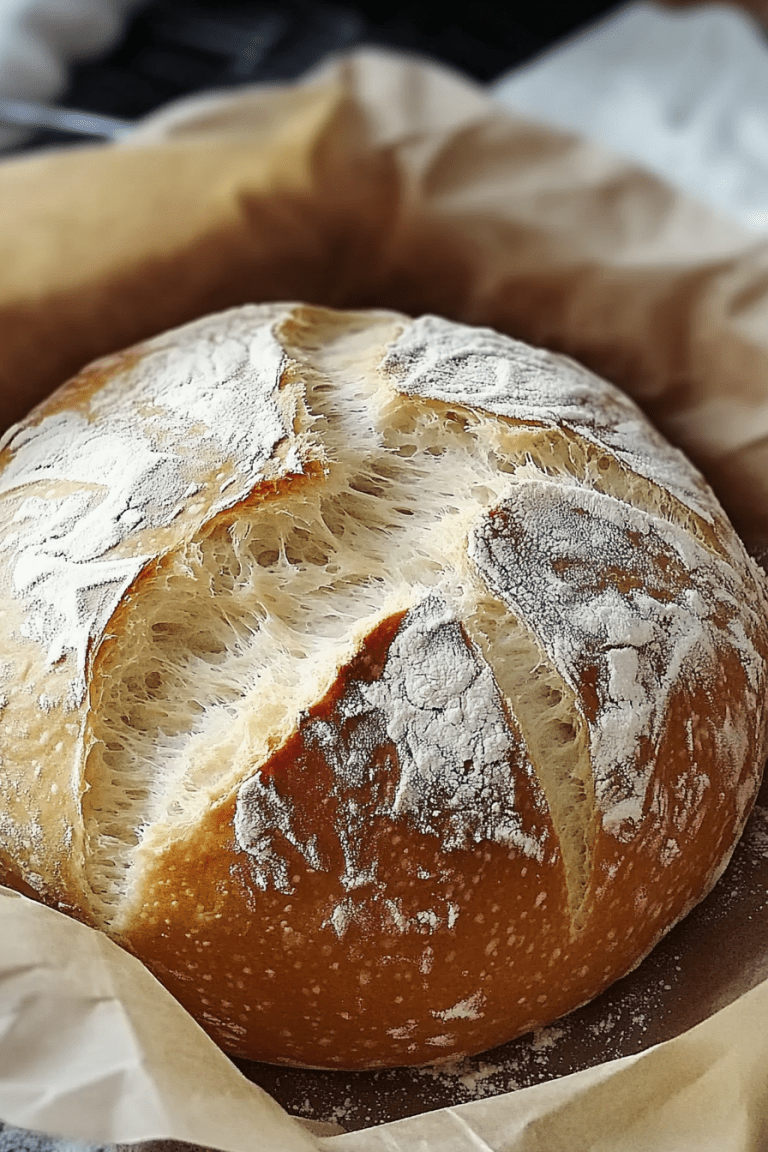
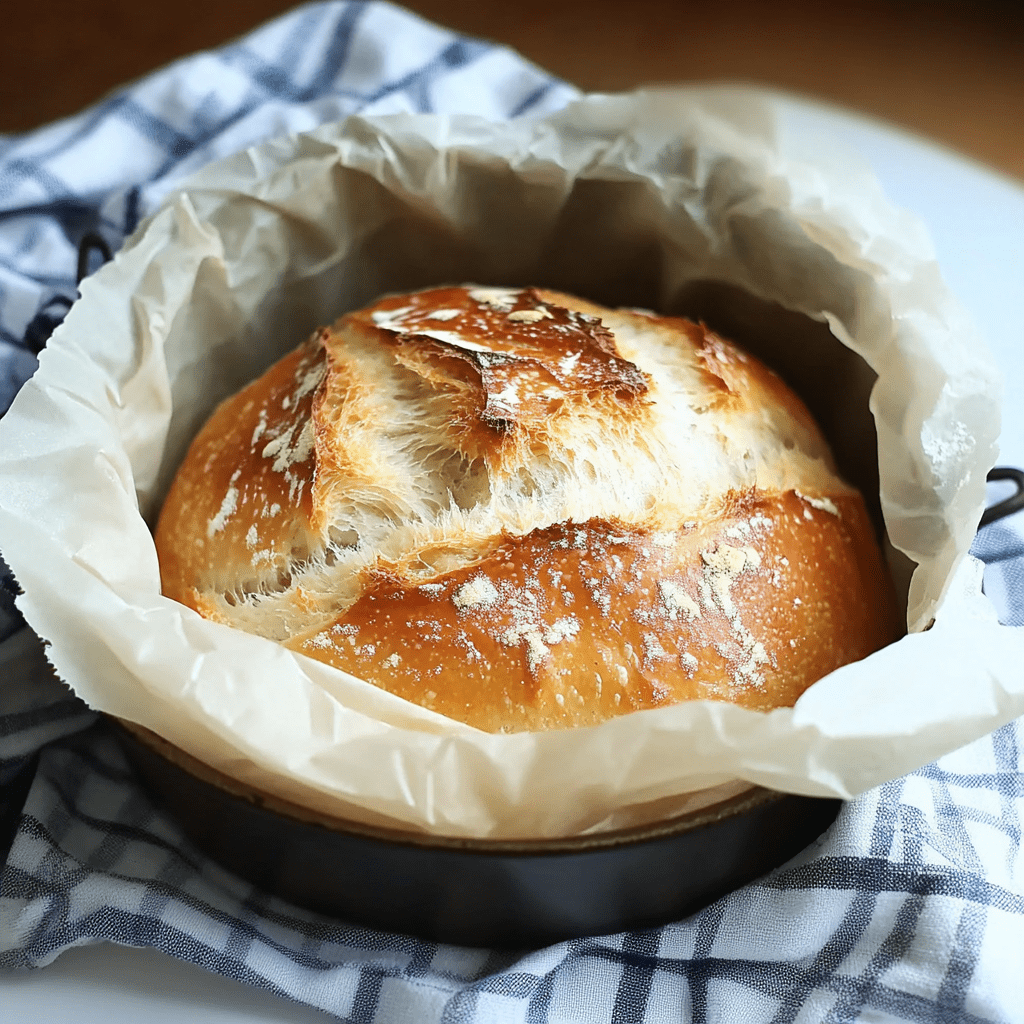
No Knead Bread is a simple yet transformative way to bake artisan-quality bread at home without the need for intensive labor or special skills. This recipe relies on a slow rise, allowing time and minimal ingredients to do the heavy lifting, resulting in a loaf with a golden, crispy crust and a soft, airy interior. Whether you’re a seasoned baker or a beginner, this method guarantees impressive results without the intimidation of traditional bread-making techniques.

The beauty of no knead bread lies in its versatility. With just a few pantry staples, you can create a loaf that’s perfect for sandwiches, soups, or as a standalone snack with butter or olive oil. The slow fermentation process enhances the flavor, giving the bread a slight tang that pairs beautifully with the satisfying crunch of the crust. It’s a recipe that transforms humble ingredients into something truly extraordinary.

Why You’ll Love This Recipe

Effortless: No kneading required—just mix, let it rise, and bake.

Artisan-Quality: Achieve a bakery-style crust and crumb at home.

Versatile: A delicious loaf for any occasion or pairing.

Ingredients

• 3 cups bread flour or all-purpose flour

• ½ teaspoon instant yeast

• 1½ teaspoons sea salt

• 1½ cups warm water (110°F)

Instructions

Step 1: Mix the Dough

1. In a large mixing bowl, whisk together the flour, instant yeast, and sea salt.

2. Gradually pour in the warm water while stirring with a wooden spoon.

3. Mix until a sticky, loose dough forms.

4. Cover the bowl tightly with plastic wrap and allow the dough to rise at room temperature for 12–18 hours.

Step 2: Shape the Dough

1. Turn the dough out onto a well-floured piece of parchment paper.

2. Lightly sprinkle flour over the top of the dough to make it easier to handle.

3. Using the parchment paper to assist, shape the dough into a rough ball. Avoid kneading the dough.

4. Cover with plastic wrap, a damp tea towel, or an inverted bowl, and let it rise for 1 hour.

Step 3: Preheat the Dutch Oven

1. Place a large Dutch oven (at least 3½ quarts) with the lid on into your oven.

2. Preheat the oven to 450°F (232°C).

Step 4: Bake the Bread

1. Once the dough is ready, carefully remove the Dutch oven from the oven (it will be very hot).

2. Use the parchment paper to lift the dough and place it into the Dutch oven. Cover with the lid.

3. Bake covered for 30 minutes.

4. Remove the lid and bake for an additional 10–15 minutes, or until the crust is golden brown.

Step 5: Cool the Bread

1. Lift the bread out of the Dutch oven using the parchment paper and transfer it to a cooling rack.

2. Allow the loaf to cool for 1–2 hours before slicing for the best texture and flavor.

Tips

Water Temperature: Use a thermometer to ensure the water is around 110°F to activate the yeast without overheating.

Experiment with Flour: Try using whole wheat or rye flour for a deeper flavor and heartier texture.

Check the Crust: For an extra crispy crust, leave the bread in the oven for a few minutes with the door slightly ajar after baking.

Storage Options

Room Temperature: Store in a bread bag or wrap in foil for up to 3 days.

Freezing: Slice the bread, wrap tightly in foil or a freezer-safe bag, and freeze for up to 2 months. Thaw and reheat in the oven for best results.

This No Knead Bread recipe is a game-changer for home bakers, offering a no-fuss way to create a rustic, bakery-worthy loaf. Its incredible flavor, crunchy crust, and pillowy crumb make it a must-try for anyone who loves fresh, homemade bread. Share it with family and friends, and savor the satisfaction of baking something so simple yet so special.

Orange Creamily Truffles

0

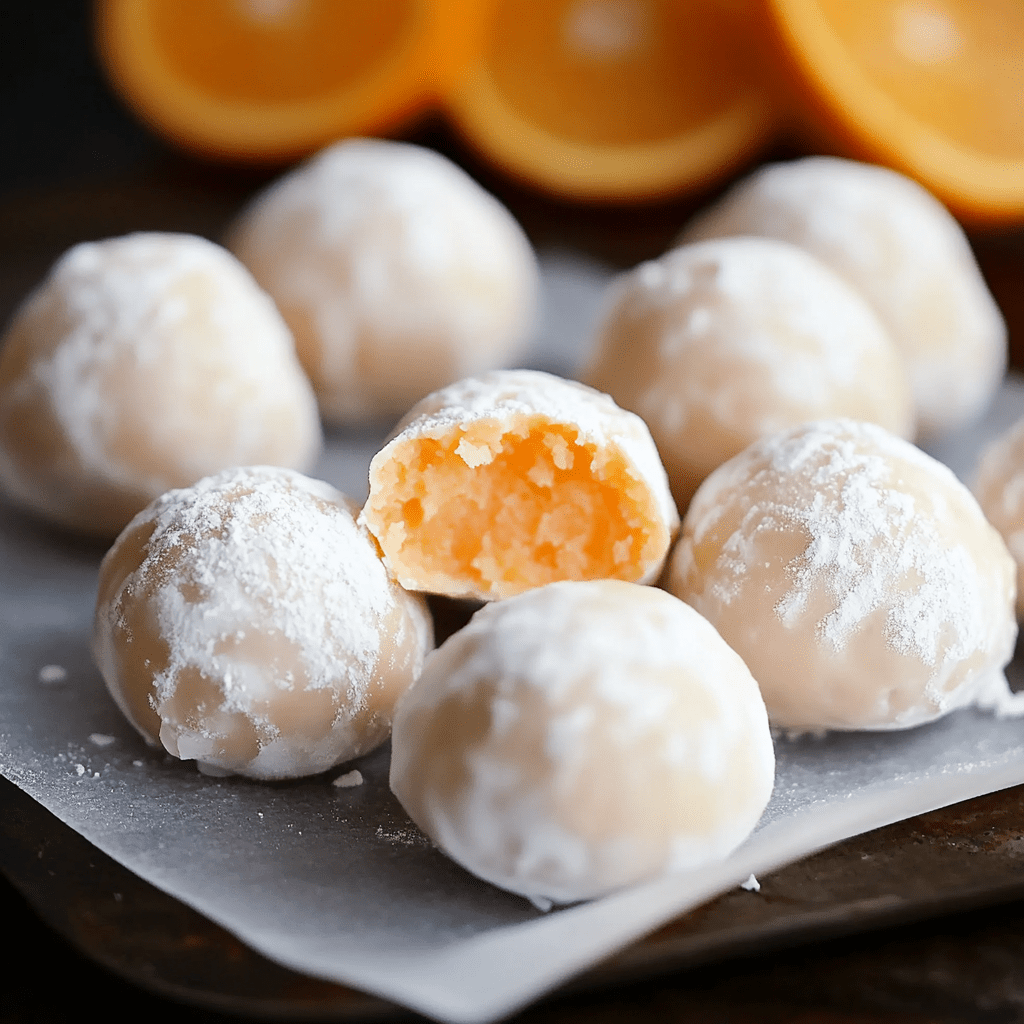
These Orange Creamily Truffles are a decadent, citrusy treat that captures the nostalgic flavors of a classic creamily in a luxurious bite-sized dessert. With their silky white chocolate base infused with fresh orange zest and a hint of orange extract, these truffles are as delightful to look at as they are to eat. The powdered sugar coating adds a soft sweetness and a refined finish, making them perfect for any special occasion or as an elegant homemade gift.

The blend of creamy white chocolate and bright orange flavors creates a delightful balance that’s both rich and refreshing. While the preparation requires some patience, the result is well worth the effort for a dessert that’s both unique and unforgettable.

Why You’ll Love This Recipe

Elegant and Unique: These truffles are a step up from everyday desserts and make a great impression.

Citrusy and Sweet: The fresh orange zest and extract provide a refreshing balance to the creamy white chocolate.

Great for Gifting: Beautifully packaged, these truffles make an exceptional homemade gift.

Ingredients

• 1 cup finely chopped high-quality white chocolate

• ¼ cup unsalted butter

• 2 tablespoons freshly grated orange zest

• 3 tablespoons heavy whipping cream

• ½ teaspoon pure orange extract

• Optional: oil-based orange food coloring

• ½ cup confectioners’ sugar, divided

Instructions

Step 1: Preparation

1. Place the chopped white chocolate in a small, sealable container.

2. Set up a strainer and spatula nearby for later use.

Step 2: Infuse the Butter

1. In a small saucepan over medium heat, combine the unsalted butter and orange zest.

2. Stir continuously and bring to a boil. Maintain the boil for one minute, ensuring constant agitation.

Step 3: Add the Cream

1. Gradually stir the heavy whipping cream into the saucepan.

2. Cook and stir for another 1–2 minutes, until bubbles begin to form along the edges of the pan.

3. Remove the saucepan from the heat.

Step 4: Strain and Combine

1. Position the strainer over the container holding the white chocolate.

2. Pour the hot orange butter mixture through the strainer, using the spatula to press the orange zest against the mesh to extract maximum flavor.

3. Discard the solids left in the strainer.

Step 5: Melt the Mixture

1. Let the mixture sit for one minute to soften the chocolate.

2. Add the orange extract and orange food coloring, if using.

3. Whisk until smooth, leaving a few unmelted chocolate pieces for texture.

Step 6: Chill the Mixture

1. Seal the container and place it in the freezer for about one hour, or until the mixture is firm enough to handle.

Step 7: Prepare the Sugar Coating

1. Place ¼ cup of confectioners’ sugar in a sealable container and the remaining ¼ cup in a small bowl.

Step 8: Form the Truffles

1. Scoop out 1 tablespoon of the chilled mixture using a spoon or cookie scoop.

2. Roll into a ball between your palms, then roll the ball in the powdered sugar from the bowl.

3. Place the coated truffle in the container with the sugar. Repeat until all the mixture is used.

Step 9: Final Coating

1. Seal the container and gently shake it to evenly coat the truffles with the remaining powdered sugar.

Step 10: Chill Again

1. Return the truffles to the freezer for an additional hour, or until they are firm and ready to serve.

Tips

Use High-Quality White Chocolate: For the best flavor and texture, choose high-quality white chocolate.

Don’t Skip the Chilling Steps: Chilling ensures the truffles are easy to shape and hold their form.

Customize the Flavor: Add a pinch of sea salt or a drizzle of dark chocolate for a flavor twist.

Storage Options

Refrigeration: Store truffles in an airtight container in the fridge for up to 1 week.

Freezing: Freeze truffles for up to 2 months. Thaw in the fridge before serving.

These Orange Creamsicle Truffles are an indulgent yet refreshing treat, perfect for sharing or savoring. Their bright citrus flavor and creamy texture make them a standout dessert that will delight your taste buds with every bite. Enjoy!

Oklahoma Fried Onion Burgers

0

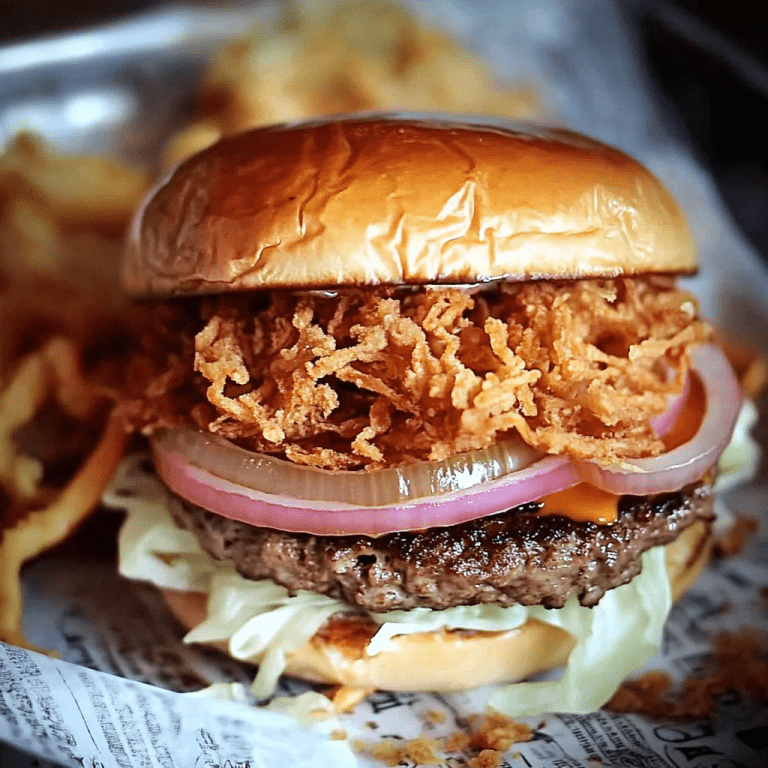
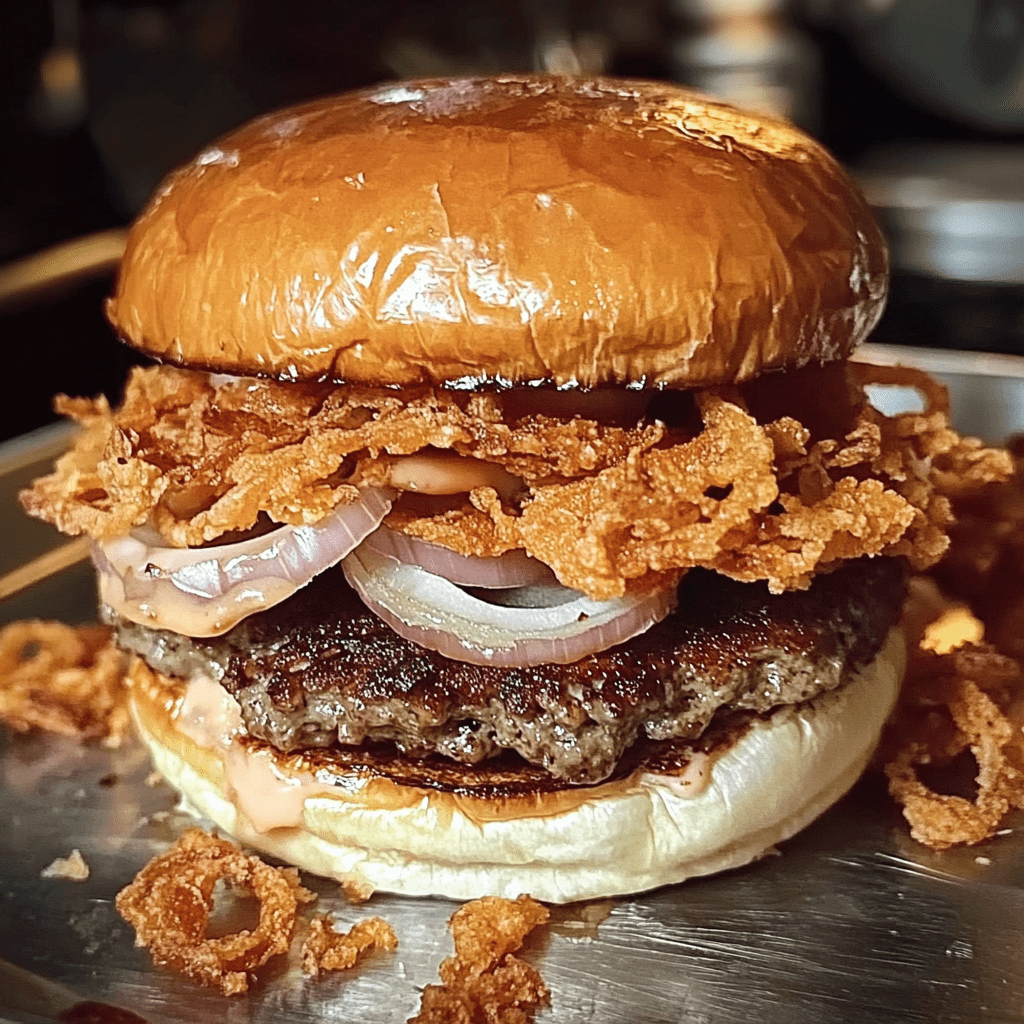
There’s nothing like the classic taste of a juicy, crispy-edged smashed cheeseburger to satisfy your burger cravings. By pressing the beef into a thin patty and searing it in a hot skillet, you create golden-brown, flavor-packed edges. Topped with melty American cheese and sweet caramelized onions, these burgers offer the perfect balance of texture and taste.

Why You’ll Love This Recipe

Ultra Crispy Edges: The “smashing” technique caramelizes the beef for an irresistible crust.

Easy & Fast: Simple ingredients and quick cook time make this a go-to for busy nights.

Classic Flavor Combo: Onions, American cheese, and a soft bun—everything you love in one bite.

Ingredients

• ¼ teaspoon canola oil

• 5 ounces freshly ground beef, divided into two 2 ½-ounce balls

• Kosher salt and freshly ground black pepper

• 1 medium onion, thinly sliced (about 1 cup)

• 2 slices American cheese

• 2 soft hamburger buns

• Mustard, pickles, and other condiments (optional)

Step-by-Step Instructions

1. Prep the Skillet and Ingredients

1. Lightly coat a large cast iron skillet with the canola oil by wiping it around the skillet using a paper towel.

2. Heat the skillet over high heat until it starts to lightly smoke.

2. Smash and Season the Burgers

1. Place each ground beef ball in the hot skillet.

2. Immediately press down firmly on each ball with the back side of a spatula to form a thin patty.

3. Season generously with kosher salt and freshly ground black pepper.

3. Cook the Burgers

1. Scatter the thinly sliced onions evenly over the cooking patties.

2. Press down gently so the onions adhere to the surface of the meat.

3. Allow the burgers to cook undisturbed for about 2 minutes, until the undersides form a crispy, browned crust.

4. Flip and Finish Cooking

1. Using a stiff spatula, carefully flip each burger, scraping up any browned bits from the skillet.

2. Cook for another minute or so, letting the onions soften and caramelize.

5. Add Cheese and Steam the Buns

1. Place a slice of American cheese on each patty.

2. Invert the top bun over the cheese to steam and absorb flavor from the onions and cheese.

6. Assemble and Serve

1. Place the bottom halves of the buns on a serving plate.

2. Add condiments like mustard, pickles, or any other favorites on the bottom buns.

7. Final Assembly

1. Using a spatula, carefully lift each burger patty, along with its onions and the top bun, and place it onto the prepared bottom bun.

2. Repeat for the second burger.

8. Serve Immediately

• These smashed cheeseburgers are best enjoyed right off the skillet while they’re still hot and the cheese is perfectly melted.

Tips

Use Freshly Ground Beef: Fresher meat yields juicier, more flavorful patties.

Don’t Over-Smash: Press firmly once; over-smashing can push out juices and dry the burger.

High Heat: A hot skillet is key for creating those crispy edges.

Customize: Feel free to experiment with different cheeses or toppings like sautéed mushrooms or jalapeños.

Storage

Refrigeration: Store leftover patties and onions in an airtight container for up to 2 days. Reheat in a hot skillet to revive some of the crispiness.

Freezing: Smashed burgers are best served fresh, but you can freeze the uncooked ground beef patties for up to 3 months. Thaw in the fridge before cooking.

Enjoy the perfect balance of tender meat, melted cheese, and sweet onions—these smashed cheeseburgers will quickly become a favorite in your household!