This homemade Pillsbury Cinnamon Roll Icing is the perfect complement to soft, gooey cinnamon rolls. It’s rich, creamy, and perfectly sweet—adding that melt-in-your-mouth finishing touch. Unlike store-bought versions, this frosting is made with simple pantry staples like butter, powdered sugar, and heavy cream, delivering a smooth, luxurious texture and just the right hint of vanilla.
Whether you’re making cinnamon rolls from scratch or enhancing store-bought dough, this icing turns an everyday breakfast into a decadent treat. The buttery base makes it creamy and spreadable, while the addition of heavy cream ensures it stays soft and glossy. It’s also versatile enough to use on other baked goods, such as muffins, quick breads, or even as a glaze for scones.
Why You’ll Love This Recipe
• Rich and Creamy: Made with real butter and cream for a luxurious texture.
• Easy to Make: Comes together in just 5 minutes with basic ingredients.
• Versatile: Perfect for cinnamon rolls, muffins, or even as a cupcake frosting.
Ingredients
• ½ cup unsalted butter (room temperature)
• 2 teaspoons vanilla extract
• ⅛ teaspoon fine salt
• 3 cups powdered sugar
• ¼ cup heavy cream (room temperature)
Instructions
Step 1: Beat the Butter
1. In a large mixing bowl, beat the room-temperature butter using a hand mixer or stand mixer on medium speed.
2. Continue beating for 2-3 minutes until the butter is smooth, pale, and creamy.
Step 2: Add Vanilla and Salt
1. Mix in the vanilla extract and fine salt until fully combined.
2. Scrape down the sides of the bowl to ensure everything is evenly mixed.
Step 3: Add Powdered Sugar
1. Gradually add the powdered sugar, 1 cup at a time, mixing on low speed after each addition to prevent it from puffing out of the bowl.
2. Increase to medium speed once fully incorporated and beat until light and fluffy.
Step 4: Stir in Heavy Cream
1. Slowly pour in the heavy cream while mixing on low speed.
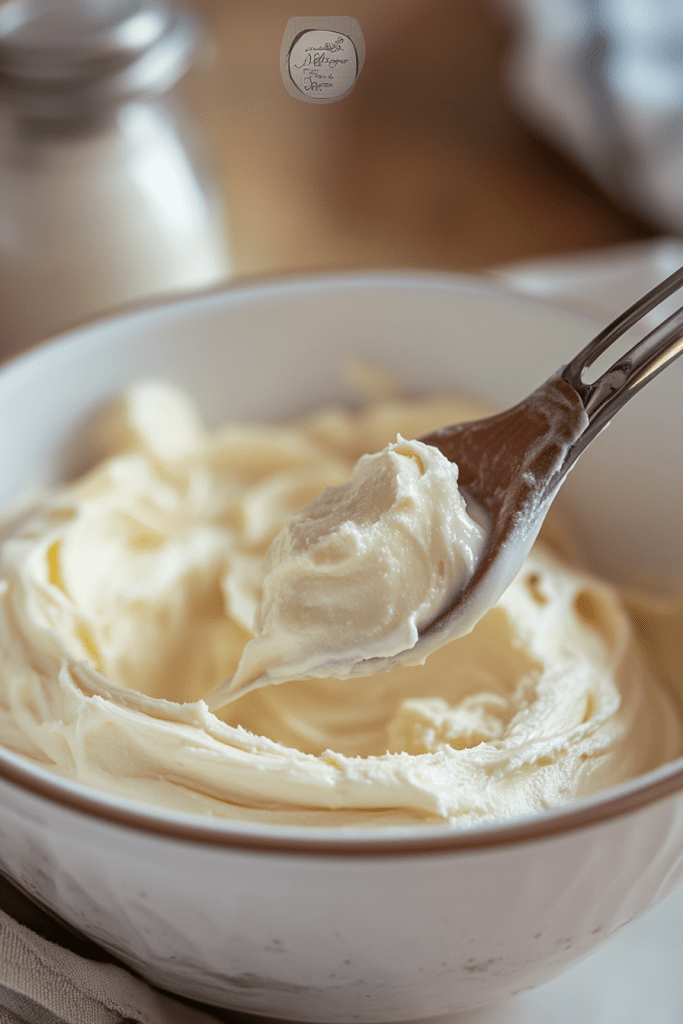
2. Continue to beat until the frosting is smooth, creamy, and spreadable. Add more cream, 1 tablespoon at a time, if you prefer a thinner consistency.
Step 5: Spread and Serve
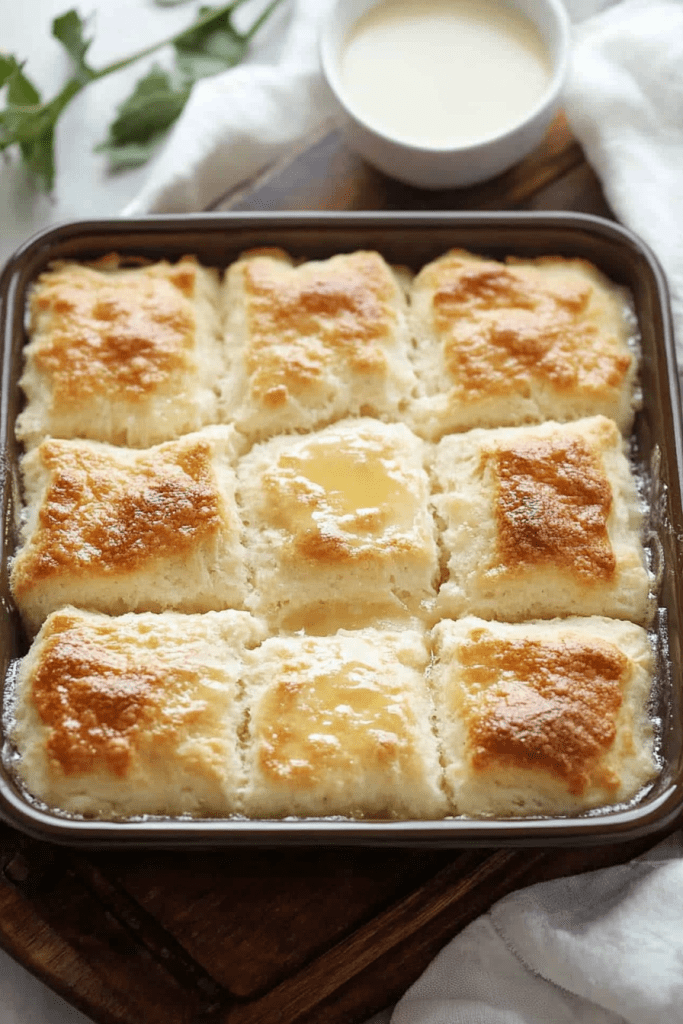
1. Generously spread the icing over warm cinnamon rolls for the best results—this allows the frosting to slightly melt and coat the rolls evenly.
2. Serve immediately and enjoy every gooey, sweet bite.
Tips
• Room Temperature Ingredients: Make sure your butter and cream are at room temperature for a smooth consistency.
• Thicker Icing: If you prefer a thicker icing, reduce the amount of heavy cream slightly.
• Flavor Boost: Add a pinch of cinnamon or a drop of almond extract for a unique twist.
Storage Options
• Refrigeration: Store any leftover icing in an airtight container in the refrigerator for up to 1 week.
• Freezing: Freeze in a sealed container for up to 2 months. Thaw overnight in the refrigerator before using.
• Reheating: Bring chilled icing back to room temperature and give it a quick stir before spreading.
Serving Suggestions
• Classic Cinnamon Rolls: The perfect finishing touch for any cinnamon roll recipe.
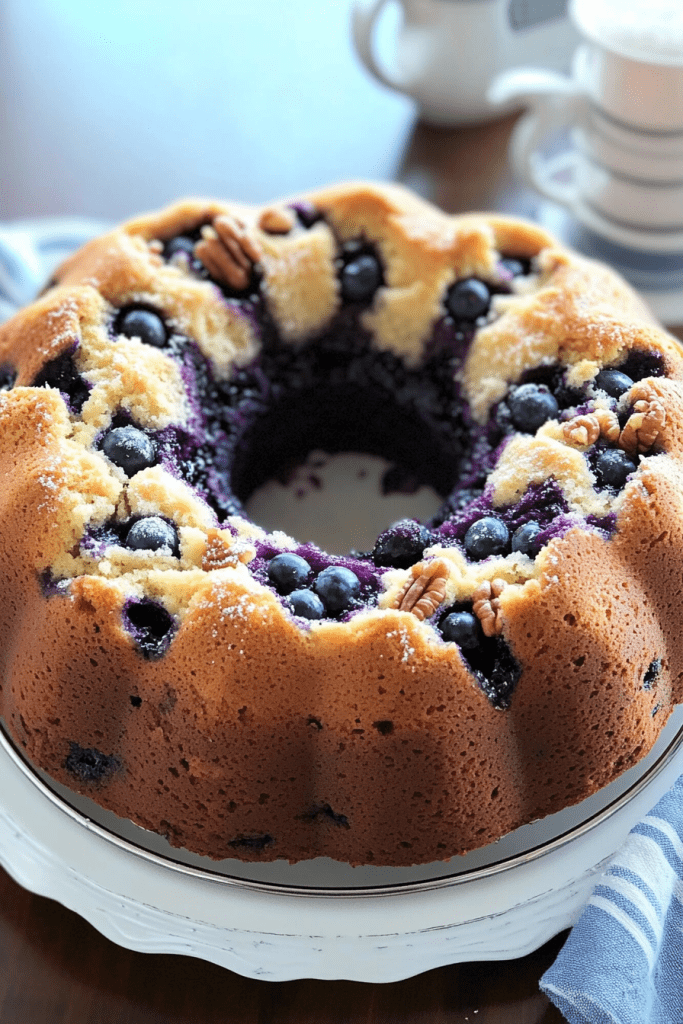
• Glazed Muffins: Use it as a sweet glaze for blueberry or banana muffins.
• Sweet Dip: Serve as a dip for fresh fruit or baked churros.