Swedish Apple Cake (Äppelkaka)

0

Swedish Apple Cake, or Äppelkaka, is a beautifully rustic dessert that showcases tender caramelized apples nestled atop a soft, spiced cake. This traditional treat is deeply rooted in Swedish kitchens, especially in autumn when apples are at their peak. The combination of tart Granny Smith apples, warm cinnamon, and a hint of cardamom gives it a cozy, aromatic flavor that’s both comforting and elegant.

The apples are first sautéed in butter and brown sugar until golden and soft, then arranged on top of a rich cake batter infused with vanilla and sour cream for moisture. A final brush of warm apple syrup just before serving adds a glossy finish and an extra touch of sweetness. It’s the kind of cake that feels right at home with a cup of coffee or served warm with a scoop of vanilla ice cream.

Why You’ll Love This Recipe

• Caramelized apples create a rich, golden topping

• Cardamom adds a Scandinavian twist to the flavor

• Moist, soft cake that holds its shape beautifully

Ingredients

For the Apple Topping

3 medium Granny Smith apples, peeled, cored, and cut into ½-inch wedges (about 1 pound)

2 tablespoons unsalted butter

3 tablespoons packed light brown sugar

1 teaspoon ground cinnamon

For the Cake

1 cup all-purpose flour

1 teaspoon baking powder

½ teaspoon fine salt

½ teaspoon ground cardamom

¾ cup granulated sugar

¼ cup packed light brown sugar

2 large eggs

6 tablespoons unsalted butter, melted and cooled

¼ cup sour cream

1 teaspoon vanilla extract

Instructions

Preheat Oven

Preheat your oven to 350°F (175°C). Grease and flour a 9-inch springform pan and set aside.

Prepare the Apple Topping

In a 12-inch nonstick skillet over medium heat, melt the butter. Add the apple wedges and sauté until lightly caramelized and tender, about 5–8 minutes.

Add the brown sugar and cinnamon, stirring constantly until the sugar dissolves and coats the apples, about 1 more minute. Remove from heat and set the apples aside. Leave the remaining butter-sugar mixture in the skillet.

Make the Cake Batter

In a medium bowl, whisk together the flour, baking powder, salt, and cardamom.

In a large bowl, whisk the granulated sugar, brown sugar, and eggs until fully combined and slightly pale.

Slowly stream in the melted butter while whisking until the mixture is smooth.

Add the sour cream and vanilla, whisking until well incorporated.

Gently whisk in the flour mixture until the batter just comes together—do not overmix.

Assemble the Cake

Scrape the batter into the prepared springform pan and smooth the top with an offset spatula.

Arrange the sautéed apple wedges over the batter in two concentric circles, placing them close together but not overlapping. Reserve the skillet and remaining apple syrup for later.

Bake

Bake the cake in the preheated oven for 40–50 minutes, or until golden brown and a toothpick inserted into the center comes out clean or with just a few moist crumbs attached.

Glaze the Cake

While the cake cools slightly, add a couple teaspoons of water to the skillet with the reserved butter and sugar from the apples. Heat over medium until it becomes syrupy, about 1–2 minutes.

Brush this syrup over the top of the cake, especially over the apples, for a glossy and flavorful finish.

Cool and Serve

Let the cake cool in the pan on a wire rack for at least 20 minutes before serving. Slice and enjoy warm or at room temperature.

Tips for Success

• Don’t skip brushing the syrup—it adds shine and flavor

• Use tart apples like Granny Smith to balance the sweetness

• Serve with whipped cream or ice cream for a beautiful finish

Storage Options

Store covered at room temperature for up to 2 days

Refrigerate for up to 5 days for longer freshness—rewarm gently before serving

Freezes well without the syrup glaze for up to 2 months

Beer Battered Onion Rings

0

Beer Battered Onion Rings are the ultimate crispy, golden snack or side dish. Thick rings of sweet onion are coated in a bold, flavorful beer batter spiced with cayenne, cumin, garlic powder, and black pepper, then fried to crunchy perfection. The result is a light, airy crust that shatters when you bite into it, revealing the tender, sweet onion inside.

Served hot and fresh with a tangy lime mayo dipping sauce, these onion rings are the kind of addictive snack that’s hard to stop eating. Whether you’re serving them with burgers, as a game-day appetizer, or as the main event, they’re guaranteed to impress.

Why You’ll Love This Recipe

• Light, crispy batter that doesn’t overpower the onion

• Just the right amount of spice for flavor without heat

• That zesty lime mayo sauce brings it all together

Ingredients

Lime Mayo Sauce

⅓ cup mayonnaise

1 tablespoon ketchup

¼ teaspoon freshly ground black pepper

⅛ teaspoon ground cayenne pepper

1 small garlic clove, finely minced

1 tablespoon lime juice

Onion Rings

2 large sweet onions, skins removed and sliced into ½-inch rings

1¼ cups all-purpose flour (divided)

¼ teaspoon ground cayenne pepper

¼ teaspoon ground cumin

1 teaspoon salt

½ teaspoon freshly ground black pepper

1 teaspoon garlic powder

1 large egg, beaten

1 to 1½ cups beer (adjust for batter thickness)

Vegetable oil, for frying

Instructions

Make the Lime Mayo Sauce

In a small bowl, combine mayonnaise, ketchup, black pepper, cayenne, minced garlic, and lime juice. Stir until smooth and well blended. Set aside or refrigerate until ready to serve.

Prepare the Batter

Set aside ¼ cup of flour in a shallow dish for dusting. In a medium bowl, whisk together the remaining 1 cup of flour with cayenne pepper, cumin, salt, black pepper, garlic powder, and the beaten egg. Slowly pour in the beer while whisking, starting with 1 cup and adding more if needed to reach a smooth, thick batter. Let the batter rest for 10 minutes.

Heat the Oil

Heat vegetable oil in a deep skillet or Dutch oven to 375°F (190°C). The oil should be at least 2 inches deep.

Fry the Onion Rings

Working in small batches, dredge each onion ring in the reserved flour, shaking off excess. Dip into the beer batter, coating fully, then carefully lower into the hot oil. Fry for about 4 minutes, turning occasionally, until golden brown and crispy.

Transfer fried onion rings to a wire rack lined with paper towels to drain excess oil. Repeat with remaining onion rings.

Serve

Serve the onion rings hot with the chilled lime mayo dipping sauce on the side.

Tips for Success

• Use cold beer for a lighter, crisper batter

• Don’t overcrowd the pan—fry in batches for even browning

• For extra crunch, add a tablespoon of cornstarch to the flour mix

Storage Options

Best served fresh and crispy

To reheat, place on a baking rack in a 400°F oven for 5–7 minutes—avoid microwaving as it softens the crust

Not ideal for freezing, as the texture may suffer after thawing

Gooey Brownie Pie

0

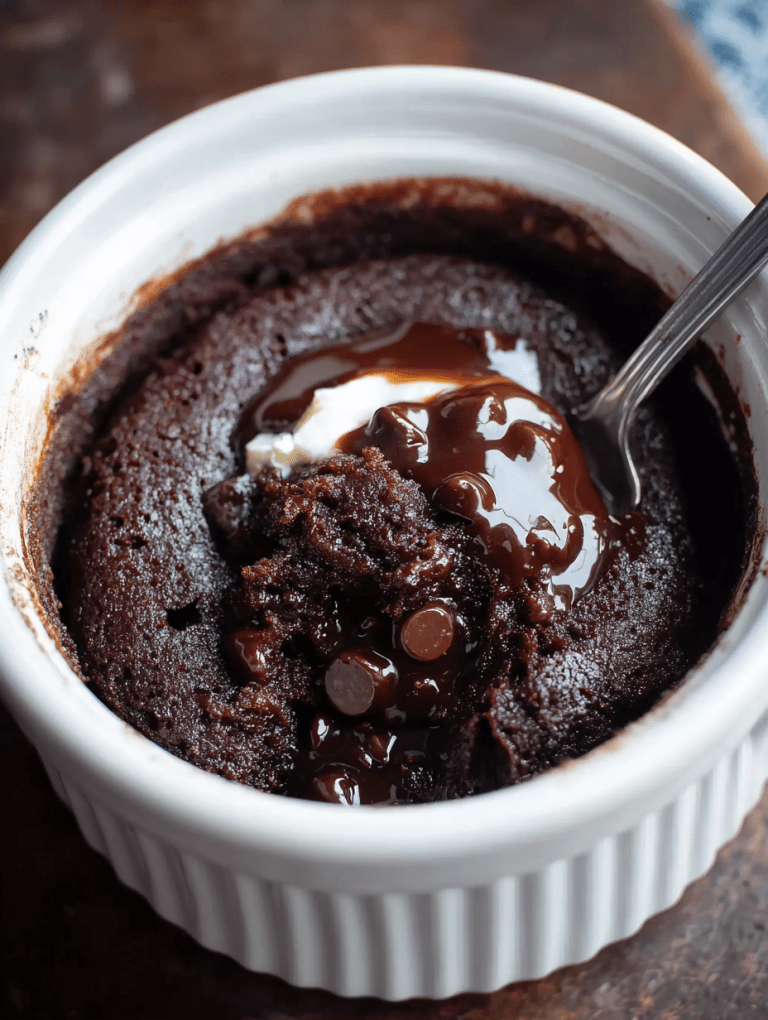
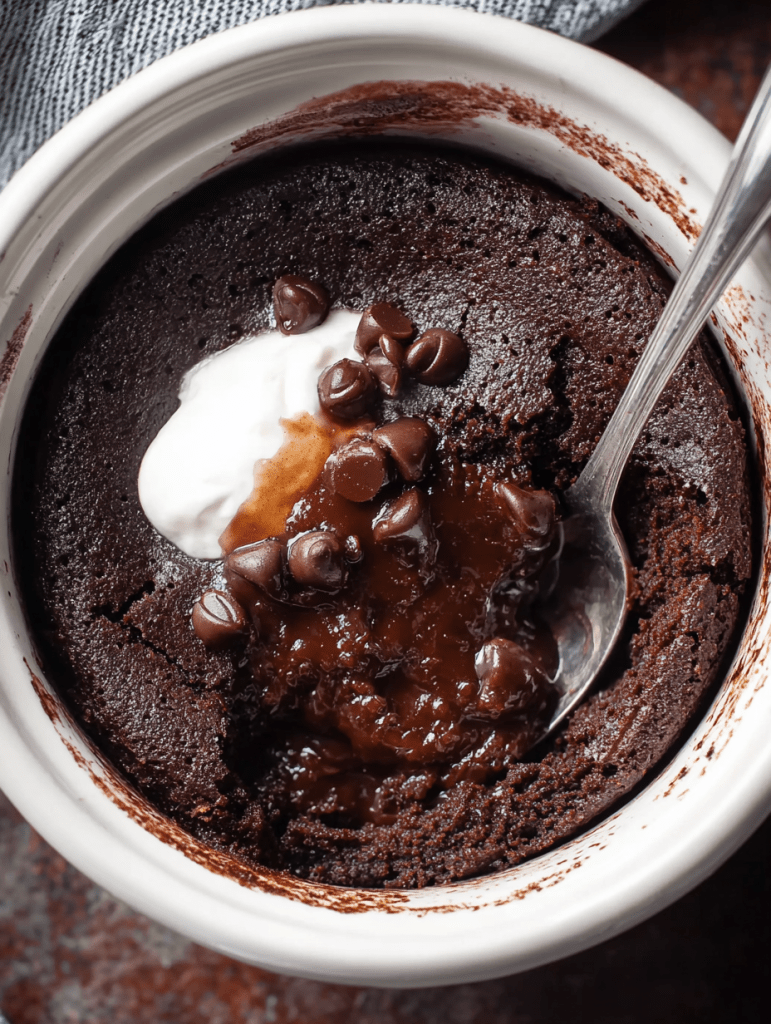
This Gooey Brownie Pie is a chocolate lover’s dream come true—rich, dense, and decadently fudgy with a soft center and a crackly top. It bakes up in a pie plate like a dessert hybrid between a brownie and a molten chocolate cake, making it perfect for slicing and serving like a classic pie. Every bite is packed with melty chocolate chips, deep cocoa flavor, and that irresistible gooey texture that makes this dessert unforgettable.

Whether served plain or dressed up with a scoop of vanilla ice cream and a generous drizzle of hot fudge sauce, this pie is ideal for birthdays, potlucks, or those nights when only something intensely chocolaty will do. It’s simple to make, requires pantry staples, and looks impressive straight out of the oven.

Why You’ll Love This Recipe

• Fudgy, gooey center with a crisp, crackly top

• Easy to make in one bowl and ready in under an hour

• Perfect base for toppings like ice cream, whipped cream, or fudge

Ingredients

6 tablespoons unsalted butter

3 cups semi-sweet chocolate chips, divided

3 large eggs

1 cup granulated sugar

1 teaspoon vanilla extract

½ cup all-purpose flour

¼ teaspoon baking powder

¼ teaspoon salt

Hot fudge sauce, for serving

How To Make Gooey Brownie Pie

Step 1: Preheat and Prep

Preheat your oven to 350°F (175°C). Grease a 9-inch pie plate or springform pan with non-stick spray and set aside.

Step 2: Melt Chocolate and Butter

In a microwave-safe bowl, combine the butter and 2 cups of chocolate chips. Microwave in 30-second intervals, stirring between each, until completely smooth and melted. Let the mixture cool slightly to avoid scrambling the eggs.

Step 3: Whip Eggs and Sugar

In a large mixing bowl, use a hand mixer on medium-high speed to beat the eggs, sugar, and vanilla extract together for about 3 minutes until the mixture becomes pale and fluffy.

Step 4: Combine Wet Ingredients

With the mixer on low speed, slowly pour the slightly cooled melted chocolate mixture into the egg mixture. Mix until fully combined.

Step 5: Add Dry Ingredients

Using a rubber spatula, gently fold in the flour, baking powder, and salt just until combined. Avoid overmixing.

Step 6: Fold in Remaining Chocolate Chips

Stir in the remaining 1 cup of chocolate chips for extra gooey texture throughout the pie.

Step 7: Bake

Pour the thick brownie batter into the prepared pie plate or springform pan and smooth the top. Bake for 35–40 minutes. The top should be puffed and crackly, while the center remains soft and slightly jiggly.

Step 8: Cool and Serve

Remove from the oven and let cool completely at room temperature. This allows the pie to set while retaining its gooey texture.

Slice and serve with warm hot fudge sauce drizzled generously over each piece. Add a scoop of vanilla ice cream if you want to take it over the top.

Tips for Success

• Don’t skip cooling the melted chocolate—it can cook the eggs if too hot

• For an even fudgier result, underbake by 2–3 minutes and let it finish setting as it cools

• Use good-quality chocolate chips for the richest flavor

Storage Options

Store covered at room temperature for up to 2 days

Refrigerate for up to 5 days and reheat slices in the microwave for 15–20 seconds

Not recommended for freezing due to its gooey texture

French Dip Sandwich

0

This French Dip Sandwich is the kind of meal that makes comfort food feel gourmet. Tender, slow-cooked chuck roast infused with layers of beefy flavor and served on toasted French rolls with melty provolone cheese—each bite is juicy, rich, and savory. What takes it over the top is the side of warm au jus made right in the slow cooker, perfect for dunking every bite of your sandwich.

Whether you’re feeding a crowd, prepping for game day, or just want a hands-off slow cooker meal with restaurant-level taste, this sandwich delivers. The meat is incredibly tender after hours of cooking, and the onions simmer into the broth, infusing every drop with sweet, savory flavor. Toasty bread, gooey cheese, and a dip in the rich broth turn a simple sandwich into something special.

Why You’ll Love This Recipe

• Slow-cooked beef that’s fall-apart tender

• Deep, rich flavor in every bite

• Perfect for make-ahead meals and easy to serve to a crowd

Ingredients

3 lb chuck roast

1½ tablespoons vegetable oil

1 medium yellow onion, sliced

1 (10.5 oz) can condensed French onion soup

1 (10.5 oz) can condensed beef consommé

1 tablespoon beef bouillon powder

½ teaspoon garlic powder

½ teaspoon onion powder

½ teaspoon salt (adjust to taste)

½ teaspoon freshly ground black pepper

2 teaspoons Worcestershire sauce

6 French rolls or hoagie rolls

12 slices Provolone cheese

Instructions

Brown the Roast

Heat the vegetable oil in a large skillet or heavy-bottomed pot over medium heat. Sear the chuck roast for 2–3 minutes per side until nicely browned. This adds depth of flavor to the final dish.

Load the Slow Cooker

Transfer the browned roast to a crock pot. Add the sliced onions, French onion soup, beef consommé, beef bouillon powder, garlic powder, onion powder, salt, pepper, and Worcestershire sauce. Stir gently to combine.

Cook the Beef

Cover and cook on low for 8 hours or high for 4 hours, until the roast is fork-tender and easy to shred.

Shred the Meat

Once cooked, remove the roast from the slow cooker and let it rest on a cutting board for 10 minutes. Slice or shred the beef. If not serving immediately, return the shredded meat to the crock pot to keep warm.

Toast and Assemble the Sandwiches

Split the French rolls and place them cut side up under the broiler until lightly toasted. Add 2 slices of provolone cheese to each roll and broil again briefly until melted.

Fill the rolls with a generous portion of shredded beef. Serve hot with a small bowl of au jus from the crock pot on the side for dipping.

Tips for Success

• Sear the meat first for the best flavor and texture

• Toast the rolls right before serving to avoid sogginess

• Use a strainer if you prefer a clear au jus

Storage Options

Store leftover shredded beef in its juices in an airtight container in the fridge for up to 4 days

Reheat in the slow cooker or on the stove over low heat

Freezes well—store cooled meat and broth separately in freezer-safe containers for up to 2 months

Spanish Style Cabbage

0

Spanish Style Cabbage is a quick and satisfying skillet meal that brings together savory ground beef, tender cabbage, and zesty seasonings for a bold and hearty dish. With minimal ingredients and just one pan, it’s perfect for busy weeknights when you want something filling, flavorful, and easy to make.

The combination of seasoned beef, buttery sautéed cabbage, and the tangy spice of Rotel and taco seasoning gives this humble meal a punch of Tex-Mex flair. The cabbage cooks down beautifully, soaking in all the flavors without becoming mushy. It’s budget-friendly, low in carbs, and packed with comforting taste in every bite.

Why You’ll Love This Recipe

• Made with simple, affordable ingredients

• Ready in under 30 minutes

• Perfect one-pan meal with bold, satisfying flavor

Ingredients

1 pound lean ground beef

½ head of cabbage, chopped

1 can Rotel (diced tomatoes with green chiles)

1 packet taco seasoning

2 tablespoons butter (for sautéing cabbage)

½ can water (using the empty Rotel can)

Instructions

First Step:

In a large skillet over medium heat, brown the ground beef until fully cooked. Drain off any excess fat and set the beef aside.

Second Step:

In the same skillet, melt 2 tablespoons of butter. Add the chopped cabbage and sauté for about 6–8 minutes, or until the cabbage is tender but still has a slight bite. Stir frequently to prevent sticking.

Third Step:

Return the cooked beef to the skillet with the cabbage. Add the Rotel (undrained), half a can of water, and the taco seasoning packet. Stir everything together until well combined.

Let the mixture simmer uncovered over medium-low heat for about 10–15 minutes, or until most of the liquid is absorbed and the flavors have melded.

Serve hot and enjoy!

Tips for Success

• Use green cabbage for best texture—it holds up well in the skillet

• Adjust the spice level by choosing mild or hot Rotel

• Add shredded cheese or a dollop of sour cream for extra richness

Storage Options

Refrigerate leftovers in an airtight container for up to 3 days

Reheat gently in a skillet or microwave

Freezes well for up to 1 month—cool completely before storing in freezer-safe bags

Layered Pasta Salad

0

This Layered Pasta Salad is a colorful, hearty twist on the classic salad that’s as visually appealing as it is delicious. Built in beautiful layers, it combines tender macaroni, crisp romaine, sweet peas, savory ham, crunchy vegetables, and sharp cheddar—all tied together with a creamy, tangy dressing that adds depth and flavor. It’s the perfect make-ahead dish for potlucks, summer gatherings, or holiday spreads.

Each bite delivers a mix of textures and flavors, from creamy to crunchy, salty to sweet. As it chills, the layers meld together just enough to enhance the flavor while keeping their structure. The result is a salad that looks impressive in the bowl and tastes even better on the plate.

Why You’ll Love This Recipe

• Beautifully layered for visual impact and texture

• Loaded with pasta, meat, veggies, and cheese for a full meal in one bowl

• Perfect for making ahead and serving to a crowd

Ingredients

Dressing

½ cup mayonnaise

¾ cup sour cream

2 teaspoons white wine vinegar

1 teaspoon sugar

2 teaspoons Dijon mustard

½ teaspoon Worcestershire sauce

½ teaspoon salt

½ teaspoon black pepper

Salad

3 cups macaroni pasta, cooked and drained

3 cups chopped romaine lettuce

½ red bell pepper, diced

¼ cup red onion, finely diced

½ cup frozen green peas, thawed

⅓ cup chopped celery

1½ cups diced ham

⅓ cup black olives

½ cup shredded cheddar cheese

How To Make Layered Pasta Salad

Prepare the Dressing

In a small bowl, whisk together mayonnaise, sour cream, white wine vinegar, sugar, Dijon mustard, Worcestershire sauce, salt, and black pepper until smooth and creamy. Set aside.

Assemble the Salad

In a large clear trifle bowl or wide glass dish, layer the ingredients in the following order for best visual effect and texture separation:

Start with chopped romaine lettuce as the base

Spoon the cooked and cooled macaroni pasta on top of the lettuce

Add diced red bell peppers

Sprinkle in finely diced red onion

Add thawed green peas

Layer chopped celery evenly

Add diced ham across the top

Scatter black olives over the ham

Spread the prepared dressing evenly over the top layer, using a spatula to smooth it out completely and seal the layers underneath

Finish with a generous sprinkle of shredded cheddar cheese on top

Chill

Cover the salad tightly with plastic wrap and refrigerate for at least 5 hours, or overnight, to allow the flavors to develop and the dressing to settle into the layers.

Serve

Just before serving, toss the salad gently to mix the layers together or leave it beautifully layered and allow guests to scoop from top to bottom.

Tips for Success

• Use a clear bowl to show off the layers—it makes a big visual impact

• Make sure the pasta is fully cooled before layering to avoid wilting the lettuce

• Add crispy bacon, sliced hard-boiled eggs, or chopped pickles for extra flavor

Storage Options

Refrigerate tightly covered for up to 3 days

Not freezer-friendly due to the creamy dressing and fresh vegetables

Stir before serving if made ahead to redistribute the dressing and moisture

Pineapple Coconut Snowballs

0

These Pineapple Coconut Snowballs are a no-bake tropical treat that’s as easy to make as it is delicious. With just three simple ingredients—cream cheese, crushed pineapple, and flaked coconut—you can whip up a batch of soft, creamy bites bursting with fruity flavor and rolled in snowy coconut flakes. They’re the perfect balance of sweet, tangy, and creamy, with a refreshing twist from the pineapple.

Ideal for holiday platters, summer parties, baby showers, or whenever you need a quick and crowd-pleasing dessert, these snowballs are fun to make and require no baking. They’re chilled until firm, giving them a rich, melt-in-your-mouth texture that’s both indulgent and refreshing.

Why You’ll Love This Recipe

• Just three ingredients and no baking required

• Bursting with tropical flavor from real pineapple and coconut

• Make-ahead friendly and perfect for parties or gifting

Ingredients

1 (8-ounce) package cream cheese, softened

1 (8-ounce) can crushed pineapple, well drained

2 ½ cups flaked coconut

Directions

Prepare the Pineapple

Drain the crushed pineapple thoroughly using a fine mesh strainer. Press down with a spoon to extract as much juice as possible. This step is essential to prevent the mixture from being too wet.

Mix Ingredients

In a small bowl, beat the softened cream cheese until smooth and creamy. Add the drained pineapple and mix until fully combined and evenly blended.

Chill the Mixture

Cover the bowl and refrigerate the mixture for about 30 minutes. Chilling helps firm it up, making it easier to handle and shape.

Form the Snowballs

Once chilled, scoop out small portions of the mixture and roll them into 1-inch balls using your hands or a small cookie scoop.

Coat with Coconut

Roll each ball in flaked coconut, making sure all sides are evenly coated. Gently press the coconut into the surface if needed to help it stick.

Final Chill

Place the finished snowballs on a baking sheet or plate lined with parchment paper. Refrigerate for at least 6 hours, or overnight, to allow them to fully set and develop their flavor.

Serve

Serve the Pineapple Coconut Snowballs chilled straight from the fridge. They’re soft, refreshing, and perfectly bite-sized.

Tips for Success

• Make sure the pineapple is very well drained to avoid a runny mixture

• For easier rolling, lightly grease your hands or use gloves

• You can toast the coconut before rolling for a golden, nutty variation

Storage Options

Refrigerate in an airtight container for up to 5 days

Best served cold—do not freeze, as the texture may become watery once thawed

Cheesy Hissy Fit Dip

0

This Cheesy Hissy Fit Dip is the ultimate party dip—hot, gooey, and packed with bold, savory flavor. A southern favorite with a dramatic name and unforgettable taste, this dip combines rich sour cream, melty cheeses, and seasoned sausage into a creamy, bubbling skillet of indulgence. The addition of Velveeta and cream cheese ensures smoothness, while Monterey Jack adds sharpness and depth.

With a blend of herbs and spices like parsley, sage, onion powder, and garlic powder, each bite delivers layers of flavor that pair perfectly with crunchy crackers, toasted baguette slices, or sturdy tortilla chips. It’s the kind of dish that disappears quickly, and yes—it’s been known to cause a hissy fit when it’s gone too soon.

Why You’ll Love This Recipe

• Ultra-creamy and packed with flavor

• Easy to make with everyday ingredients

• The perfect dip for game days, potlucks, or cozy nights in

Ingredients

1 pound ground sausage, browned and drained

1 (16 oz) container sour cream

1 (8 oz) package cream cheese, softened

1 (8 oz) package Velveeta cheese, cubed

4 oz Monterey Jack cheese, grated

2 tablespoons fresh chives, minced (optional)

1/2 tablespoon Worcestershire sauce

1 teaspoon dried parsley

1 teaspoon onion powder

1/2 teaspoon garlic powder

1/2 teaspoon dried sage

Crackers, for serving

Preparation

Preheat oven to 350°F (175°C) and lightly grease a square baking dish or oven-safe skillet with non-stick spray.

In a large bowl, combine the sour cream and softened cream cheese until smooth. Stir in Worcestershire sauce, dried parsley, onion powder, garlic powder, and dried sage. Mix until everything is fully incorporated.

Fold in the browned sausage, cubed Velveeta, shredded Monterey Jack, and chives (if using). Stir well until the mixture is evenly combined.

Transfer the mixture to the prepared baking dish and spread evenly.

Bake uncovered for 50–60 minutes, or until the top is golden, bubbly, and molten throughout.

Remove from the oven and serve immediately while hot, with crackers, chips, or sliced baguette on the side.

Tips for Success

• Use spicy sausage if you want an extra kick

• Add a handful of cooked mushrooms or diced jalapeños for a twist

• To keep it warm during parties, transfer the baked dip to a slow cooker on the warm setting

Storage Options

Refrigerate leftovers in an airtight container for up to 3 days

Reheat in the oven at 325°F until warmed through, or microwave in short bursts

Not recommended for freezing, as the dairy may separate when thawed

Crème Brûlée Cheesecake

0

This Crème Brûlée Cheesecake is the perfect fusion of two iconic desserts—a rich, velvety cheesecake and the crisp caramelized sugar topping of classic crème brûlée. With its smooth, creamy filling, buttery graham cracker crust, and elegant brûléed finish, it’s a showstopping dessert that’s both indulgent and impressive. Whether served at a dinner party or savored slowly on a quiet evening, each bite delivers a perfect balance of creamy richness and sweet, glassy crunch.

What sets this cheesecake apart is the final torching step. Just before serving, a thin layer of sugar is torched to create that signature crackling top—adding texture, drama, and flavor all at once. The cheesecake itself is simple to make, and with a little patience, you’ll be rewarded with a dessert that rivals the finest patisserie offerings.

Why You’ll Love This Recipe

• Combines two classic desserts into one luxurious bite

• Creamy, smooth texture with a crisp brûléed sugar topping

• Great for making ahead and torching just before serving

Ingredients

For the Crust

1 ½ cups graham cracker crumbs

¼ cup melted butter

2 tablespoons sugar

For the Cheesecake

3 (8 oz) packages cream cheese, softened

1 cup granulated sugar

1 teaspoon vanilla extract

3 large eggs

1 cup sour cream

For the Brûlée Topping

¼ cup granulated sugar

Instructions

Prepare the Crust

In a bowl, mix together the graham cracker crumbs, melted butter, and sugar until well combined.

Press the mixture evenly into the bottom of a 9-inch springform pan.

Place the pan in the refrigerator to chill while you prepare the filling.

Make the Cheesecake Filling

In a large mixing bowl, beat the cream cheese until completely smooth and free of lumps.

Gradually add the sugar and vanilla extract, continuing to beat until creamy.

Add the eggs one at a time, beating well after each addition.

Fold in the sour cream and mix just until incorporated.

Pour the filling over the chilled crust and smooth the top with a spatula.

Bake the Cheesecake

Preheat the oven to 325°F (163°C).

Place the springform pan on a baking sheet and bake for 50–55 minutes, or until the center is set but still slightly jiggly.

Turn off the oven and leave the cheesecake inside with the door slightly open for 1 hour to cool gradually and prevent cracking.

Chill

Remove the cheesecake from the oven and allow it to cool completely at room temperature.

Refrigerate for at least 4 hours, or preferably overnight, to allow the texture to set.

Add the Brûlée Topping

Just before serving, sprinkle ¼ cup of granulated sugar evenly over the top of the chilled cheesecake.

Using a kitchen torch, melt and caramelize the sugar until it forms a hard, golden crust. Rotate the pan as needed to ensure even coverage.

Let the topping sit for a minute to harden before slicing and serving.

Tips for Success

• Use room temperature cream cheese for the smoothest filling

• Don’t skip the cooling step in the oven—it helps prevent cracks

• Torch the sugar topping just before serving for the best crunch

Storage Options

Store cheesecake (without the sugar topping) covered in the refrigerator for up to 4 days

Add the brûlée topping right before serving to maintain crispness

For longer storage, freeze without the topping for up to 1 month and thaw in the fridge overnight

Chicken Club Salad Pasta

0

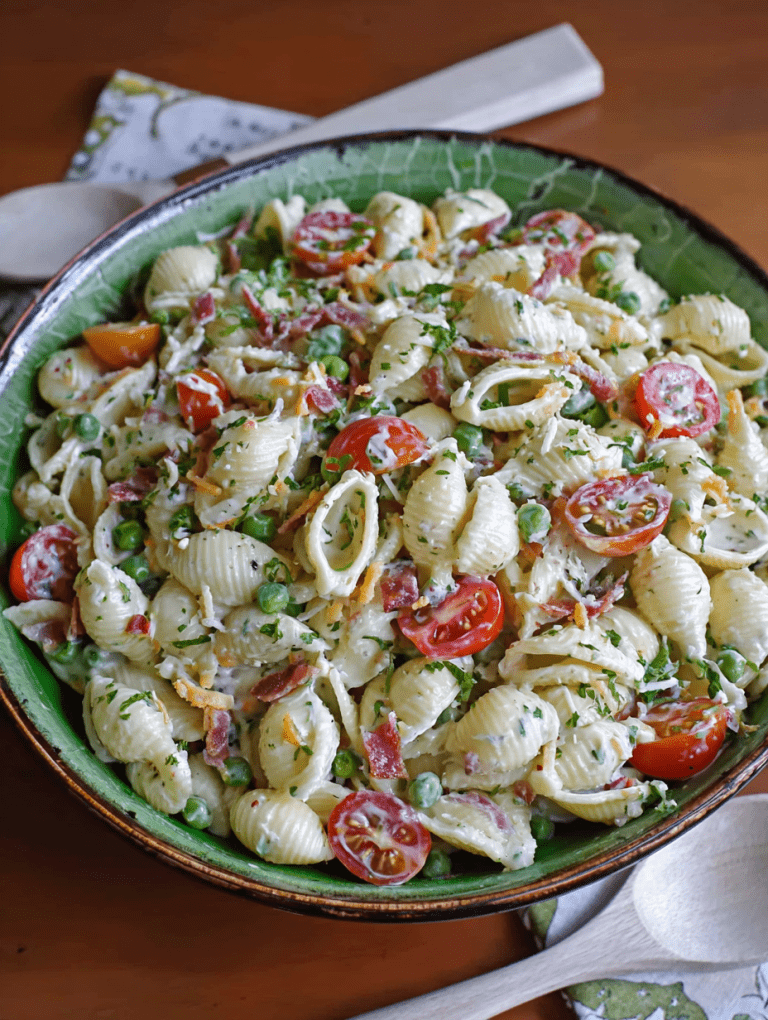
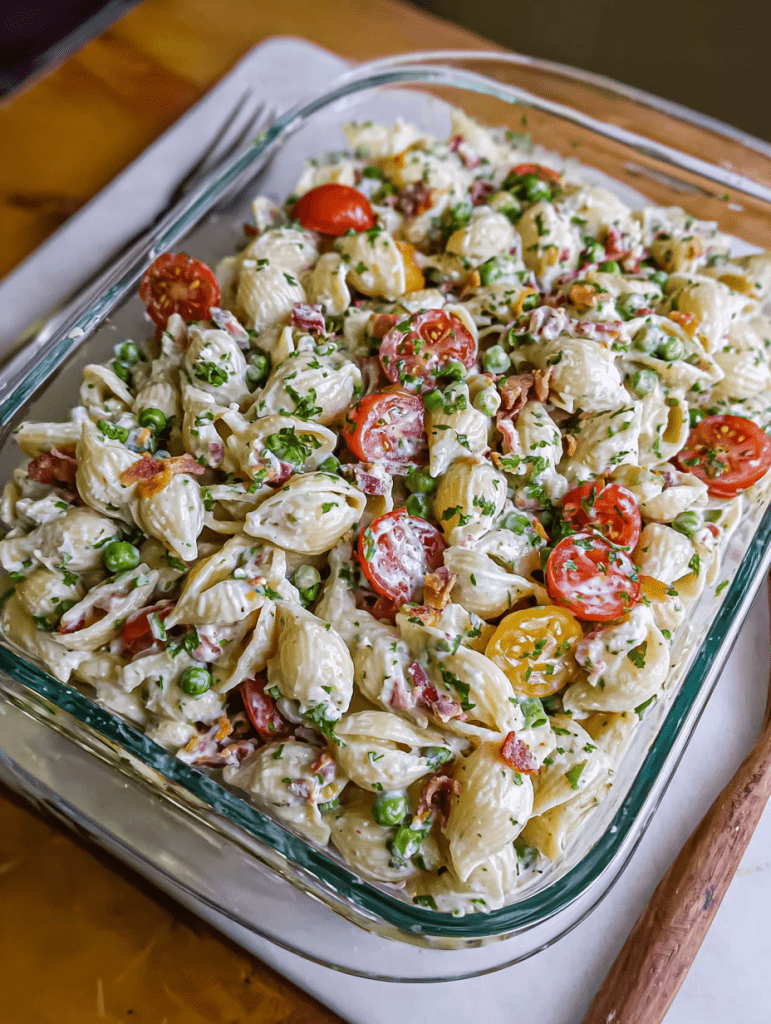
This Chicken Club Salad Pasta is the perfect blend of creamy, crunchy, and savory. Inspired by the classic club sandwich, this chilled pasta salad combines tender chicken, crispy bacon, fresh vegetables, and Muenster cheese, all tossed in a creamy Italian dressing. It’s hearty enough to serve as a main dish and versatile enough for a potluck or picnic.

What makes this salad shine is its balance of textures and flavors—the crisp celery and green peppers add crunch, the tomatoes and avocado bring freshness, and the bacon and cheese provide richness. The combination of mayo and Italian dressing gives it a tangy, creamy finish that pulls all the ingredients together.

Why You’ll Love This Recipe

• Loaded with protein and veggies for a complete meal

• Great for make-ahead lunches or easy dinners

• Packed with flavor and satisfying textures

Ingredients

8 ounces cooked small shell pasta

2 cups cooked and chopped chicken

12 slices cooked and crumbled bacon

¾ cup Italian salad dressing

½ cup mayonnaise

1 cup chopped celery

1 cup chopped green pepper

8 ounces cherry tomatoes, halved

½ avocado, peeled and chopped

1 cup cubed Muenster cheese

Instructions

First Step:

Bring a large pot of salted water to a boil. Cook the pasta according to package directions until al dente.

Second Step:

Drain the pasta and rinse under cold water to cool it down. In a small bowl, whisk together the Italian dressing and mayonnaise until smooth.

Third Step:

In a large mixing bowl, combine the cooked pasta with chopped chicken and crumbled bacon. Stir in the dressing mixture until everything is evenly coated.

Fourth Step:

Add the chopped celery, green pepper, halved cherry tomatoes, avocado, and cubed Muenster cheese. Stir gently to combine, being careful not to mash the avocado.

Serve immediately or refrigerate for 1 hour to allow the flavors to meld.

Tips for Success

• Use rotisserie chicken to save time

• Add the avocado right before serving to prevent browning

• Chill the salad for at least 30 minutes if you have time—it gets even better

Storage Options

Store in an airtight container in the refrigerator for up to 3 days

Best served cold; stir before serving if made ahead