Cinnamon Rolls with Cream Cheese Frosting are the pinnacle of baked breakfast indulgence—a warm, pillowy, and impossibly tender spiral of enriched dough swirled with a generous ribbon of brown sugar and cinnamon, all crowned with a thick blanket of tangy, velvety cream cheese frosting. This recipe is a masterclass in classic baking, guiding you through the deeply satisfying process of creating soft, bakery-quality cinnamon rolls from scratch. The magic begins with activating the yeast in warm milk, a small but essential step that brings the dough to life. From there, a simple mixture of butter, egg, and flour is kneaded into a smooth, elastic dough that, given time to rise, transforms into a light and airy canvas for the fragrant filling. The roll-up and slice method creates those iconic, beautiful spirals that puff and expand in the oven, filling your kitchen with the intoxicating aroma of warm cinnamon and butter.
The true crowning glory of these rolls is the cream cheese frosting—a luscious, dreamy blend of softened cream cheese and butter, sweetened with powdered sugar and brightened with a touch of vanilla. Slathered generously over the warm rolls fresh from the oven, it melts slightly into the crevices, creating pockets of gooey, creamy perfection in every bite. This is not just a recipe; it’s an experience—a weekend morning project that rewards patience with the most spectacular, shareable treat. Whether for a holiday brunch, a special birthday breakfast, or a cozy Sunday morning at home, these cinnamon rolls deliver pure, unadulterated comfort and joy in every single spiral.
Why You’ll Love This Recipe:
- Soft, Pillowy, Bakery-Quality Texture: The enriched dough rises to perfection, creating rolls that are incredibly tender and light.
- Perfectly Spiced Cinnamon Swirl: The generous brown sugar and cinnamon filling creates a gooey, fragrant ribbon throughout.
- Tangy, Creamy Cream Cheese Frosting: The ultimate topping—rich, smooth, and perfectly balanced with the sweet rolls.
- Deeply Satisfying from Scratch Experience: The process of kneading, rising, and baking is therapeutic and rewarding.
- Make-Ahead Friendly: Can be prepared the night before for a stress-free morning bake.
Ingredients:
For the Dough:
3 ¾ cups (470g) all-purpose flour, plus more for dusting
¼ cup (50g) granulated sugar
2 ¼ teaspoons (1 packet) active dry yeast
¾ cup (180ml) whole milk, warmed to 110°F (43°C)
¼ cup (60g) unsalted butter, melted and slightly cooled
1 large egg, at room temperature
½ teaspoon salt
For the Cinnamon Filling:
⅔ cup (135g) packed light brown sugar
2 tablespoons ground cinnamon
¼ cup (60g) unsalted butter, very soft
For the Cream Cheese Frosting:
4 oz (113g) full-fat cream cheese, softened
¼ cup (60g) unsalted butter, softened
1 cup (120g) powdered sugar, sifted
½ teaspoon pure vanilla extract
1–2 tablespoons milk, as needed
Instructions:
Step 1: Activate the Yeast
In a small bowl or the bowl of a stand mixer, stir together the warm milk, 1 tablespoon of the granulated sugar (taken from the ¼ cup), and the yeast. Let it sit undisturbed for 5-10 minutes until foamy and bubbly. This confirms your yeast is active.
Step 2: Make the Dough
To the yeast mixture, add the remaining sugar, melted butter, egg, salt, and 2 cups of the flour. Mix on low speed until combined. Gradually add the remaining flour, ½ cup at a time, until a soft dough forms. Knead with a dough hook for 8-10 minutes (or by hand on a floured surface) until the dough is smooth, elastic, and slightly tacky.
Step 3: First Rise
Place the dough in a lightly greased bowl, turning once to coat. Cover with a clean kitchen towel or plastic wrap and let rise in a warm, draft-free place for 1 to 1 ½ hours, or until doubled in size.
Step 4: Prepare the Filling
In a small bowl, mix the brown sugar and cinnamon together until well combined. Set aside. Ensure the ¼ cup of butter for the filling is very soft for easy spreading.
Step 5: Roll and Fill
Punch down the risen dough. On a lightly floured surface, roll it out into a 14×9-inch rectangle. Spread the softened butter evenly over the entire surface. Sprinkle the cinnamon sugar mixture evenly over the butter, leaving a small border at one long edge for sealing.
Step 6: Shape and Slice
Starting from the long edge opposite the bare border, tightly roll the dough into a log. Pinch the seam to seal. Using a sharp knife or unflavored dental floss, slice the log into 10-12 equal rolls (about 1 ½ inches thick).
Step 7: Second Rise
Arrange the rolls in a generously greased 9×13-inch baking dish or a 10-inch round pan, cut side up, leaving a little space between each. Cover loosely and let rise for 30-45 minutes, until puffy and touching each other.
Step 8: Bake
Preheat oven to 350°F (175°C). Bake the rolls for 20-25 minutes, until golden brown on top and cooked through. If the tops are browning too quickly, tent loosely with foil during the last 5-10 minutes.
Step 9: Make the Frosting
While the rolls bake, make the frosting. In a medium bowl, beat the softened cream cheese and butter together until smooth and creamy. Beat in the powdered sugar and vanilla until well combined. Add milk, 1 tablespoon at a time, until you reach a thick but pourable consistency.
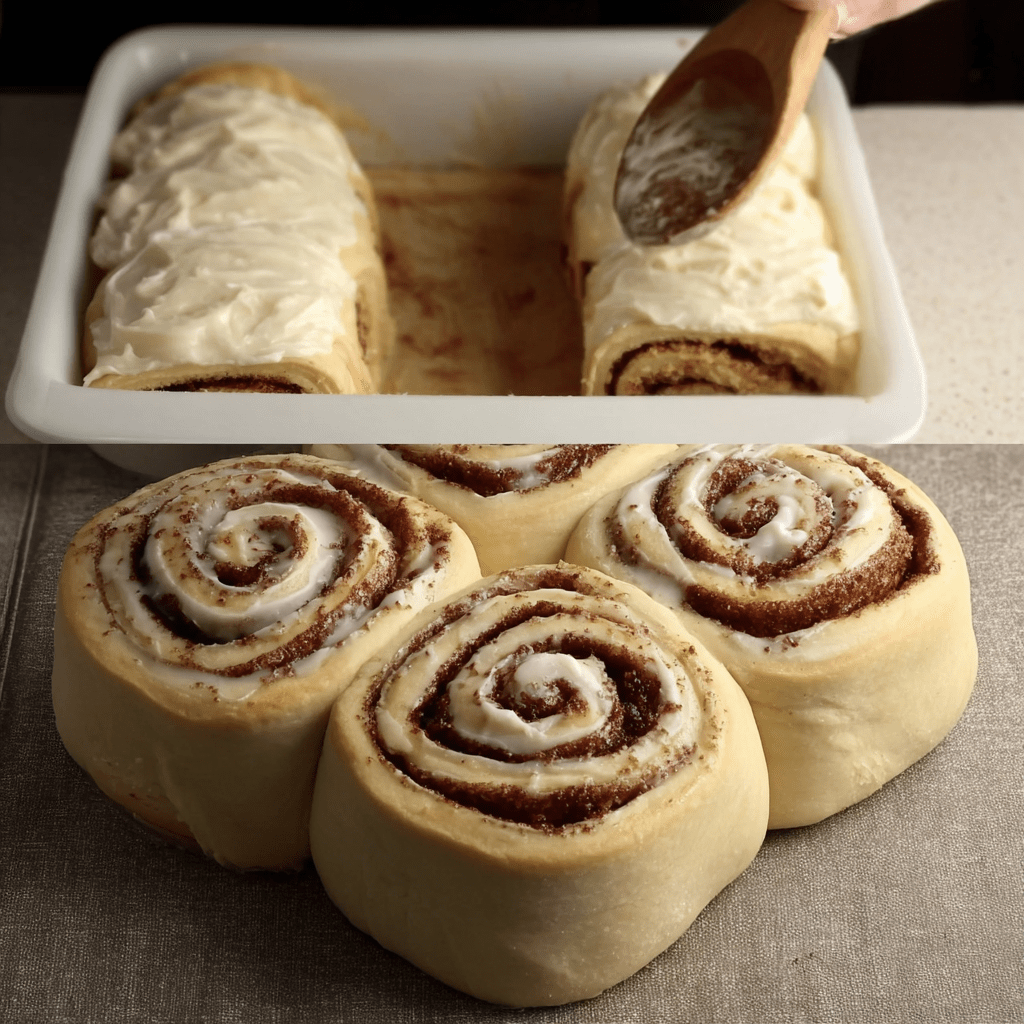
Step 10: Frost and Serve
Remove the rolls from the oven and let them cool in the pan for 5-10 minutes. Spread the cream cheese frosting generously over the warm rolls. The frosting will melt slightly and seep into all the crevices. Serve warm.
Tips:
- Milk Temperature is Crucial: Milk that is too hot will kill the yeast; too cool won’t activate it. Use a thermometer for accuracy.
- Don’t Skip the Second Rise: This final puff is essential for light, airy rolls.
- Soft Butter for Filling: Butter that is too cold will tear the dough when spreading.
- Clean Slices with Floss: For perfect, un-squashed rolls, slide a piece of unflavored dental floss under the log, cross the ends over the top, and pull tight.
- Frost While Warm: Frosting the rolls while they’re still warm allows the frosting to become deliciously gooey and soak into the rolls.
Storage Options:
- Room Temperature: Store frosted rolls in an airtight container at room temperature for up to 2 days.
- Refrigerator: For longer storage, keep in the refrigerator for up to 5 days. Bring to room temperature or warm slightly before serving.
- Freezing: Freeze unfrosted, baked rolls in an airtight container for up to 2 months. Thaw and reheat, then frost before serving.
- Make-Ahead: Prepare the rolls through Step 6, cover tightly, and refrigerate overnight. In the morning, let them sit at room temperature for 30-60 minutes while the oven preheats, then bake as directed.
Cinnamon Rolls with Cream Cheese Frosting are the ultimate expression of homemade comfort and love. They are a labor of patience that rewards you with the most gloriously soft, sweet, and unforgettable treat—a true classic that will fill your home with warmth and your heart with joy.